AC-2d Sketching Urban Ideas


About this Tutorial
This course is intended for intermediate learners of ArchiCAD and/or CADing as a subject. Self-taught users can also profit from the structure to consolidate more developed concepts. In this tutorial you will learn how to organize and fully show the context of your project in plans, sections and perspectives, to be available to print it and draw in it to develop ideas for your architectural project. Also we will give you some sketching tips so you can practice with us the iteration of ideas.
Skill level and duration
Level: Intermediate Users
Duration: A couple of hours tops!
In this tutorial you will learn
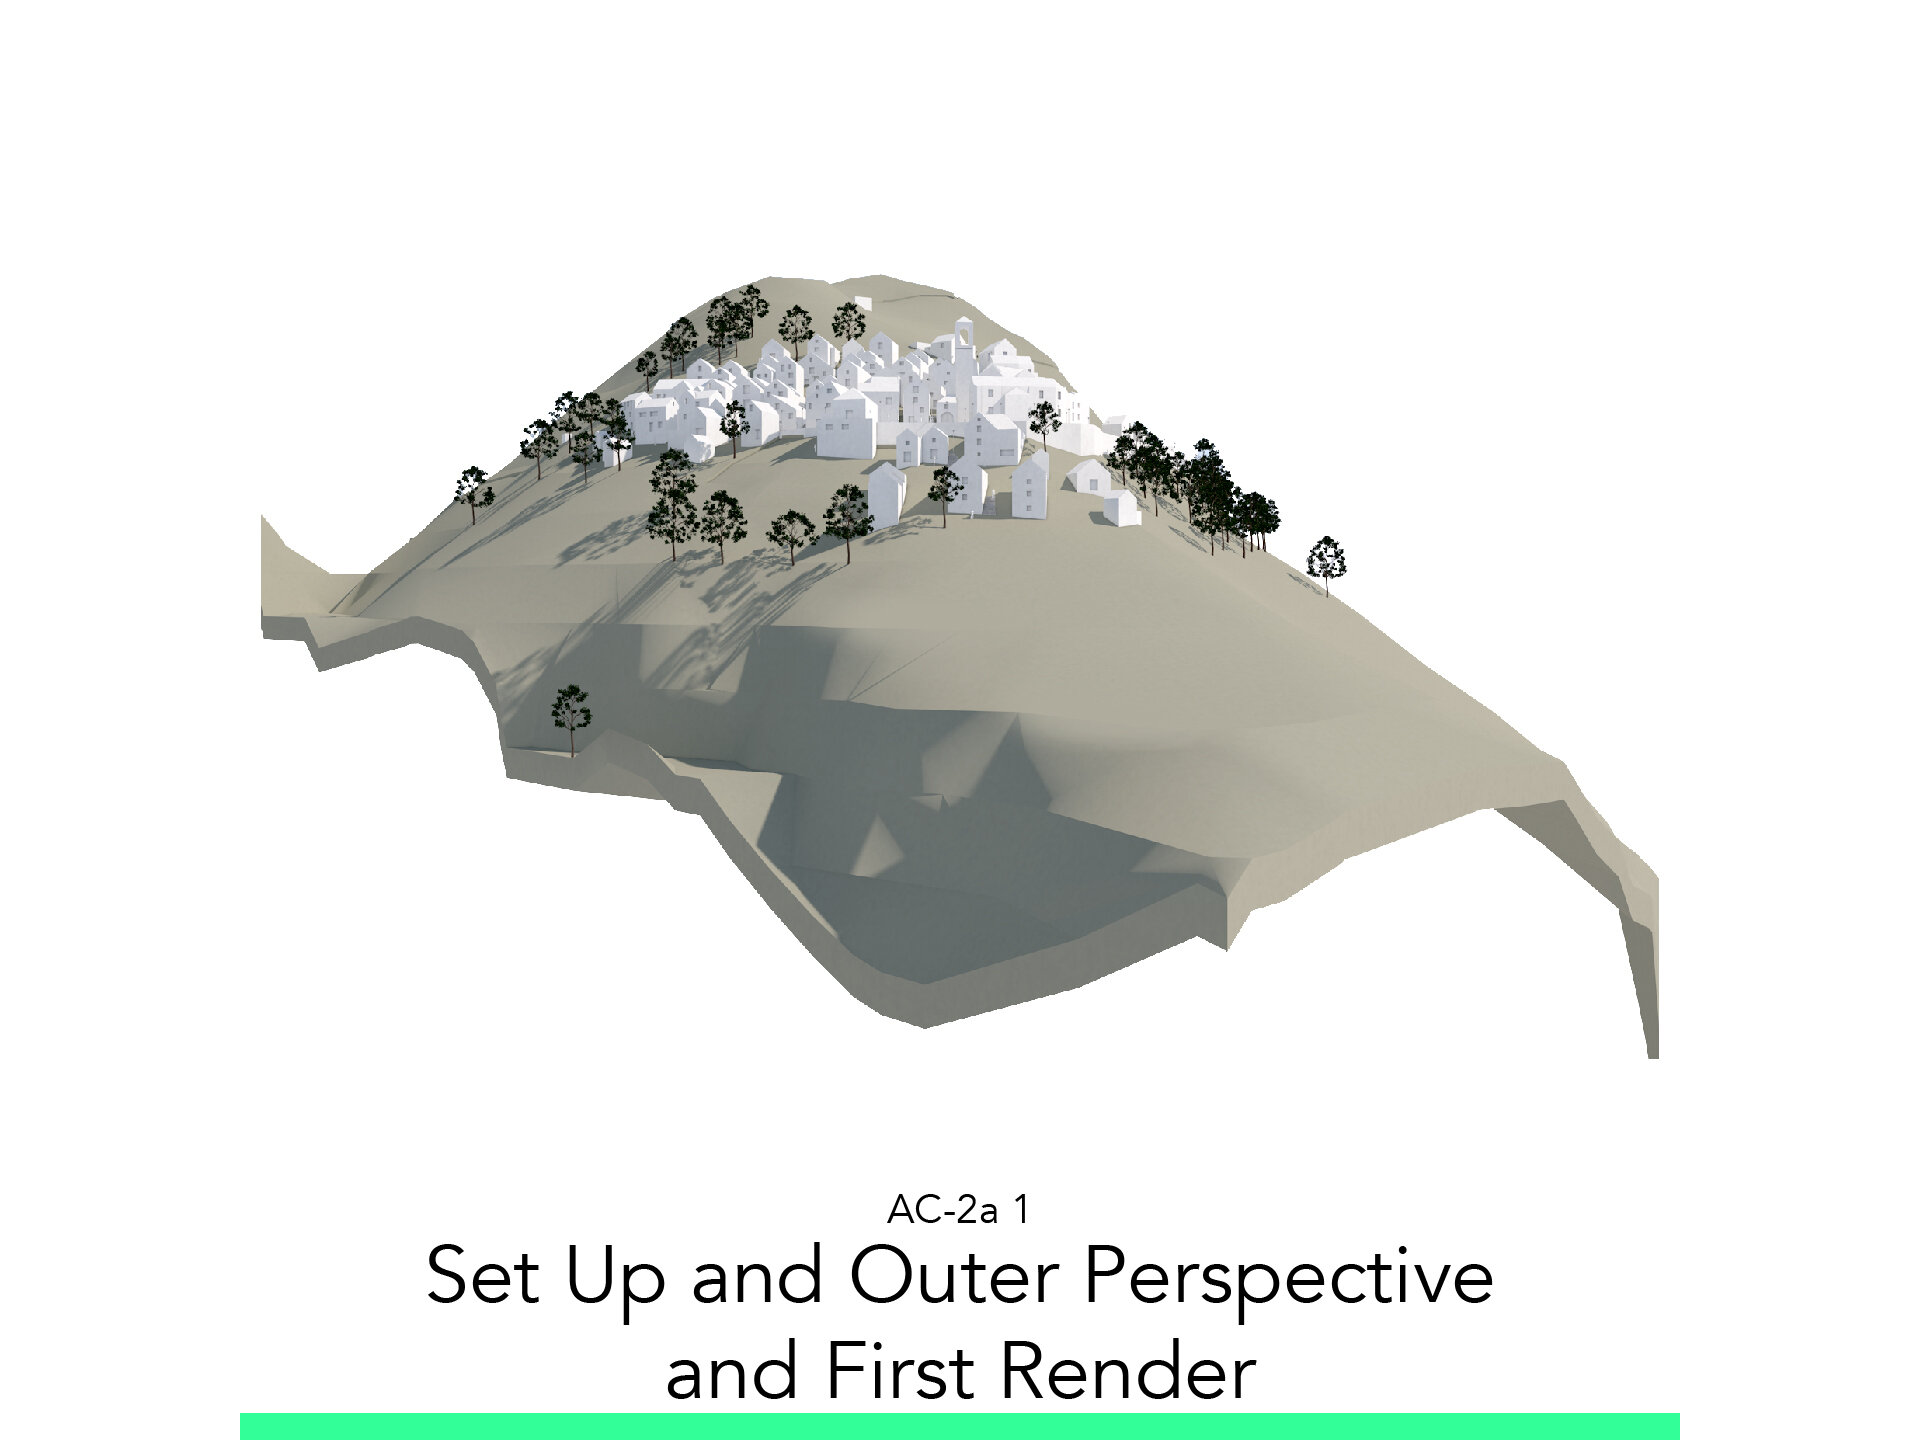
Set up and Outer Perspective and First Render
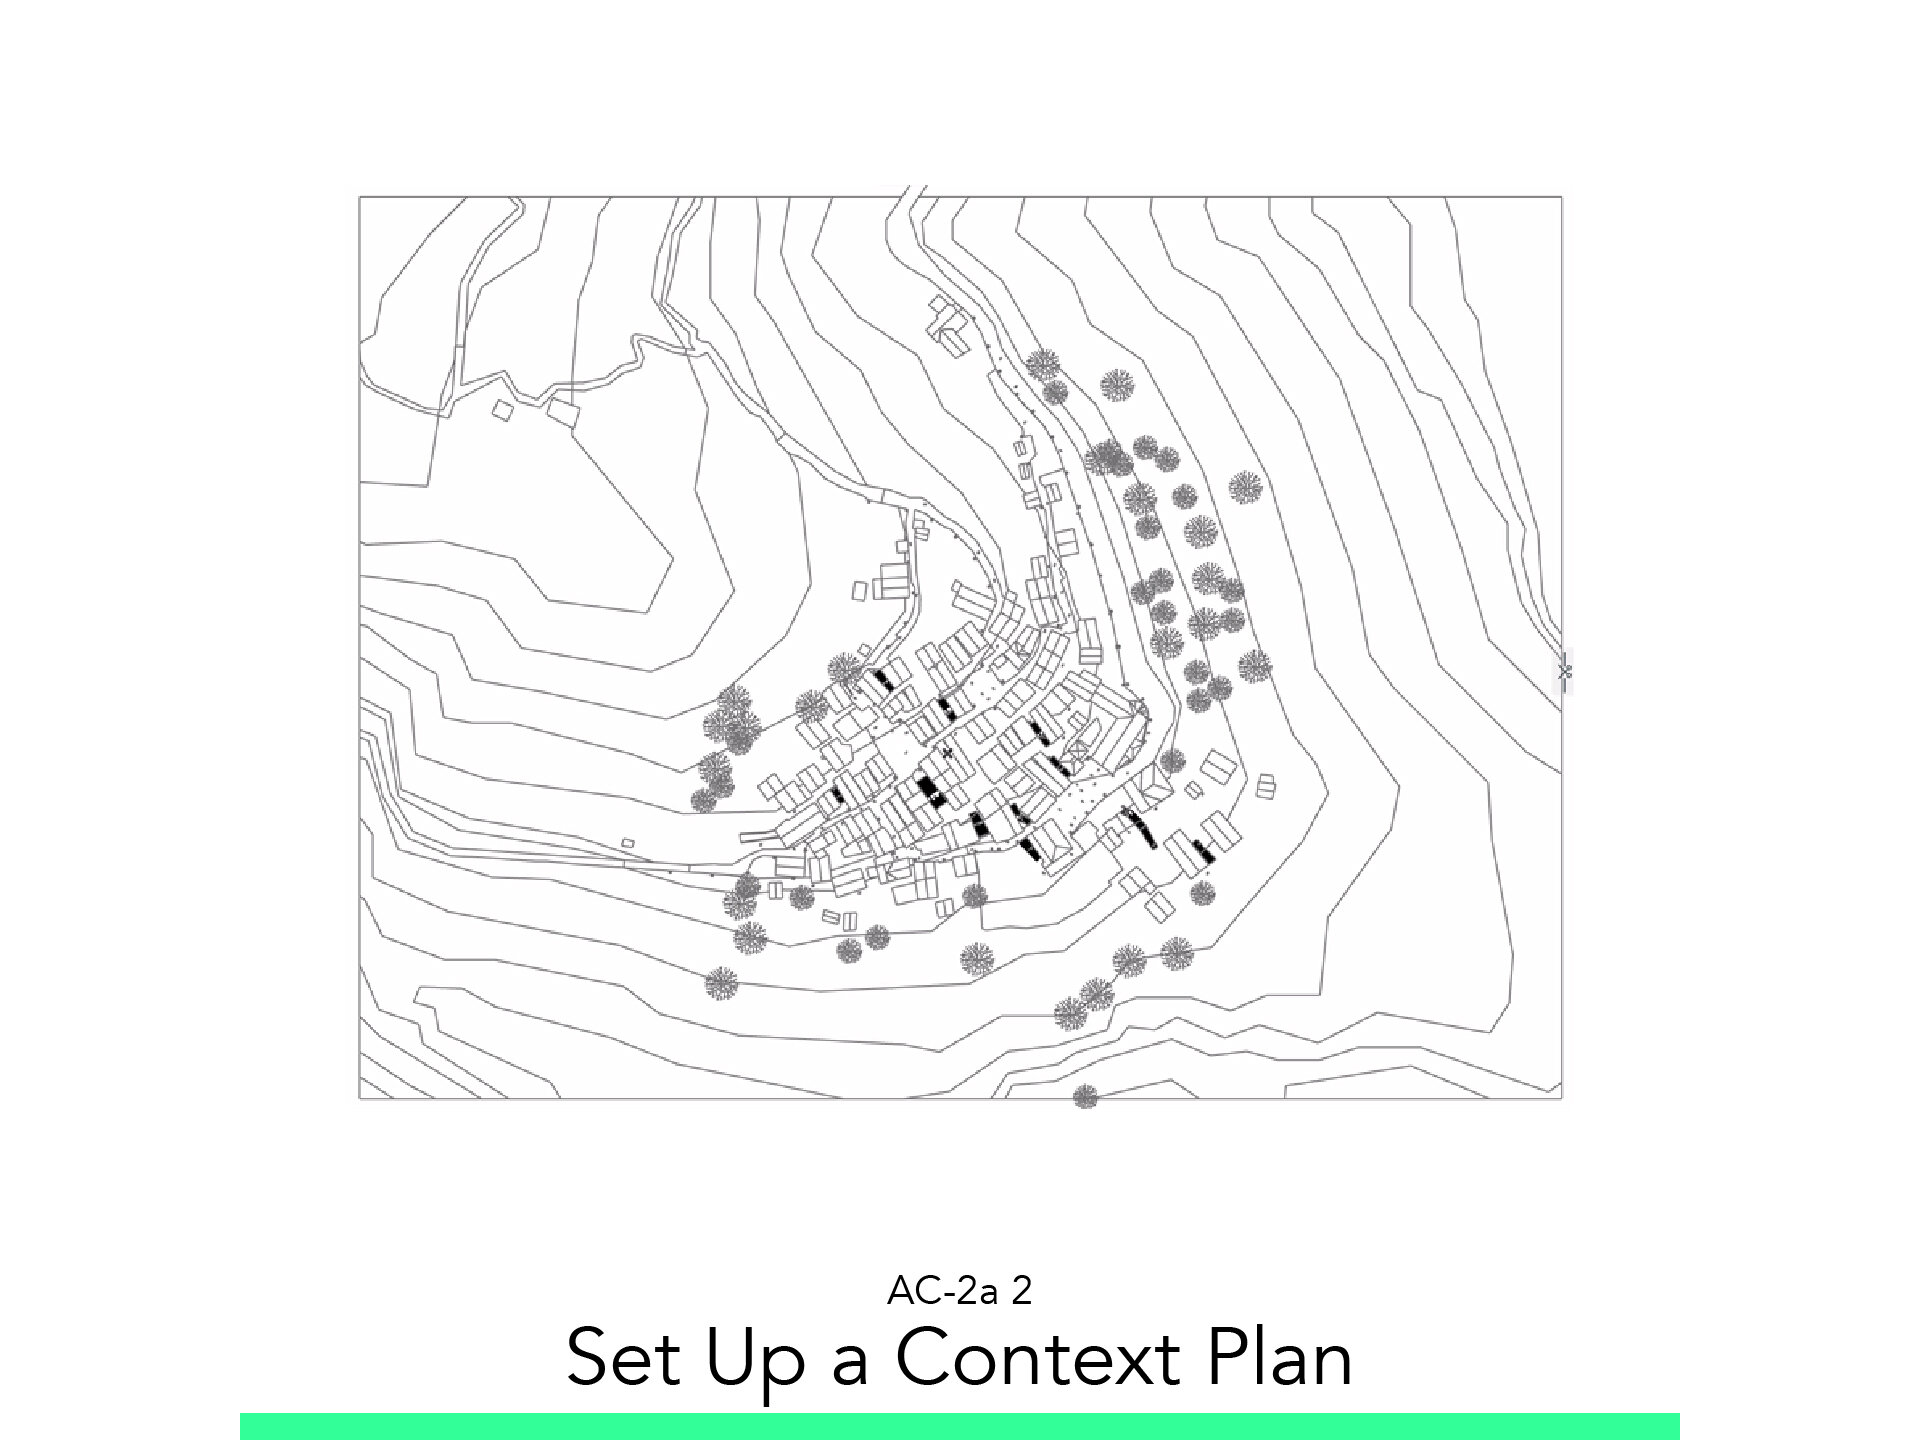
Set up a Context Plan
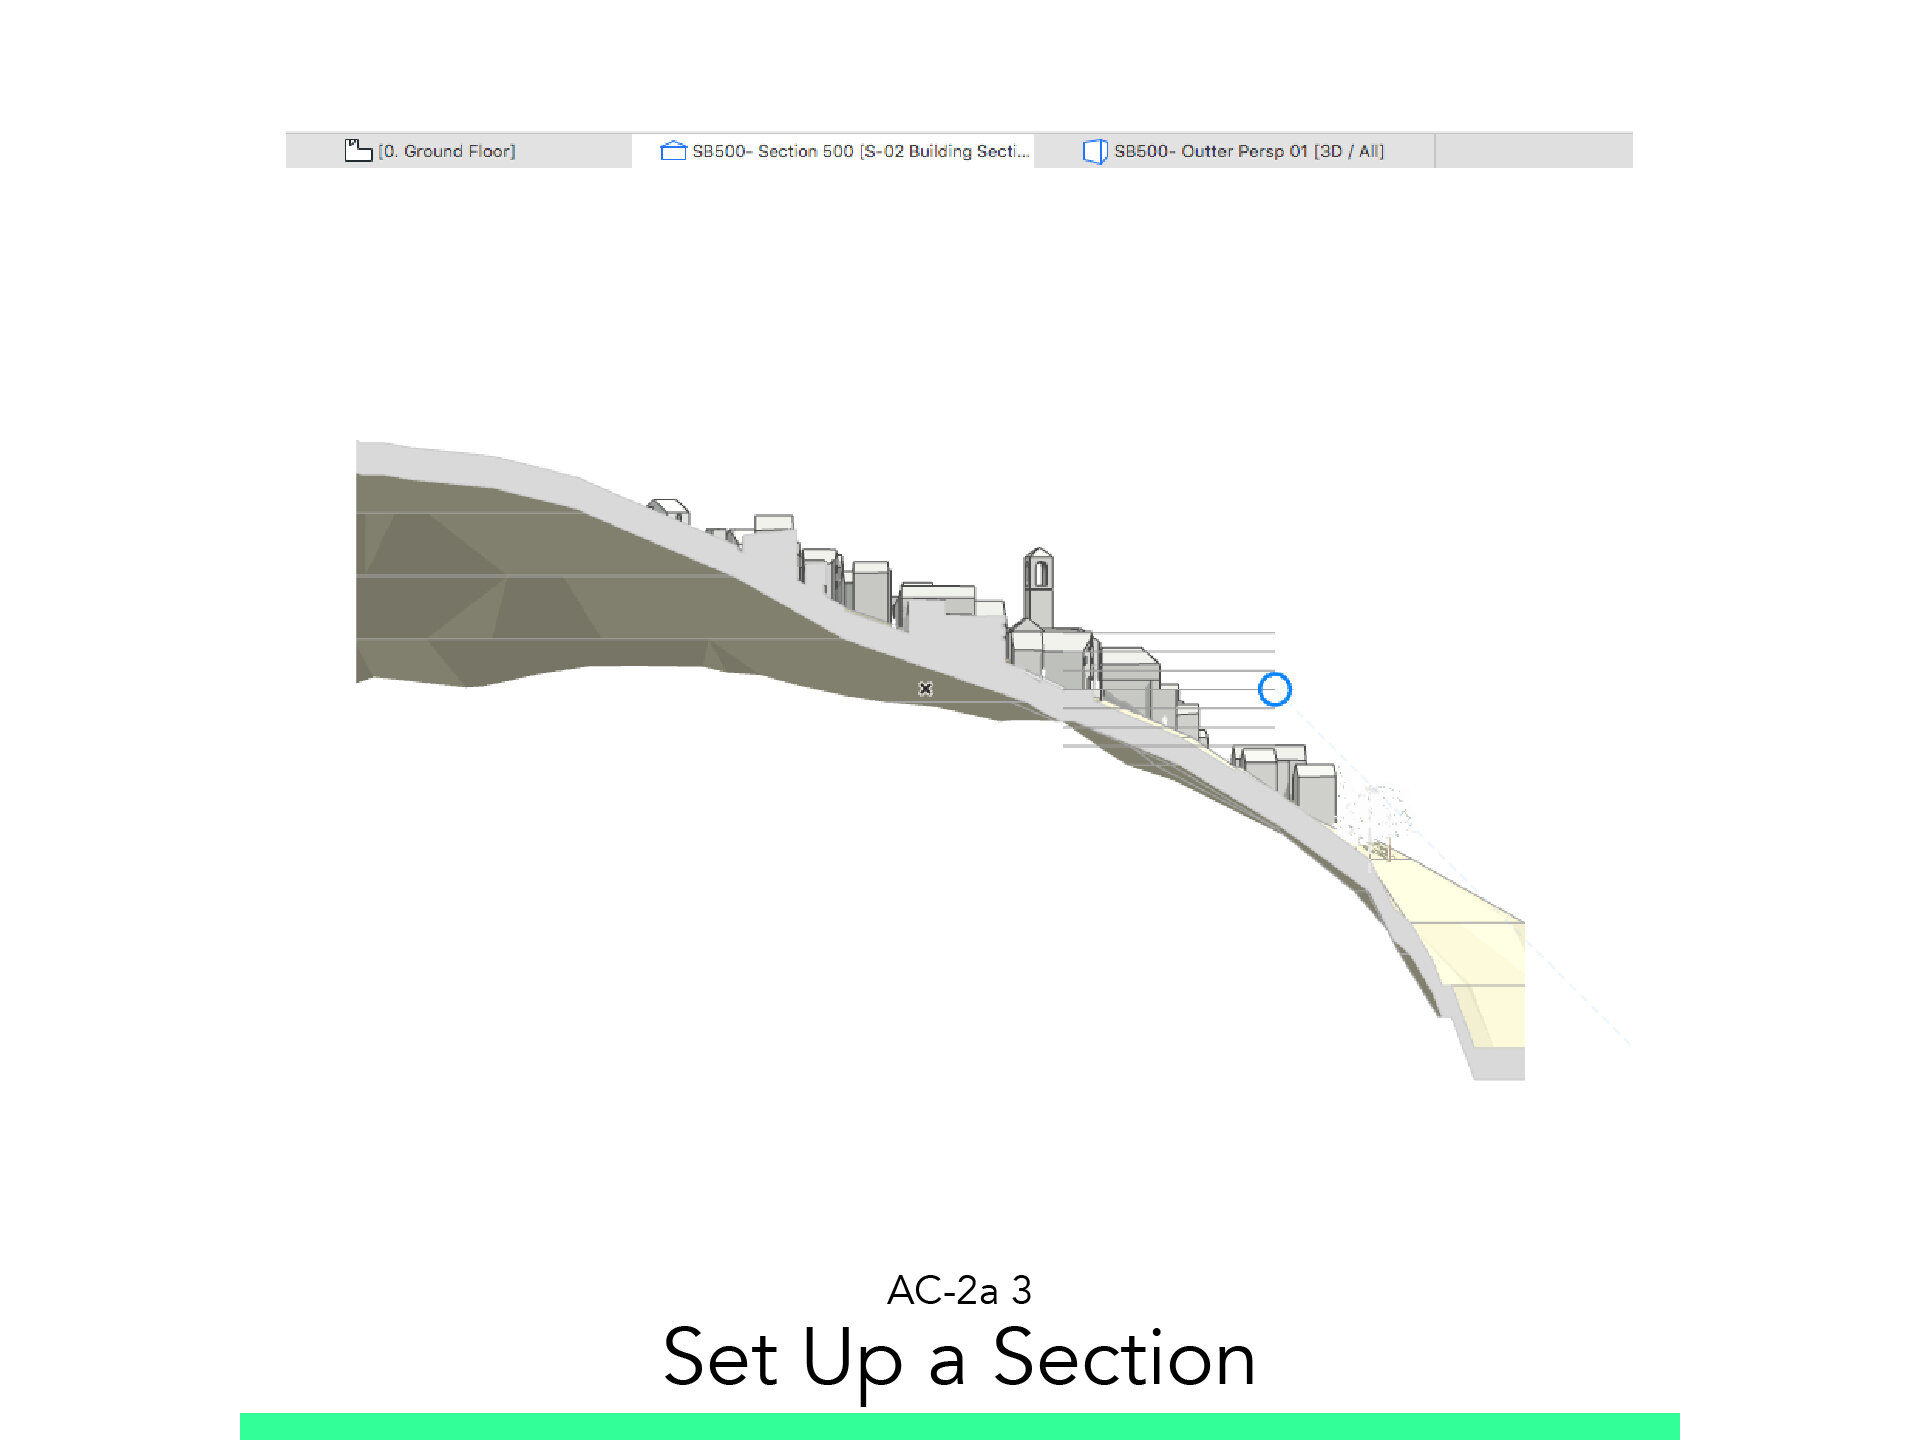
Set up a Section
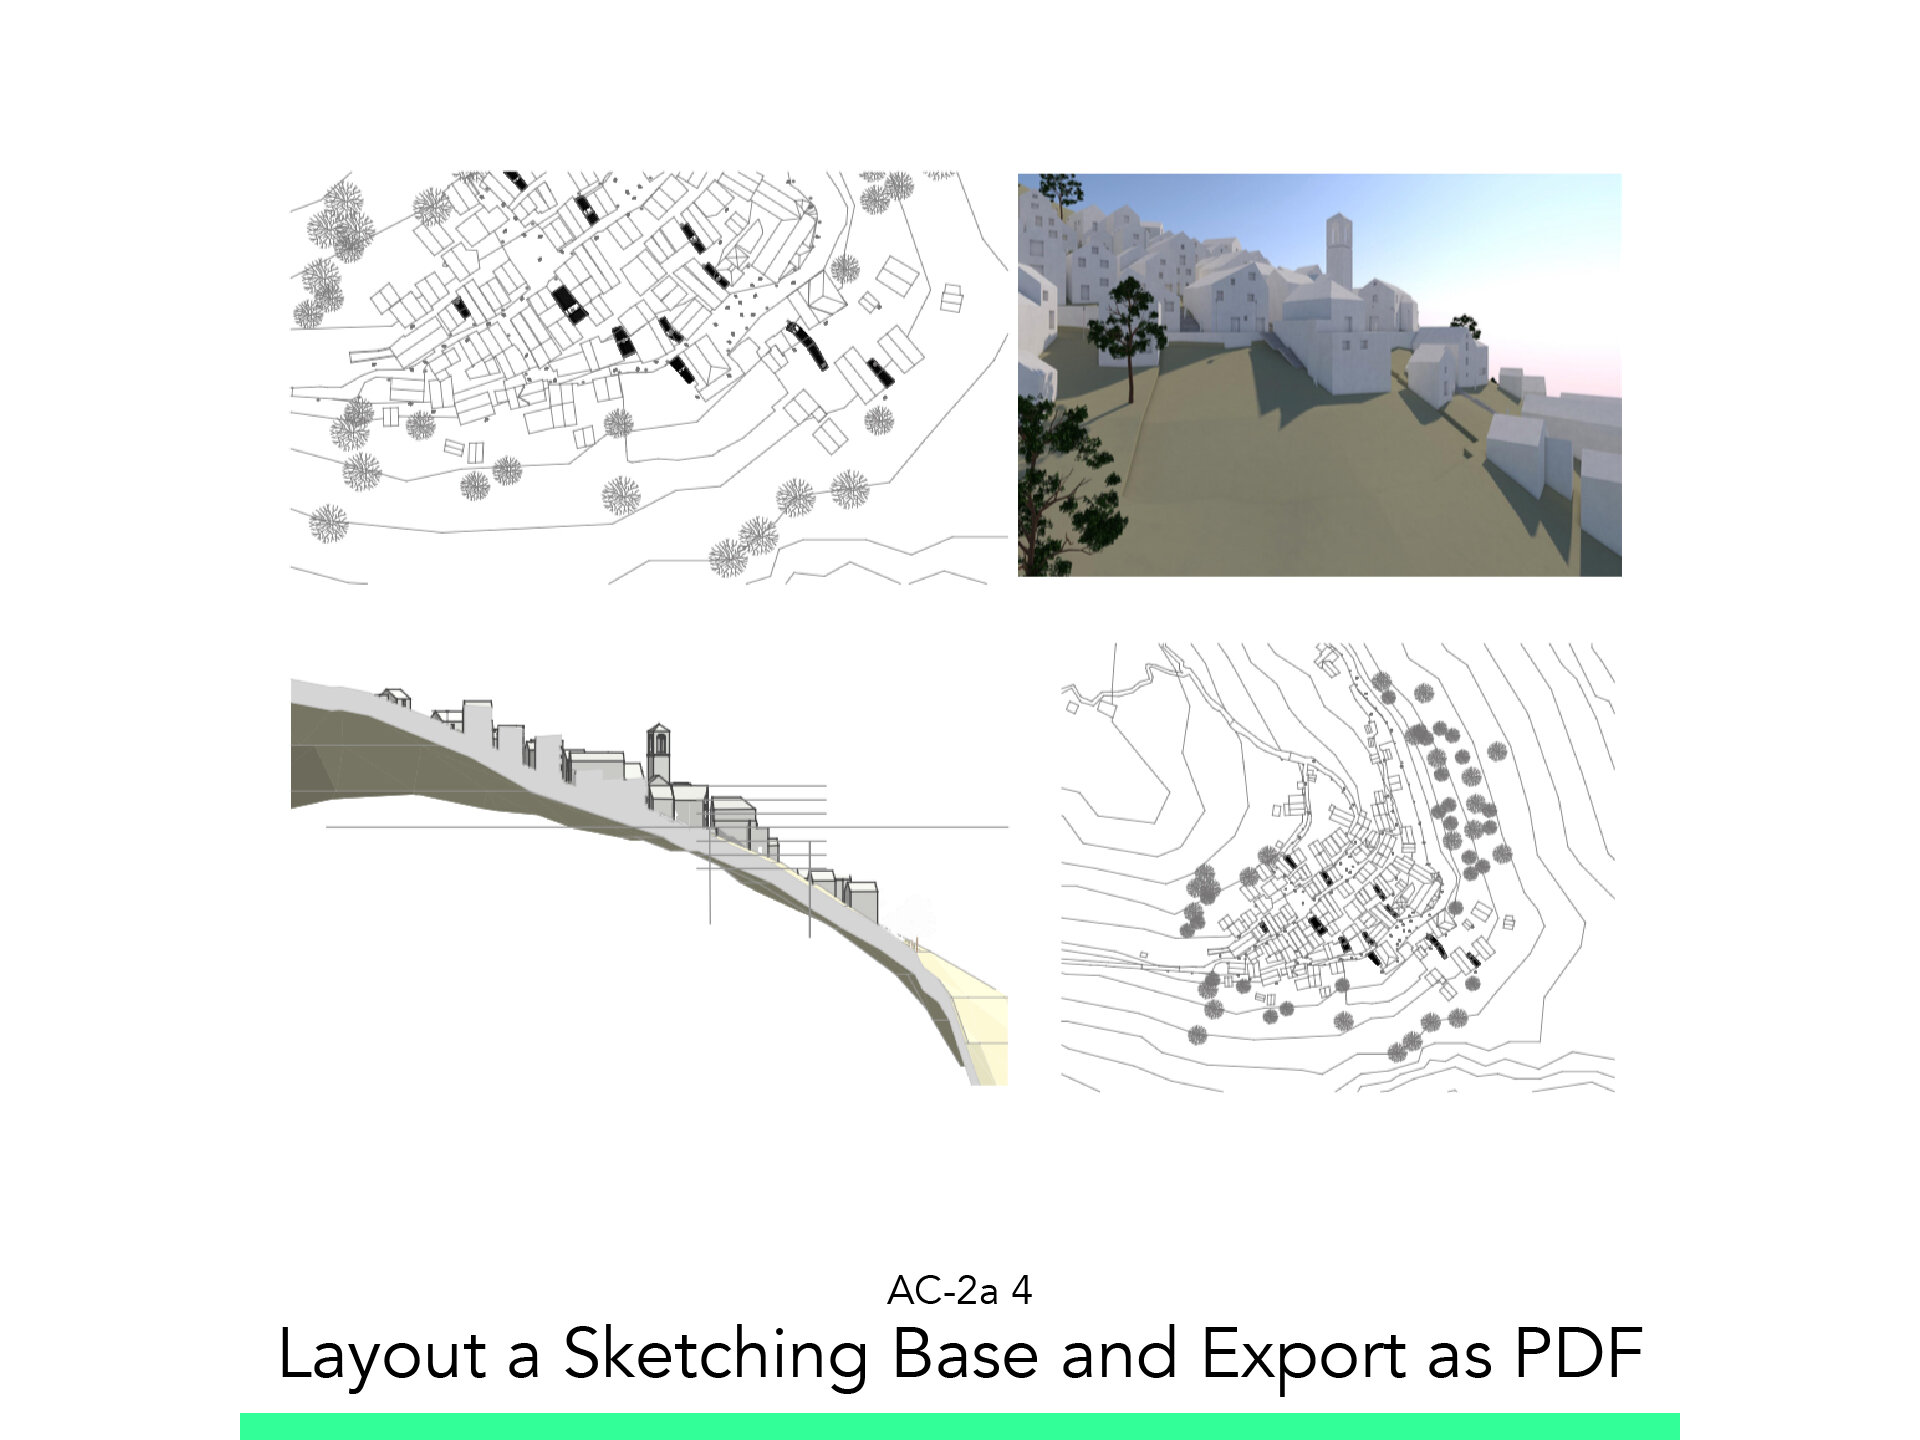
Layout a Sketching Base and Export as PDF
Sketching Tips
The materials you will need
Your laptop with internet connection to download and Install Software during the course.
Tutorial content
• 5 Videos
• Full Tutorial Script
• Sample 3D File
Why take this tutorial
This course will guide you to the steps to take a model already made and create the correct views from eat to put them in a Layout and be available to sketch over it. So you can already go back to basic sketching to create your architectural project. This are crucial skills to be available to take a modeled context and project in it. This to go back again later to the program and modeled the variations of project that you are thinking. This is very useful for an architect.
1. Set Up and Outer Perspective and First Render

1.1. Set Perspective
Go to the 1:500 Full Model View.
Adjust the following Layer view Settings:
134 Height Lines OFF
834 3D Printable Trees OFF
835 Visual Trees ON
833 Streets Lamp ON
832 People ON
Create a New Layer Combination and name it SB500.
Right Click in white area and select: Two-Point Perspective.
Create a Sub Folder Sketching Base Urban Study.
Right click on the Folder context
Select New Folder
Rename as: Sketching Base - Urban Ideas
Right click the newly created folder
Select: Save Current View
Rename it as: SB500 – Outer Persp 01
1.2. Set up View As Render
From the View SB500 – Outter Persp 01.
Right Click the Folder Sketching Base – Urban Ideas.
Select Save Current Views and adjust the following:
Generate in: PhotoRendering
3D Style: White model with Shadows
Rendering Scene: Outdoor Daylight Medium
Click OK.
Rename as SB500 – Outer Render 01.
2. Set up a Context Plan

2.1. Adjust View
Got to the SB500 – Outter Persp 01 View.
From the Project Map, double click on the Ground Floor.
Go to Menu: Document / Floorplan Cut Plane and adjust:
Cut Plane Hight: 150 (Higher than the highest point)
Show Up To: 50
Adjust the Followiong View Settings.
Scale: 1:500
Layer Combination: SB500
Pen Set: SB500
Grafic Override: Ceiling Plan
From the View Map:
Right Click on the Folder Sketching Base – Urban Ideas
Select: Save Current View…
Rename it as: SB500 – Context Plan 500
3. Set up a Section

3.1. Create a Section
Got to the SB500 – Outer Persp 01 View.
From the Project Map, double click on the Ground Floor.
Start the Section Command
Choose the Favorite Building Section Shaded
And adjust the following settings:
Layer: 921 Section Marker…
Horizontal Range Limited
From the Project Map, double click on the corresponding Section
3.2. Set View
Change the following View Settings:
Scale: 1:500
Pen Set: 10 Grayscale
Grafic Override: No Override
Right Click on the Folder “Sketching Base – Urban Ideas”.
Select: “Save Current View…”
Rename it as: SB500 – Section 500
Start the polygon command and adjust the following settings
Layer: Construction Lines
Pen: 102
Draw the Ends of the plot
Draw the ±0.00 line and offset it 3m up and downwards to use as reference.
4. Layout a Sketching Base and Export as PDF

4.1. Set Up Paper Size Master
From the Layout Tab.
Right click the Master folder
Select: New Master
Set the Paper Size: A4
Set Orientation: Landscape
Name It: A4-LandscapeA4
Create.
4.2. Create Layout Folder
Right clicking the File name.
Selecting the “New Subset”
Name it: “Sketching Bases”
Create
4.3. Create Layout
Right click the folder Sketching Base.
Select: New Layout.
Name it: SB-Urban Ideas A4
Select the Master: A4-Landscape
Create.
4.4. Populate Layout
Switch the Navigator to the View Map.
Set Up a Grain Plan position.
From the View Map.
Click and Drag the SB500-Context Plan.
Change the Scale to Custom.
Enter 3000 value.
From Title: Choose: No Tile
Using the PET Pallette Resize the viewport to achieve a nice crop.
Set up the Roofplan 1:500
Drag a copy from the Grain Plan and change the Scale to 1:1000.
Using the PET Palette, achieve a nice crop.
Set Up Render
Click and Drag from the View Map the SB500 Outter Render 01.
From Title: Choose: No Title.
Using the Resize command
Set up Section
Click and Drag the SB500 Section 500.
From Title: Choose: No Tile.
Change Scale to 1:1000
Using the PET Palette, achieve a nice crop
Find a suiting way to layout the Drawings
Start the Fill Command and adjust the following settings:
Layer: 902 Wipeout.
Fill Type: 50%
Foreground Pen: 19
Background Pen: 0
Countour Line: OFF
Or select the Favorite 902 Wipeout 505
Draw a square on top of the Render and the Section to reduce its intensity.
From the File Menu, select: Save As…
Select PDF as File Type.
Export PDF.
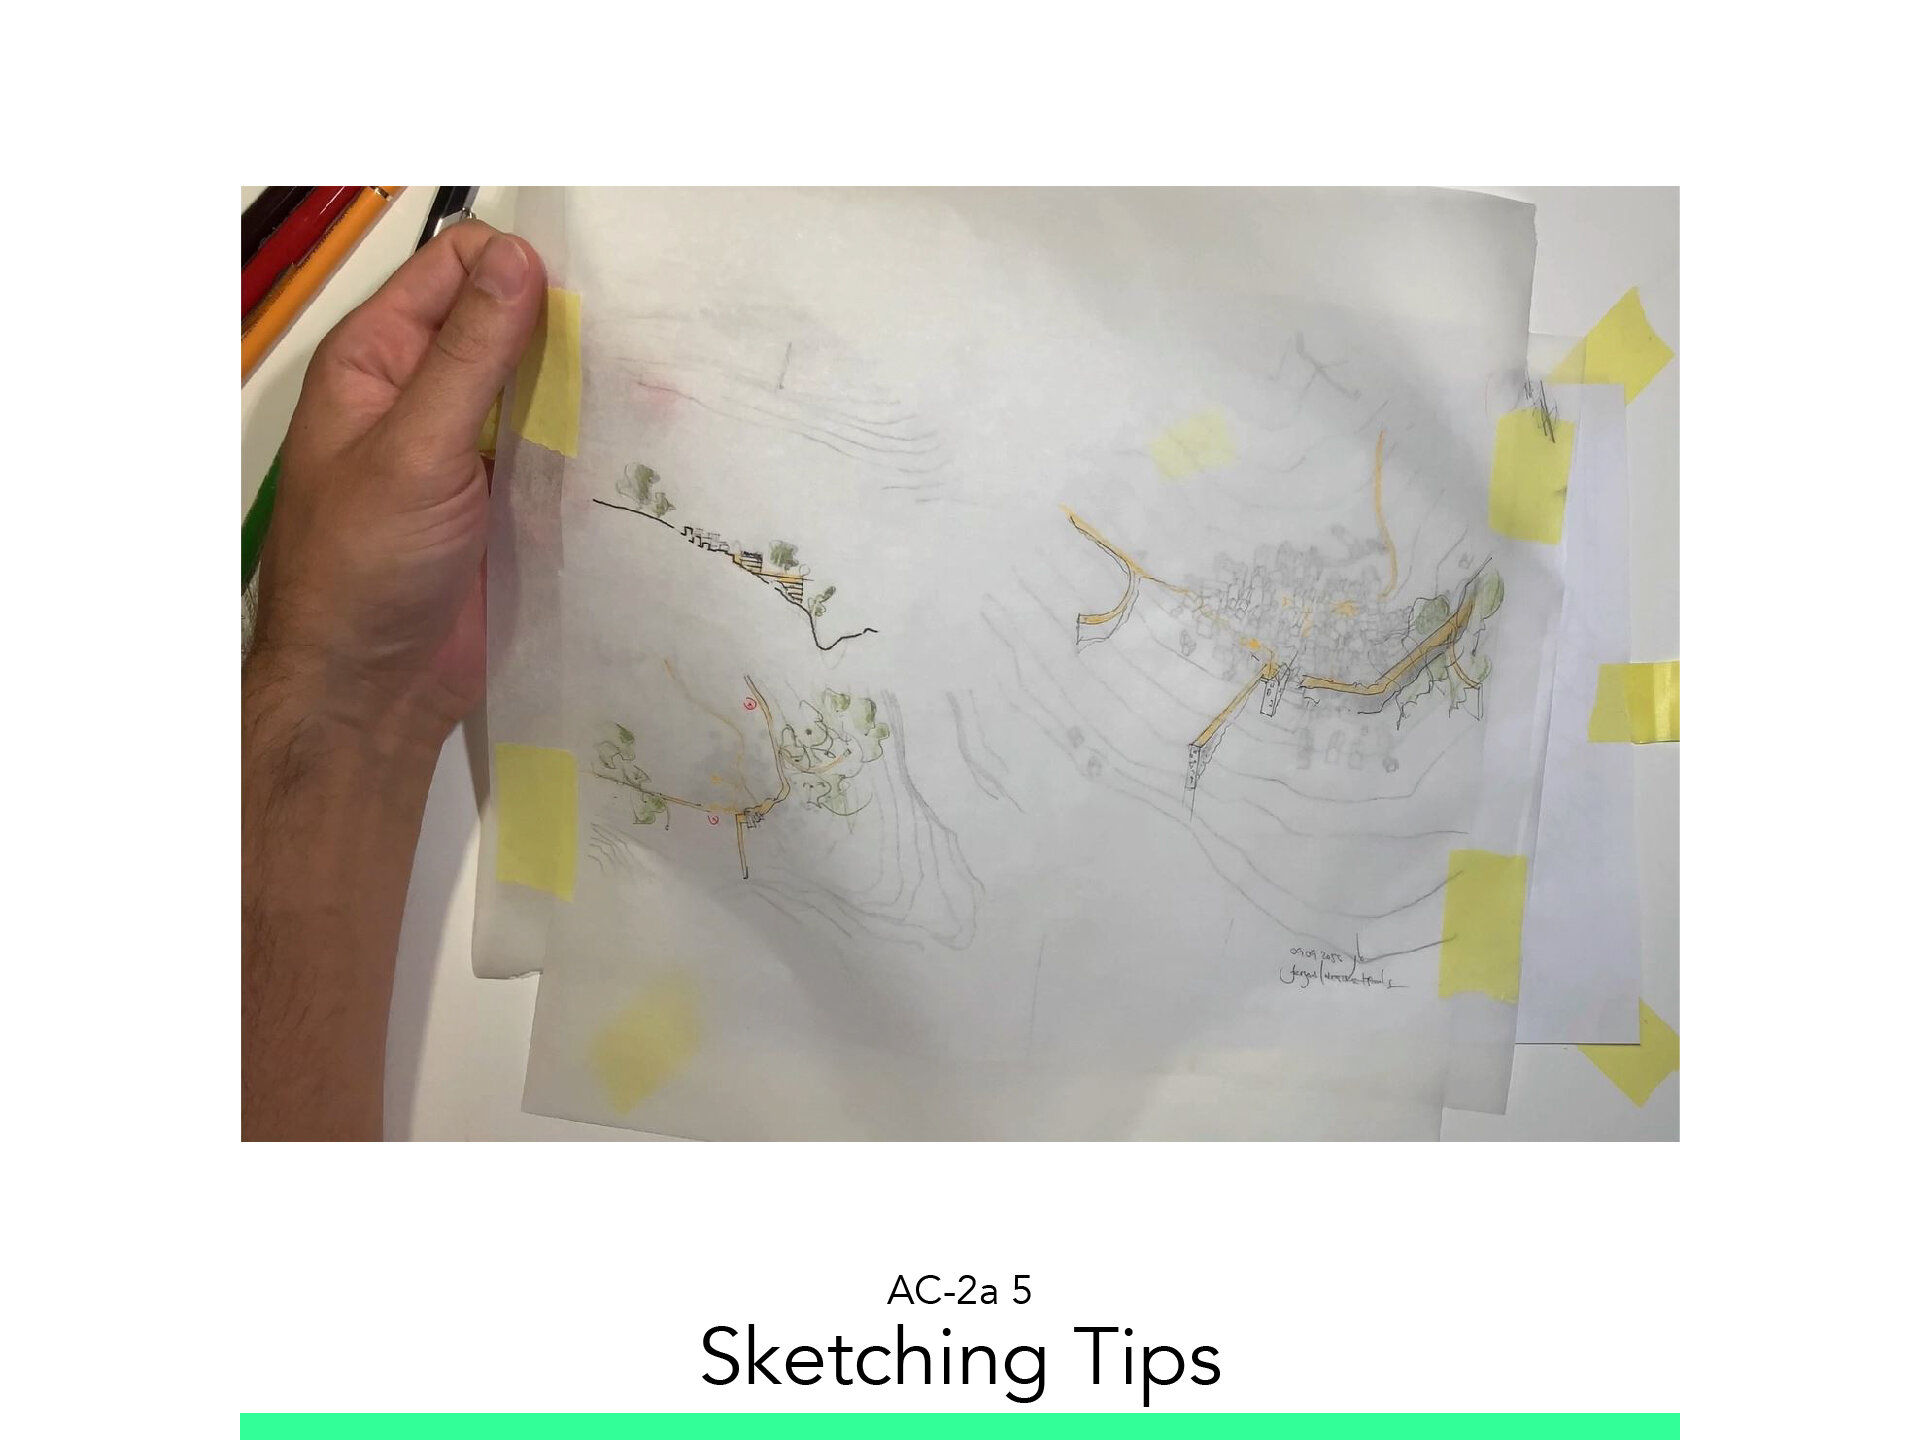
5. Sketching Tips

5.1. Sketch It
Start on the General.
Go Mental.
Set the Reference Points.
5.2. Scan it
Follow your study path with these recommended tutorials


Model in ArchiCAD for the absolute first time with me!
Let me teach you basic commands of the software for you to be ready work on your projects. Start from the very basics and follow me step-by-step in the process of giving more detail to your architectural model.