AC_CHE-0 ArchiCAD Swiss Version Foundations


About this Tutorial
This course is intended for first time ArchiCAD Swiss Version users and/or modeling as subject. Self-taught users can also profit from these structures to consolidate essential concepts. You will find step-by-step explanations while allowing time for exploring the software with me, this way gaining the first experience with its user interface. We will spend a lot of time just looking and discovering ArchiCAD’s interface. Finally we will import a hand sketch and model it: a foundational skill essential for every architect.
Skill level and duration
Level: First Time Users
Duration: Half an afternoon
In this tutorial you will learn
Overview
Navigation and User Interface
Workspace Setup
3D Model a Hand Sketch
The materials you will need
Your Laptop and an active internet connection to download the software.
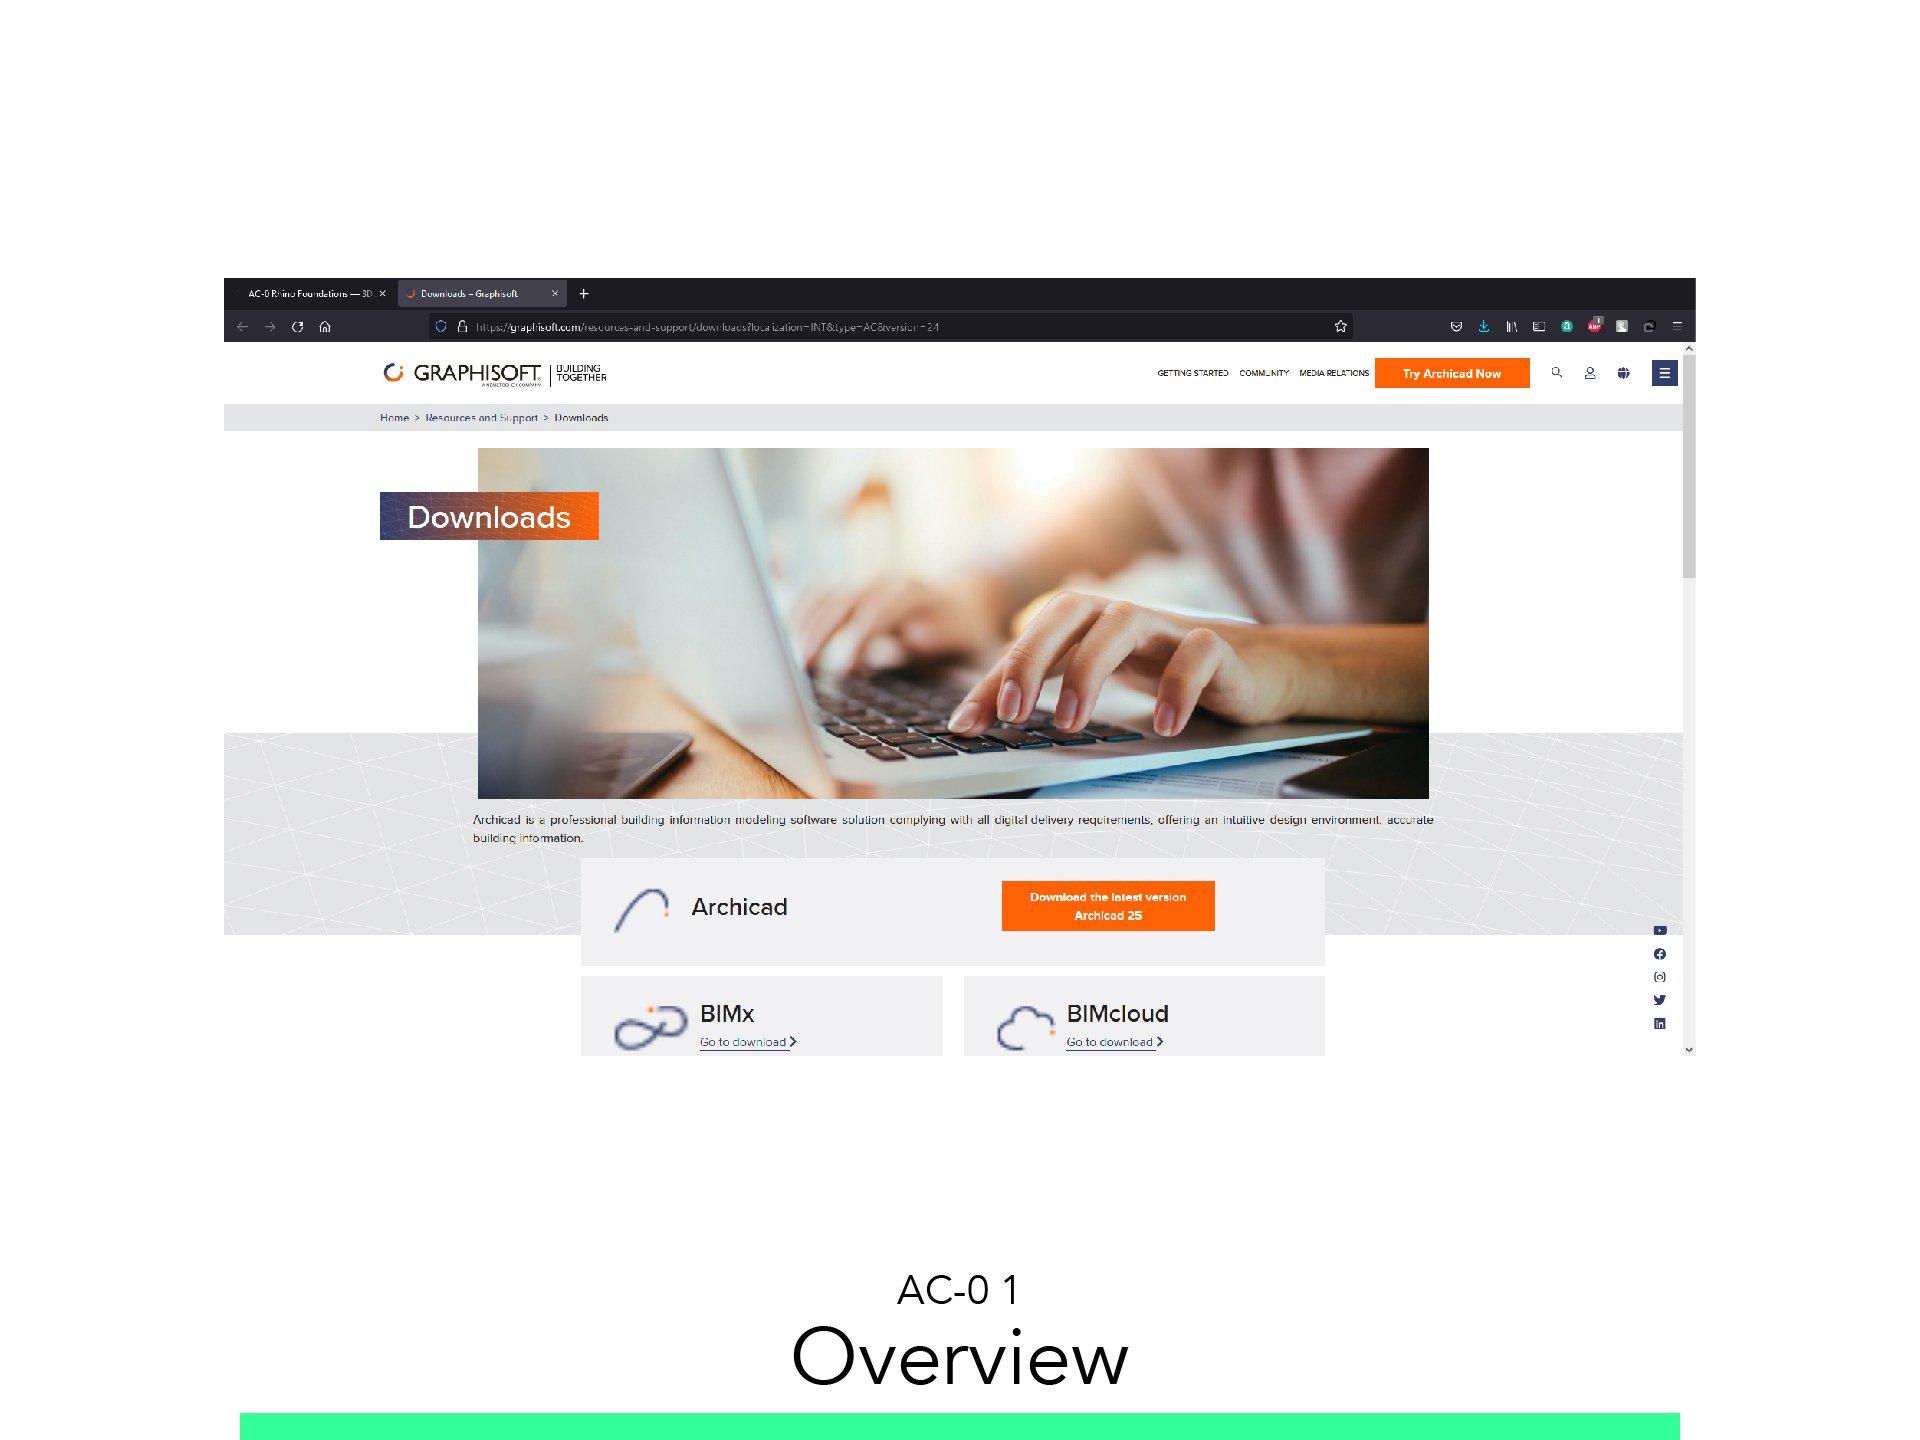
Download course exercises
Tutorial content
• 4 Videos
• Full Tutorial Script
• ArchiCAD Native Files for Following the exercise
• ArchiCAD Template File
Why take this tutorial
ArchiCAD is an incredibly versatile and widely used BIM software. Here you will have your first taste of the program, this will be useful to later start practicing and learning about the tools, skills and tips found in ArchiCAD. Learn about the interface and the navigation, understand the configuration of the workspace and then finally take a risk modeling a hand sketch. You will find all of this is super useful for an architect.
1. Overview

Download a AchiCAD license or trial program for Mac or Windows.
2. Navigation and User Interface
2.1. Start Window
Neu Projekt.
Vorlage: Basic Vorlage
Arbeitsumgebungs - Profil: Voreingestelltes Profil
2.2. Where everything is
Left Bar of Planung.
Top Bar of Infofenster.
Favoriten of Prepared Tools.
General Buttons.
Suchen & aktivieren
Parameter aufnehmen
Fanghilfen Button
3D Schnitt ausführen.
Ebenen - Umschalter.
Menüstruktur.
2.3. Project, View and Layout Map
Navigator.
Projekt-Mappe.
Geschosse.
Schnitte.
Ansichten.
Arbeitsblätter.
3D
Ausschnitt-Mappe.
Ausschnitt sichern.
Layout.
Export.
2.4. 3D Objects vs. 2D Objects
Be careful to difference between the objects you create and if you are going to see them in 3D view. There are only few elements in 2D you are going to visualize in 3D view and BIM views, the rest is only 3Dimensional objects. When you are drawing in 2D you are creating only in the view you are drawing, the 3D objects are the only ones you can visualize in all the BIM complexity.
2.5. Navigation
To Zoom in and out: Scroll Mouse Wheel
To Pan: Click Mouse Wheel
To Orbit: Shift + Click Mouse Wheel
To Change View: Active Tab or Navigator
To Select Any near Object: Active Schnell-Auswahl
To Edit Selection Shape: Geometriemethoden
To Change Selection Method: Auswahlmethoden
3. Setup Workspace

*Who doesn’t want to set Arbeitsumgebung manually, skip to chapter (3.6) Import Arbeitsumgebung.
3.1. Buttons
Remove Schweizer Architekturleiste. We do this in Verwaltung > Symbolleiste, and click on Schweizer Architekturleiste
1. Go to Verwaltung > Symbolleisten > Symbolleisten.
Edit Symbolleisten Standard.
Organize Comman by Alle befehle in alphabetischer Reihenfolge
Search and Add commands:
Add Trennelement
Ein geschoss höher
Ein geschoss tiefer
Gehe in Geschoss
Add Trennelement
Echte linienstärke
wand - & träger - Referenzlinien
Zeichnungsrahmen
Dicke Schnittkenten
3.2. Organizer
Open the top left Button over the Navigator.
Select Organisator anzeigen.
Take out of the side the Navigator and delete.
Fit the Organisator on the right side.
3.3. Transparentpause
Transparentpause
You can Find the command in Optionen > Transparentpause
Or set the Toolbar in Verwaltung > Symbolleisten > Weitere Symbolleisten > Standard 3D Jony
Its fundamental to keep this tool in hand, it’s going to be of great use in these exercises and in general for the work of architecture in BIM ArchiCAD.
3.4. Adjust Working Units
Go to Verwaltung > Grundeinstellungen > Arbeitseinheiten
Select Meter
Adjust Dezimalstellen to:2
OK and Exit.
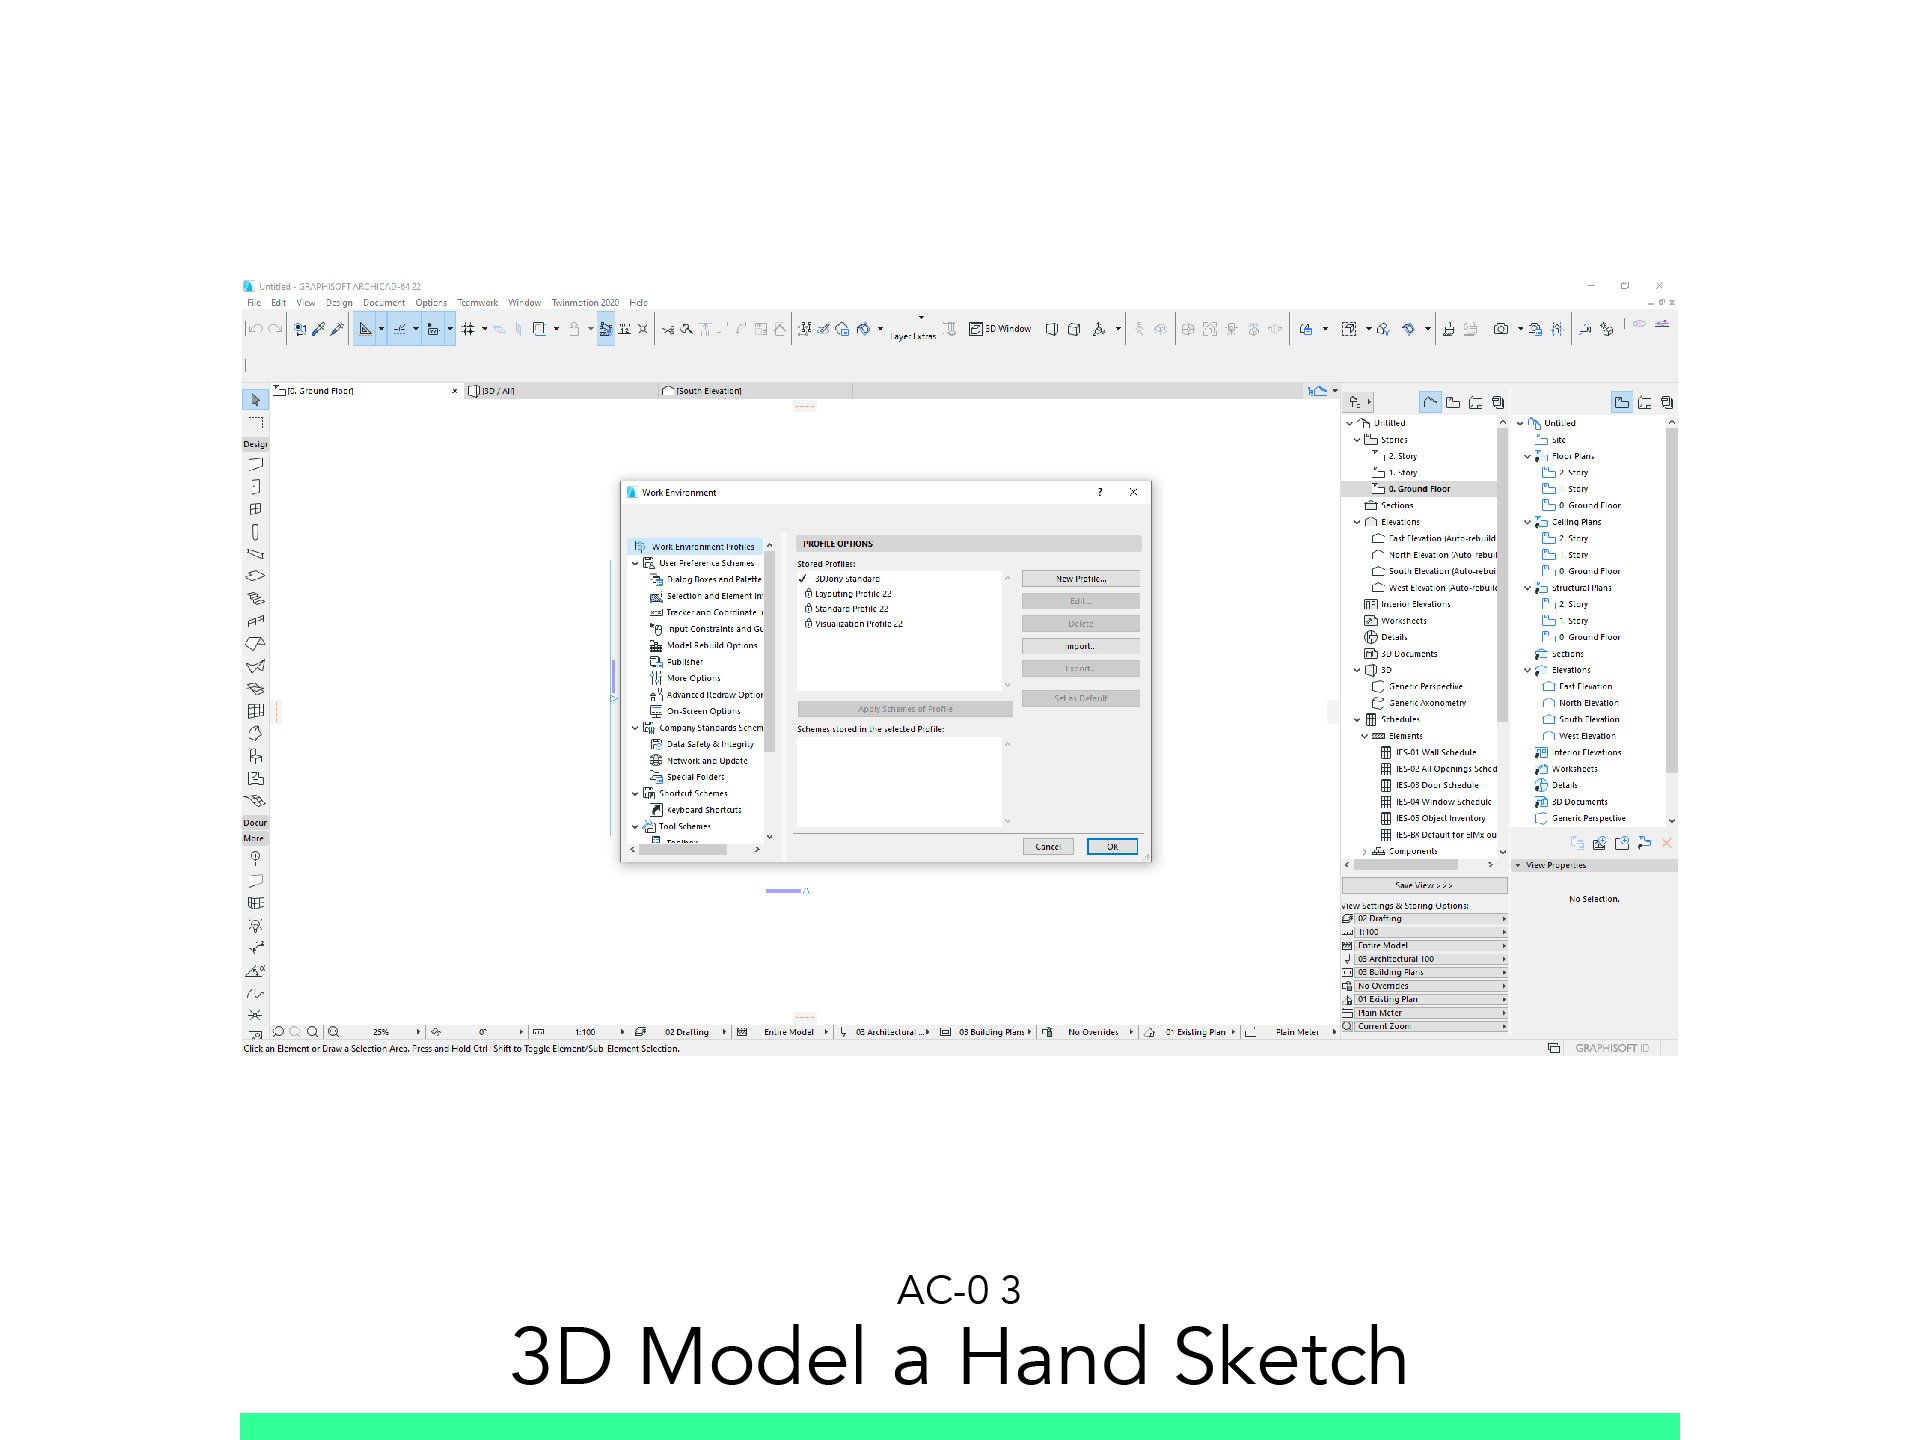
3.5. Save Arbeitsumgebung
Arbeitsumgebung
To find these options go to Verwaltung > Arbeitsumgebung
Go to Arbeitsumgebung and select Neues Profil…
Profilname: 3DJony Standard.
Anwender Voreinstellungen: Schweizer Voreinstellungen 27.
Büro-Standard-Schemata: Schweizer Büro-Standard 27
Tastaturkürzel: Schweizer Tastaturkürzel 27
Werkzeuge: Schweizer Architektur-Werkzeuge 27.
Arbeitsbereich-Schemata: Individuell.
Befehle: Individuell.
2. Exportieren Arbeitsumgebung.
3.6. Import Work Environment
Start with Basic Vorlage.
Go to Verwaltung > Arbeitsumgebung > Arbeitsumgebung.
Select Importieren.
Browse for Downloaded folder: AC-0 Learning Materials.
Accept.
Pick Folder AC-0_1.
Apply and set as Default.
Accept and Exit.
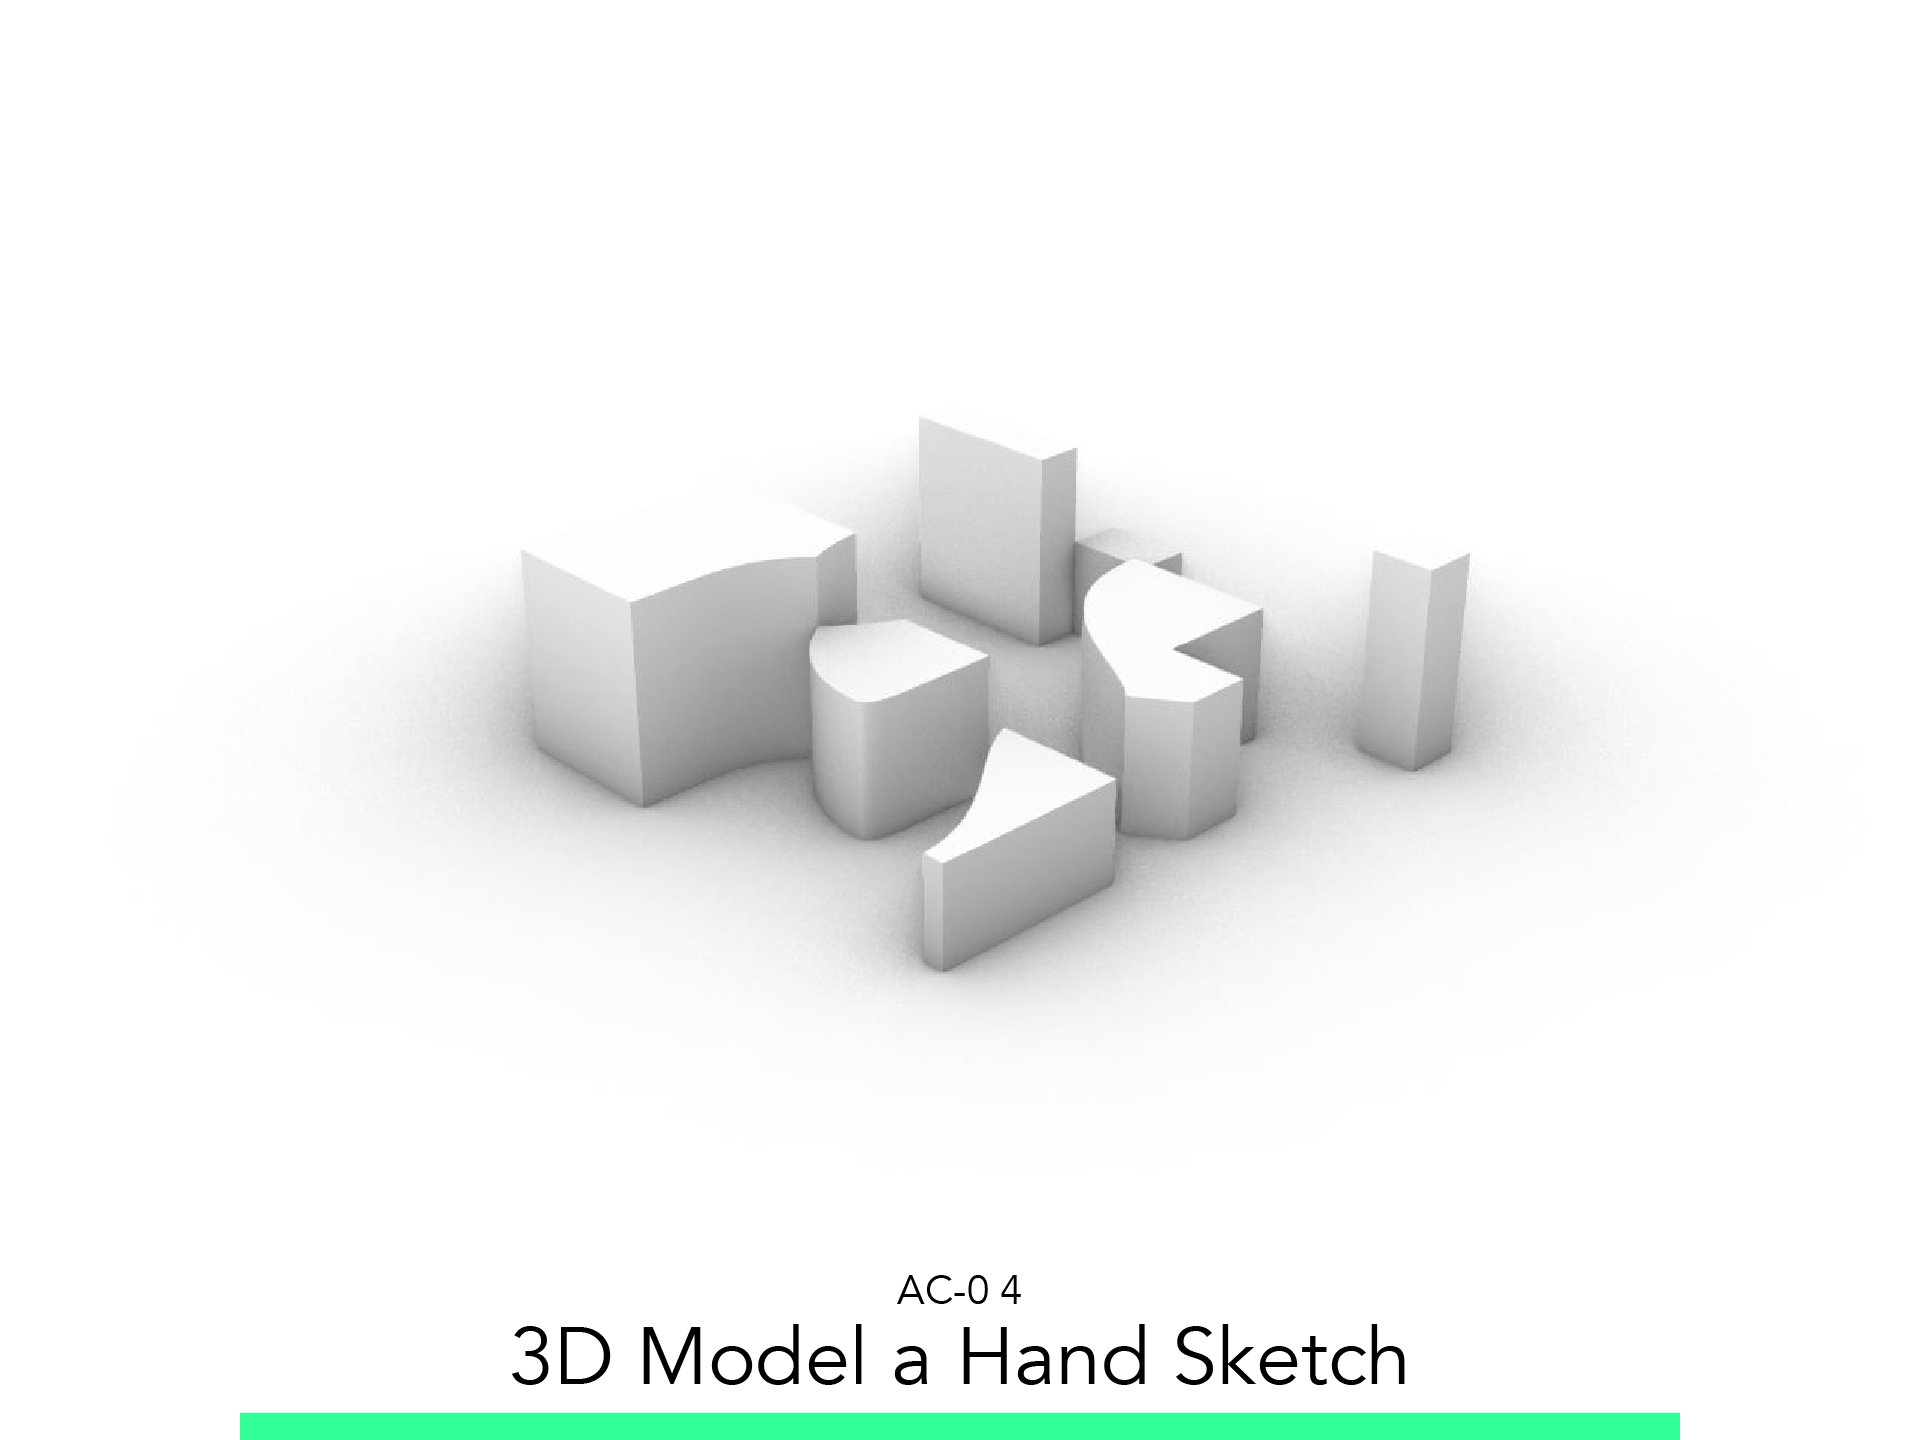
4. 3D Model a Hand Sketch

4.1. Import and Scale
Create a New Arbeitsblätter
Adjust Scale to: 1:100
Drag and Drop the PDF Erdgeschoss
Move it near the Point 0
Resize JPEG: Ctrl + Shift + H
To Measure: Q
4.2. Trace Reference
To Save View: Ausschnitt-Mappe > Aktuellen Ausschnitt sichern
From the Projekt-Mappe > Erdgeschoss: Right Click
Select Arbeitsblätter > als Transparentpause enzeigen
4.3. Morph
From the Toolbar start: Morph
Draw the contours
To Close Polygon: Hammer Cursor Icon
To Draw Curve: Pet Palette Options > 3 Point Arc
To Reference a far point. Activate Snap Guide
To Draw a Rectangle > Geometry Method Rectangular
4.3. Extrusion
Go to 3D View.
To extrude: Pet Palette > Push & Pull
Snap to make the same height as other volume
To Add a vertex: Pet Palette (PP) > Add Dot
To Make a Curve: PP > Arc Point
To Fillet or Chamfer PP > Fillet & Chamfer Edge
To add Points: PP > Sketch Pen
To Create a Door PP > Push & Pull
4.4. Export STL
What you see in 3D is what you Export
To Show only selected: Ctrl + F3
Go to File > Sichern Als…
Select formal“STL Stereolithography
Save Format: Date_Description_Scale
Set Scale.
Save
Follow your study path with these recommended tutorials


Model in ArchiCAD for the absolute first time with me!
Let me teach you basic commands of the software for you to be ready work on your projects. Start from the very basics and follow me step-by-step in the process of giving more detail to your architectural model.