AC-1d First 3D Printable Model


About this Tutorial
This course is intended for first time ArchiCAD users and/or modeling as subject. Self-taught users can also profit from these structures to consolidate essential concepts. Here we will develop our understanding of tools, commands and processes while we create our first 3D printable models. We will then use these tools to create the final GCodes for printing. Let’s practice our ArchiCAD Modeling skills together.
Skill level and duration
Level: First Time Users
Duration: A couple of hours
In this tutorial you will learn
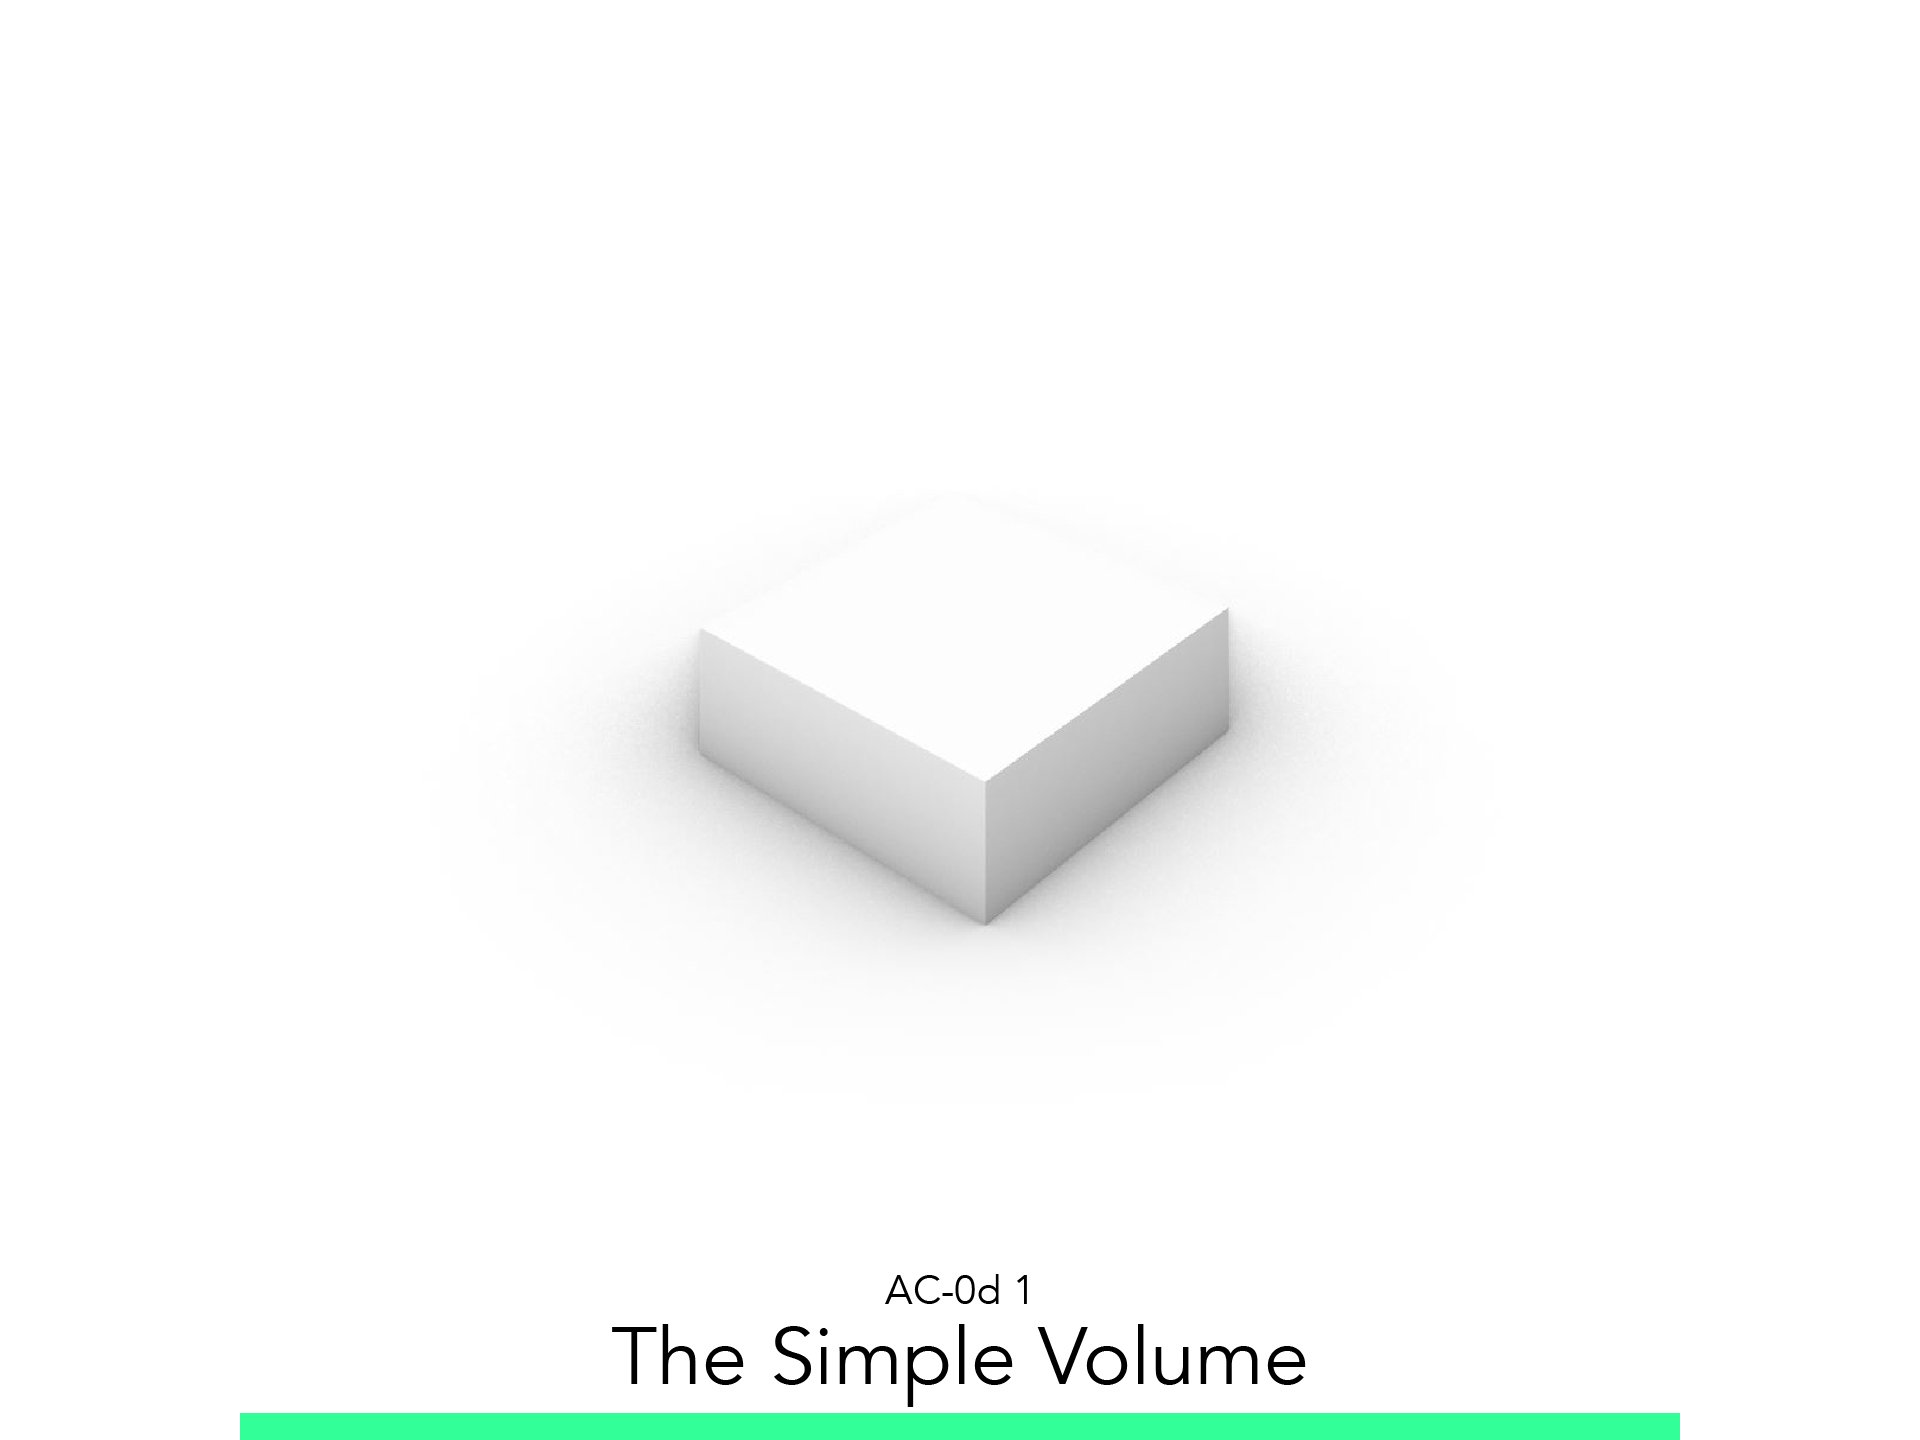
The Simple Volume
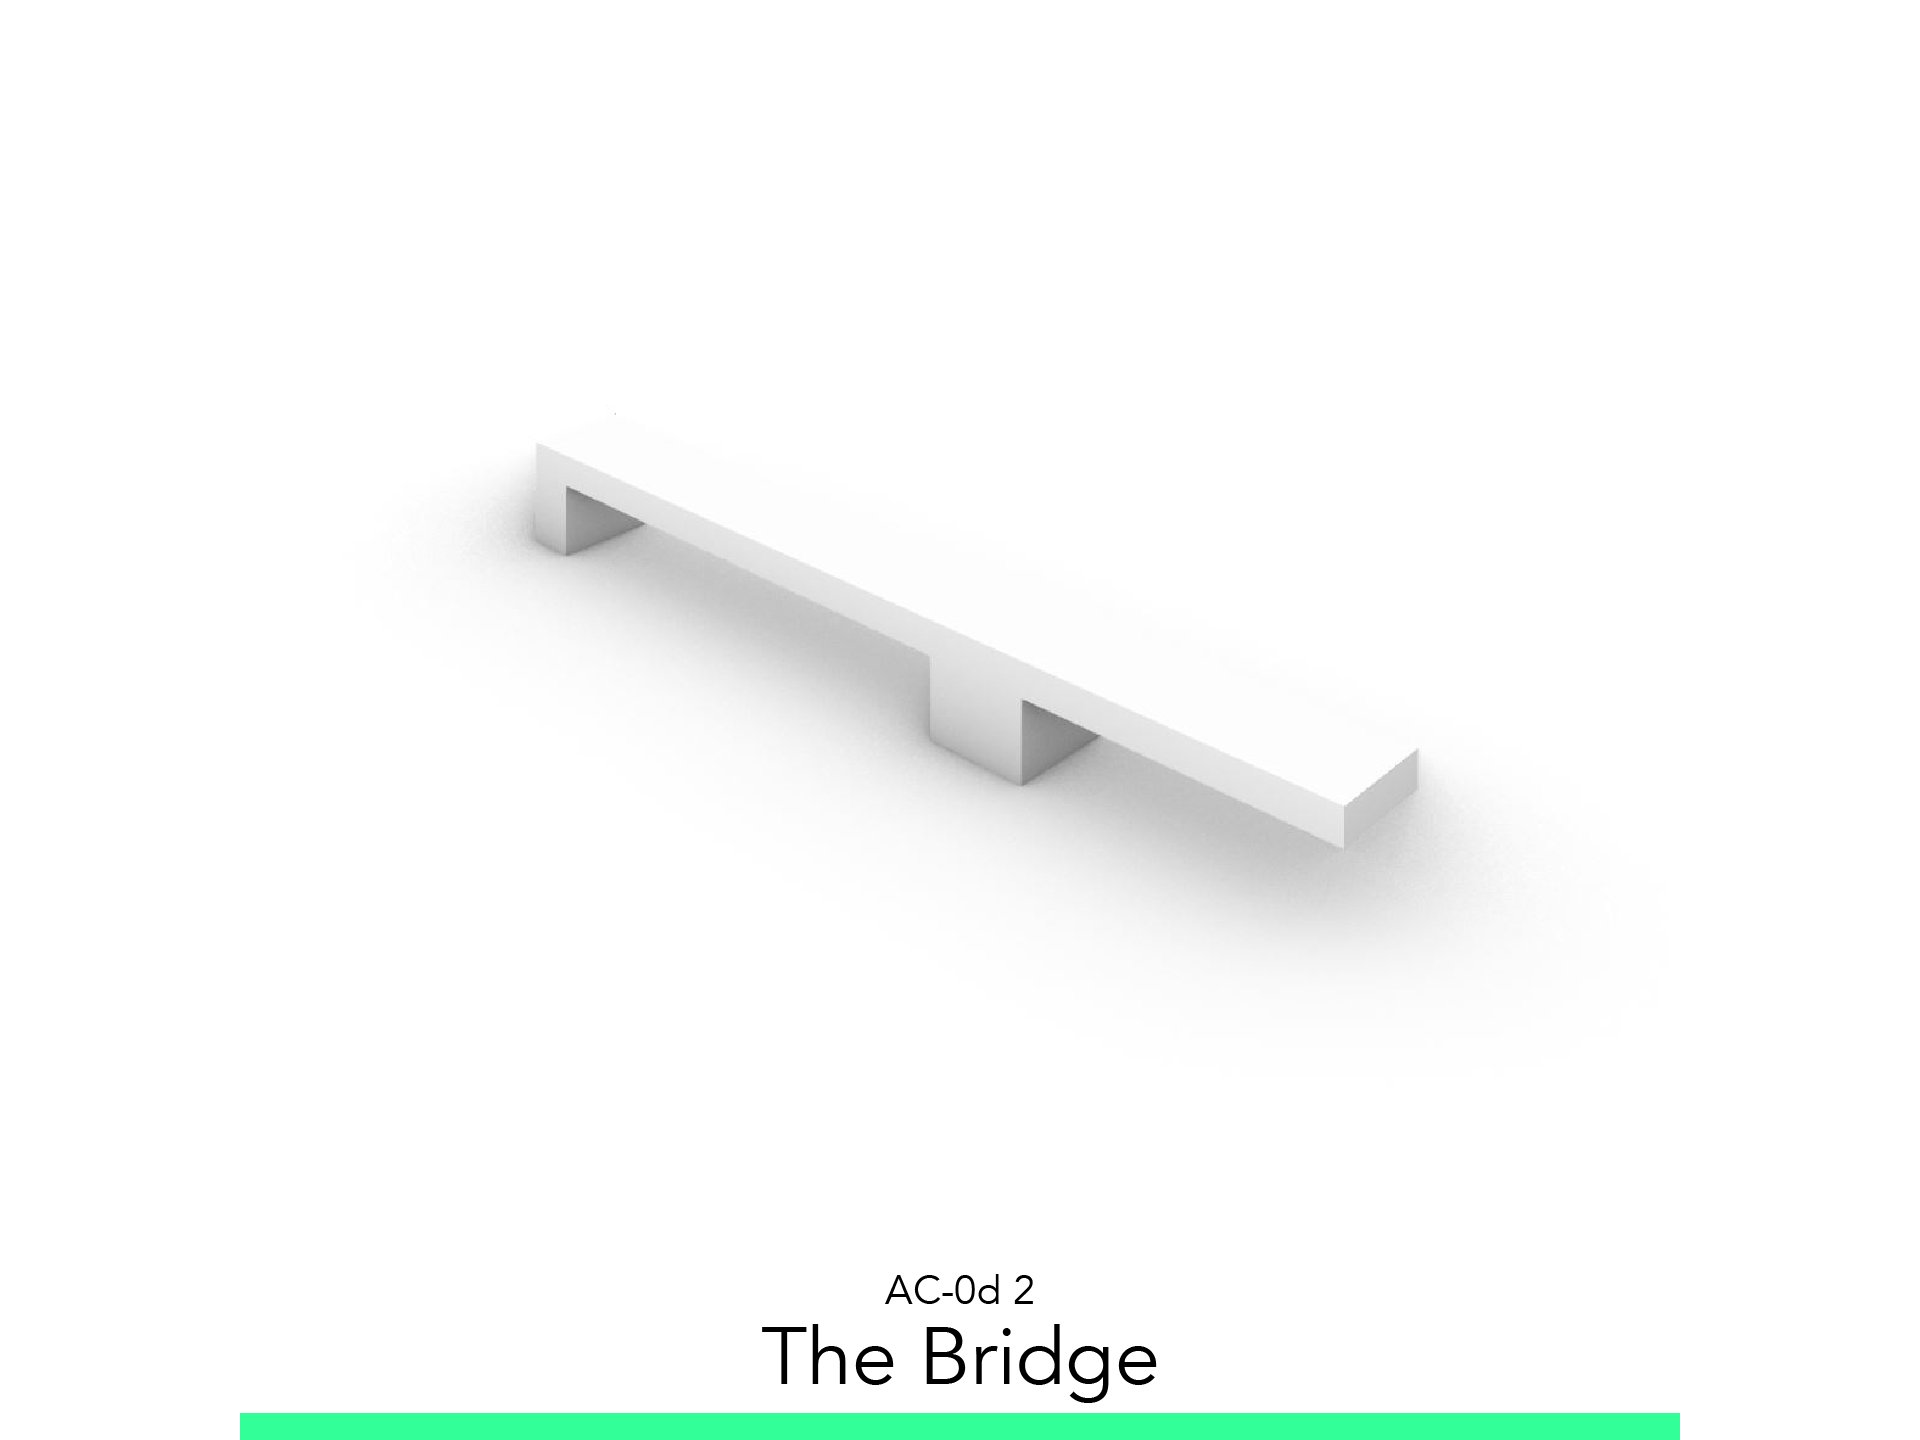
The Bridge
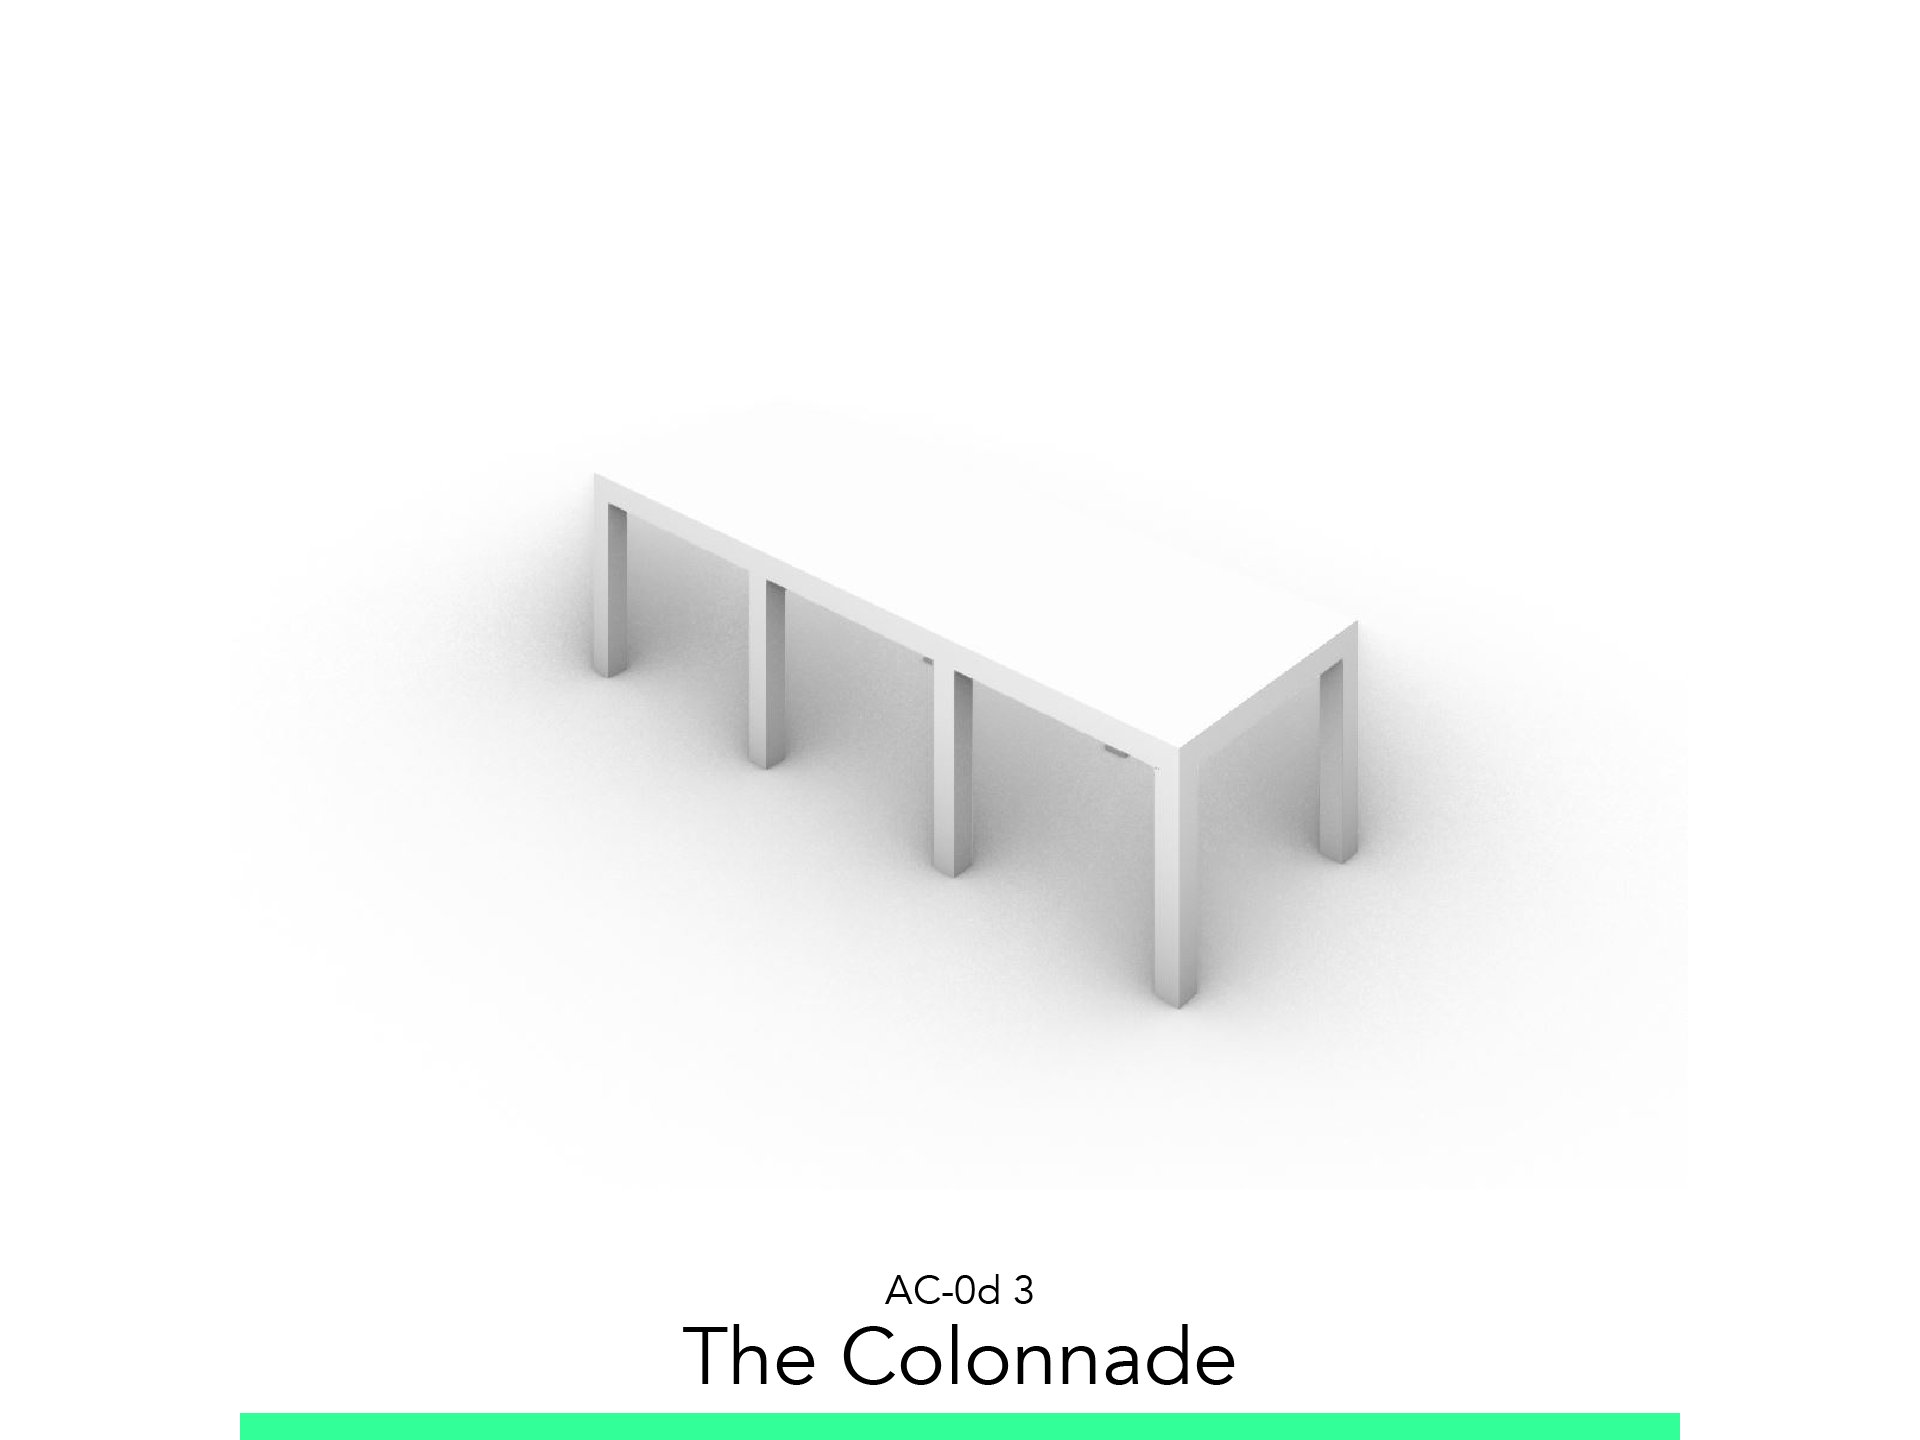
The Colonnade
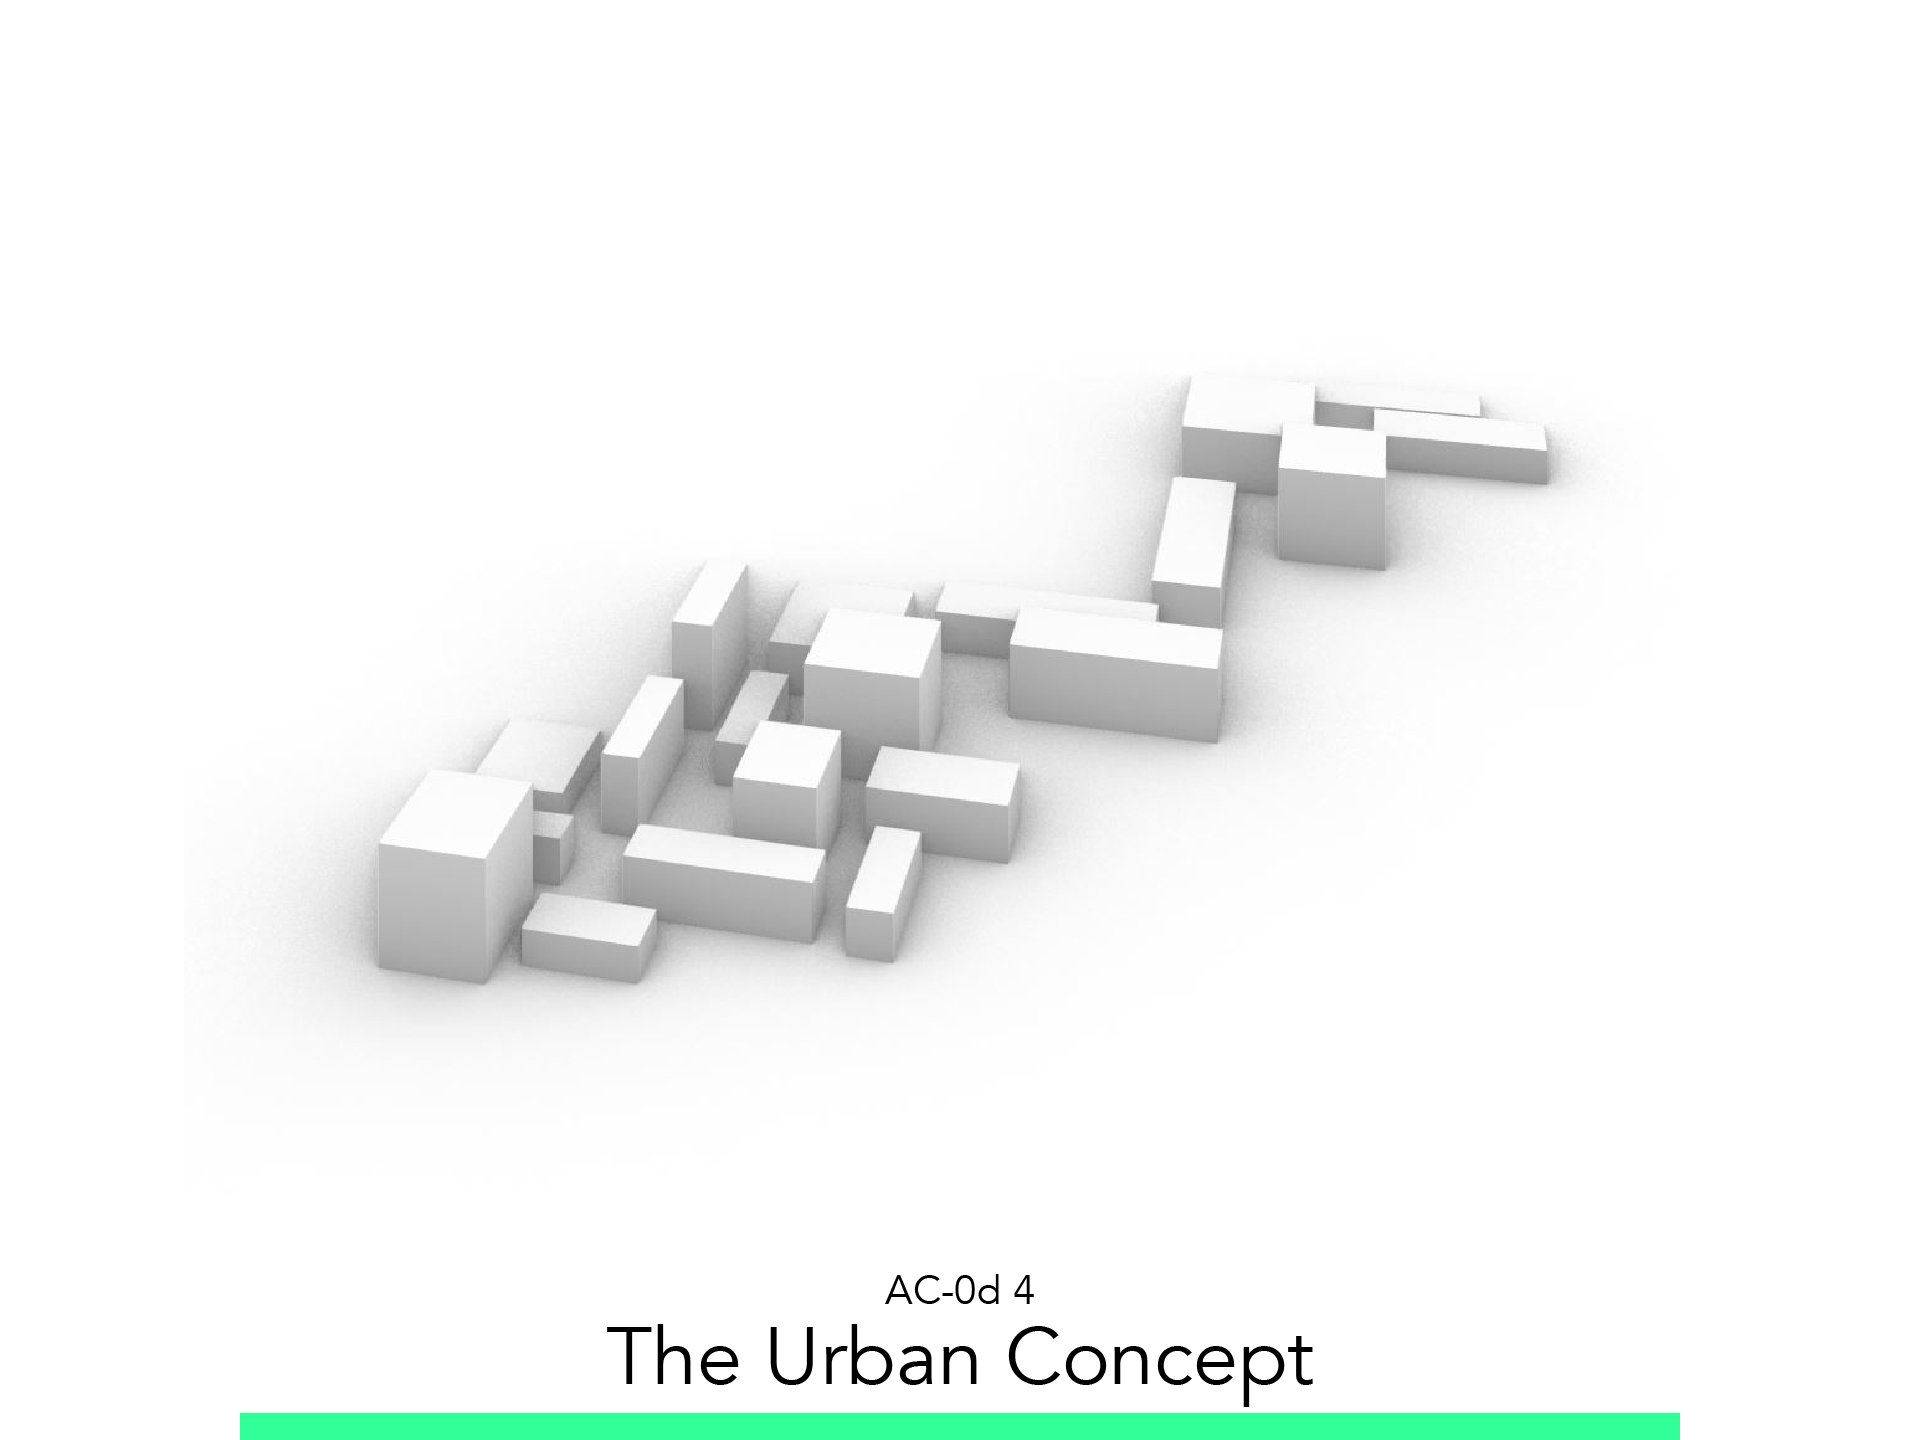
The Urban Concept
The materials you will need
Your laptop with internet connection to download and install software during the course.
Tutorial content
• 4 Videos
• Full Tutorial Script
• Sample 3D File
Why take this tutorial
ArchiCAD is a deep and complex program which can help you create many architectural projects using tools and commands which you will need to understand and master. This chapter provides you with a good and simple exercise of basic Modeling tools found in ArchiCAD to then slice it in a 3D program. In this unit you will do your modeling keeping in mind that you are using this model so you can 3D print it next, asking yourself about the next steps, and the doubts that always appear in the process: How is it going to be printed? How could it fail? Is there a better, more efficient way to print this?
1. The Simple Volume
1.1. Create the Cube
Go to the 3D View.
To create a Morph: Toolbar > Design > Morph
Adjust the following Settings
Geometry Method: Box
Start the command
Adjust the following Dimensions: Tab
Dimension 1: 30
Dimension 2: 30
Distance: 10
1.2. Export STL
Isolate the Model F5.
Save as: STL.
Define the Scale 1:1
2. The Bridge
2.1. Create the Morphs
Go to the 3D View.
To create the bridge: Toolbar > Design > Morph
Adjust the following Settings
Geometry Method: Box
Start the command
Adjust the following Dimensions: Tab
Dimension 1: 10
Dimension 2: 95
Distance: 3
To create the legs: Toolbar > Design > Morph
Adjust the following Dimensions: Tab
Dimension 1: 10
Dimension 2: 5
Distance: 7
Second leg
Adjust the following Dimensions: Tab
Dimension 1: 10
Dimension 2: 10
Distance: 7
2.2. Move Them
To Move the bridge:
Ctrl + D
PP > Drag
2.3. Export STL
Isolate the Model F5.
Save as: STL.
Define the Scale 1:1
3. The Colonnade

3.1. Create the Morphs
Go to the 3D View.
To create the legs: Toolbar > Design > Morph
Adjust the following Settings
Geometry Method: Box
Start the command
Adjust the following Dimensions: Tab
Dimension 1: 2
Dimension 2: 2
Distance: 15
Copy the double: Ctrl + Shift + D + Ctrl
Distance: 20
Copy the pair: Ctrl + Shift + D + Ctrl
Distance: 20
To create the table: Toolbar > Design > Morph
Adjust the following Settings
Geometry Method: Box
Start the command
Adjust the following Dimensions: Tab
Dimension 1: 22
Dimension 2: 42
Distance: 2
2.2. Move the Table
To Move the table:
Ctrl + D
PP > Drag
2.3. Export STL
Isolate the Model F5.
Save as: STL.
Define the Scale 1:1
4. The Urban Concept
4.1. Draw the Square Base
Go to the 3D View.
To create the legs: Toolbar > Design > Morph
Adjust the following Settings
Geometry Method: Straight Rectangular
Start the command.
Adjust the following Dimensions: Tab
Dimension 1: 300
Dimension 2: 350
To create the Buildings: Toolbar > Design > Morph
Adjust the following Settings
Geometry Method: Box
Start the command:
Do the building as you wish.
Recommended height: 15-30.
4.1. Export STL
Isolate the Model F5.
Save as: STL.
Define the Scale 1:1
Follow your study path with these recommended tutorials


Model in ArchiCAD for the absolute first time with me!
Let me teach you basic commands of the software for you to be ready work on your projects. Start from the very basics and follow me step-by-step in the process of giving more detail to your architectural model.