AC-1b White Rendering Basics in ArchiCAD


About this Tutorial
This course is intended for first time ArchiCAD users and/or Rendering as a subject. Self-taught users can also profit from these structures to consolidate essential concepts. You will find step-by-step explanations while we create our first White Render in ArchiCAD, following the work we did in AC-0a. Here you will learn the basic topics, tools and skills to start understanding Rendering. At the same time, you will be able to create a simple, clear and useful Render of an architecture project. Take this as a useful and comprehensible first taste of the deep world of Rendering.
Skill level and duration
Level: First Time Users
Duration: A couple of hours
In this tutorial you will learn
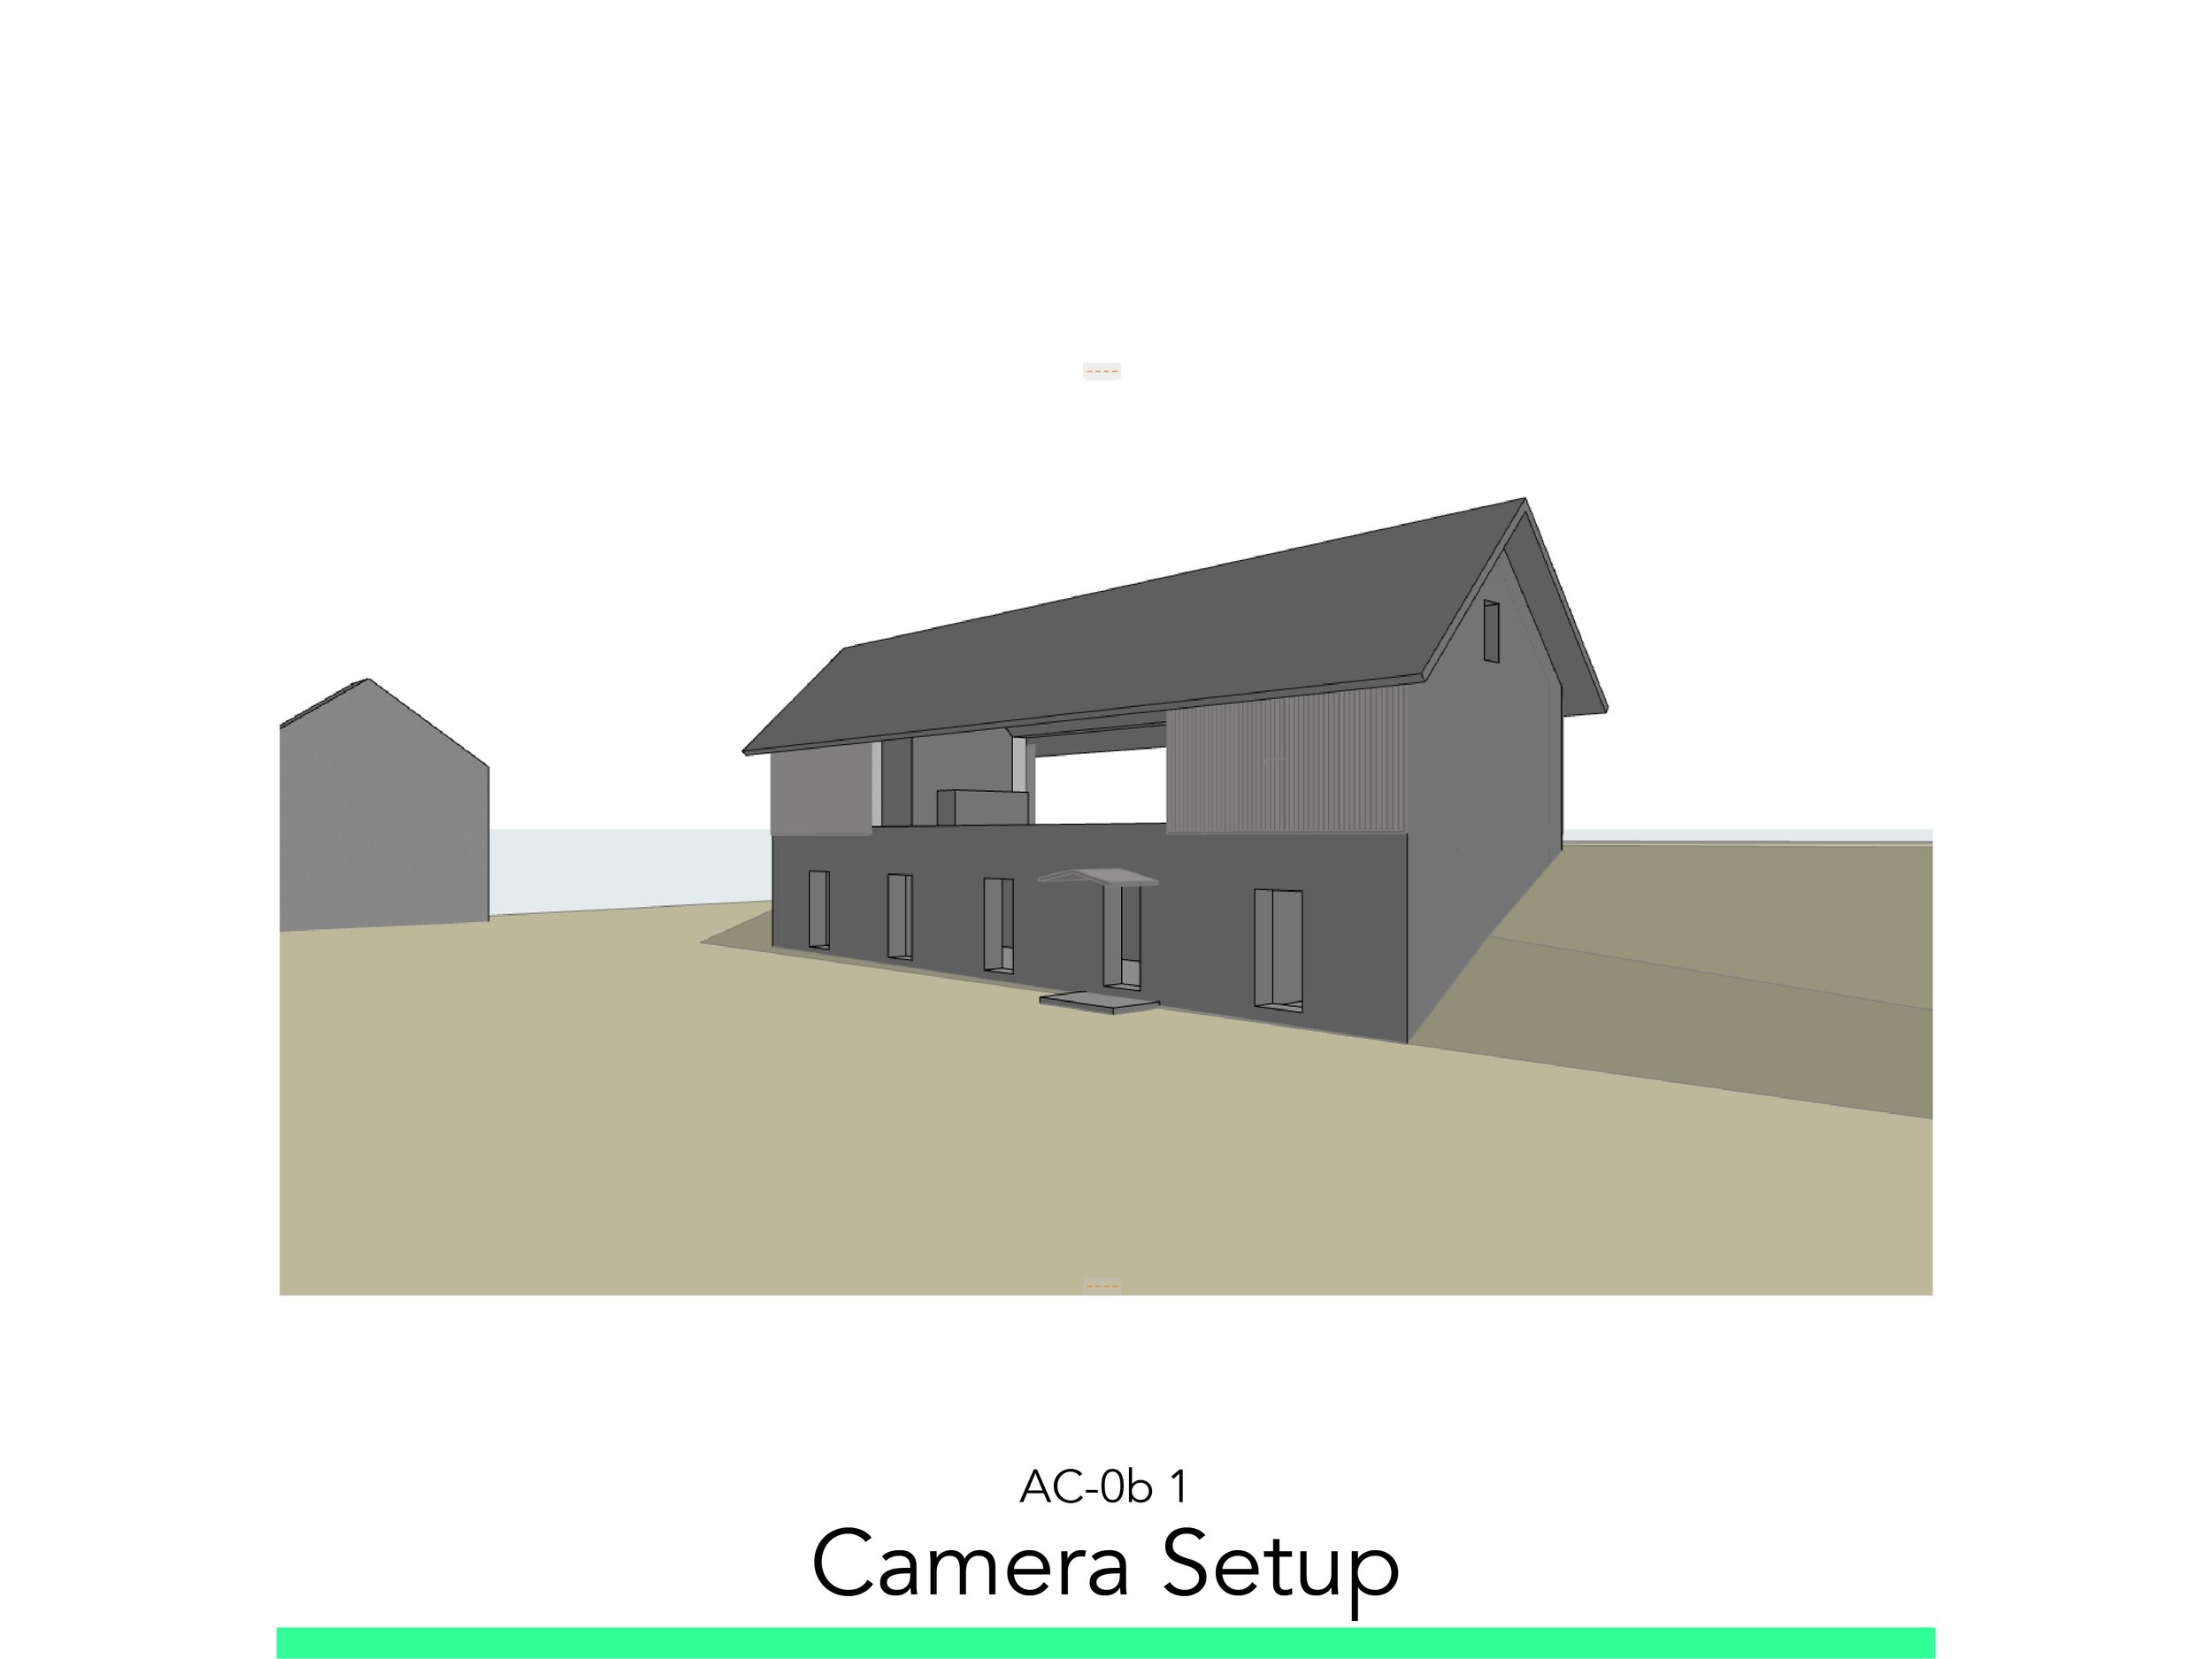
Camera Setup
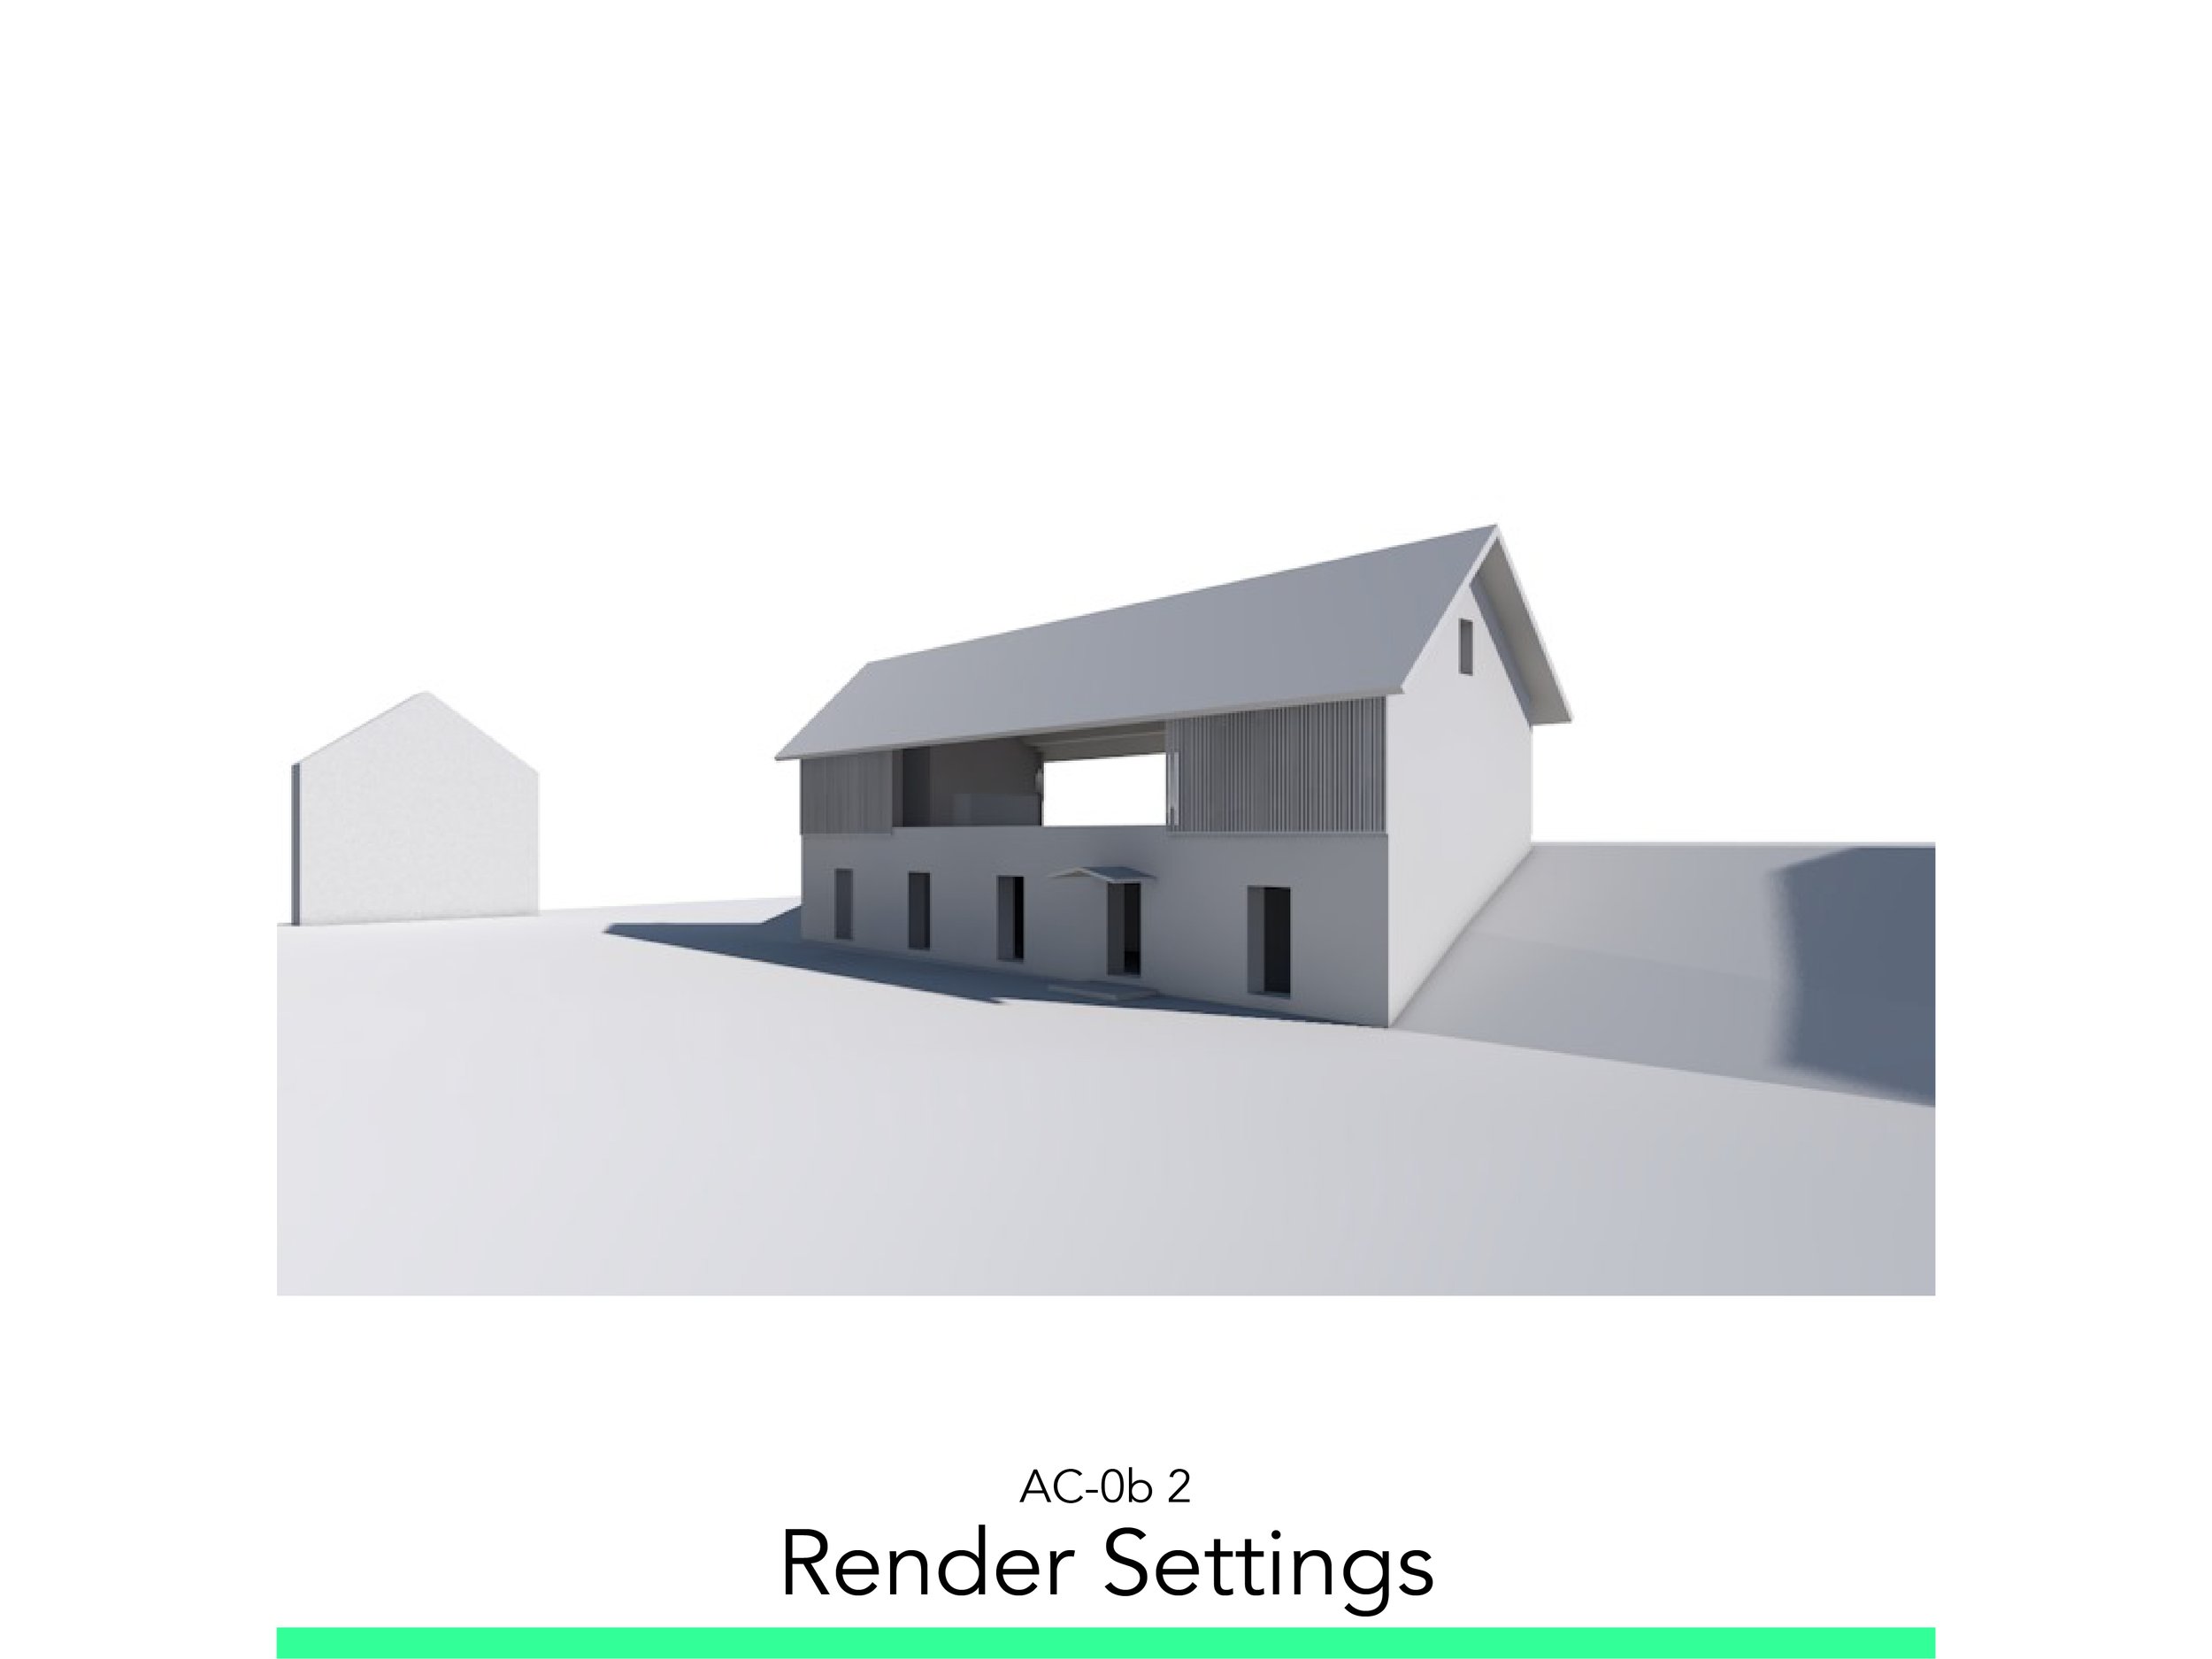
Render Settings
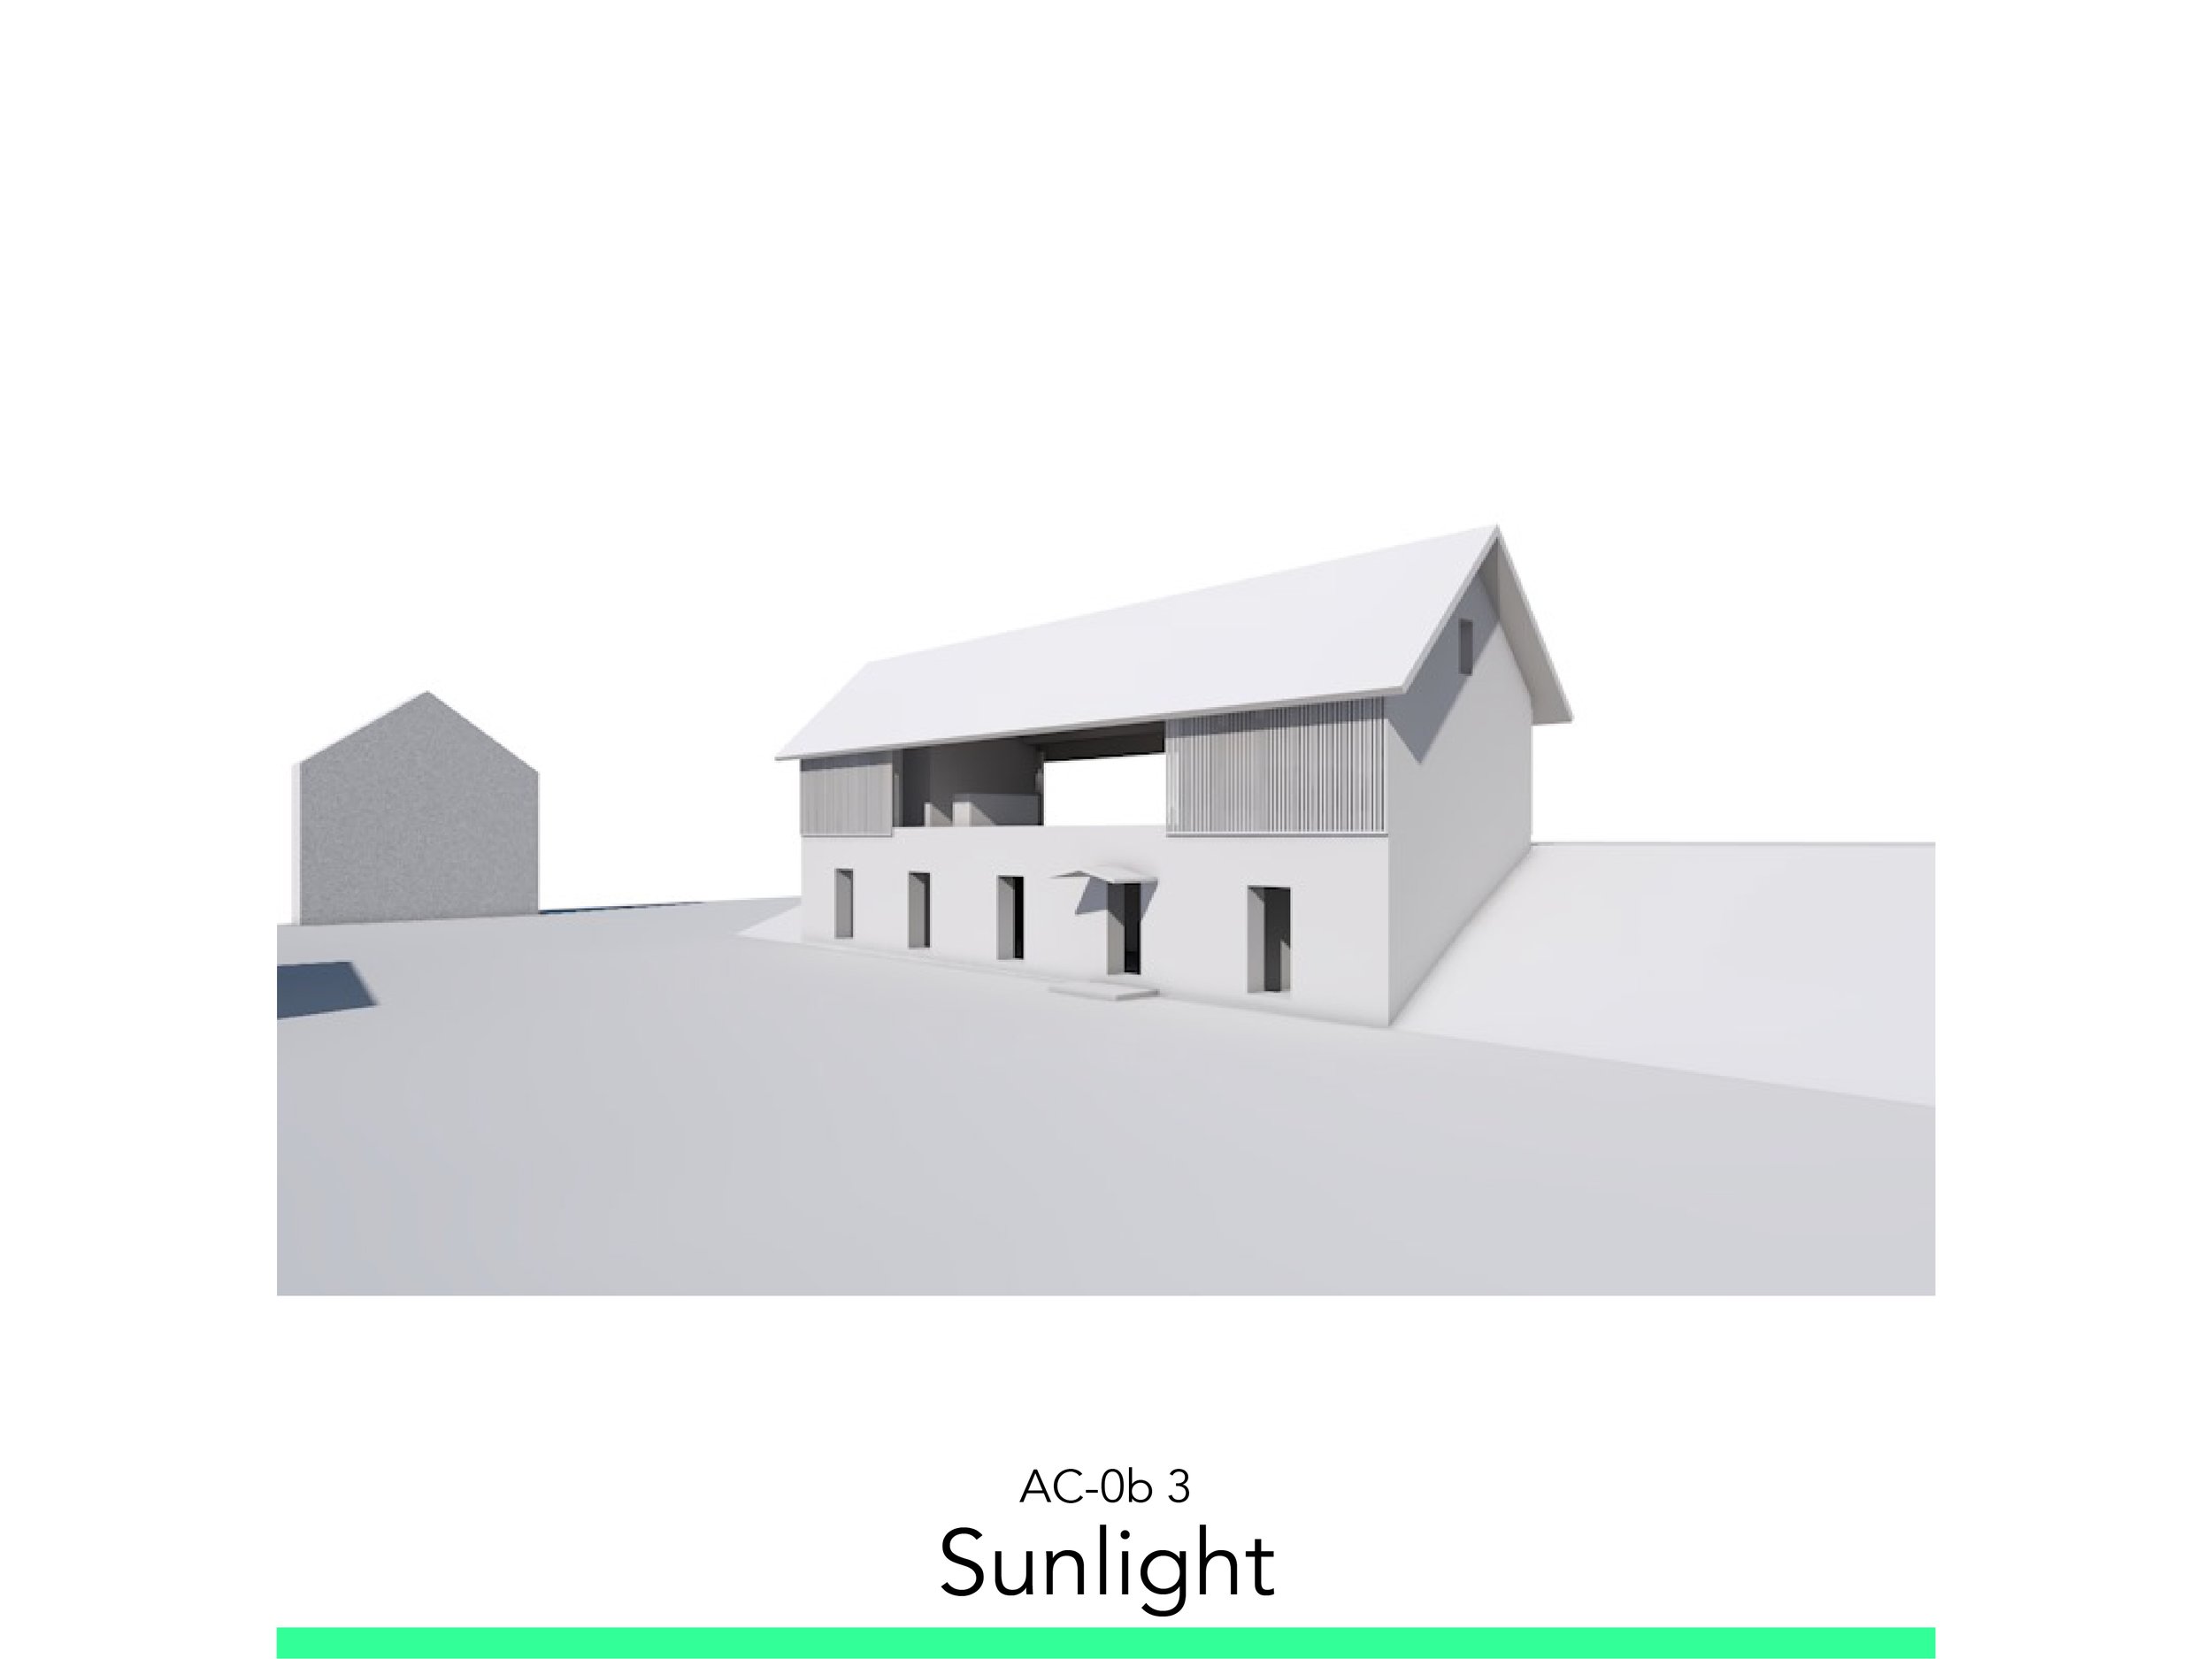
Sunlight
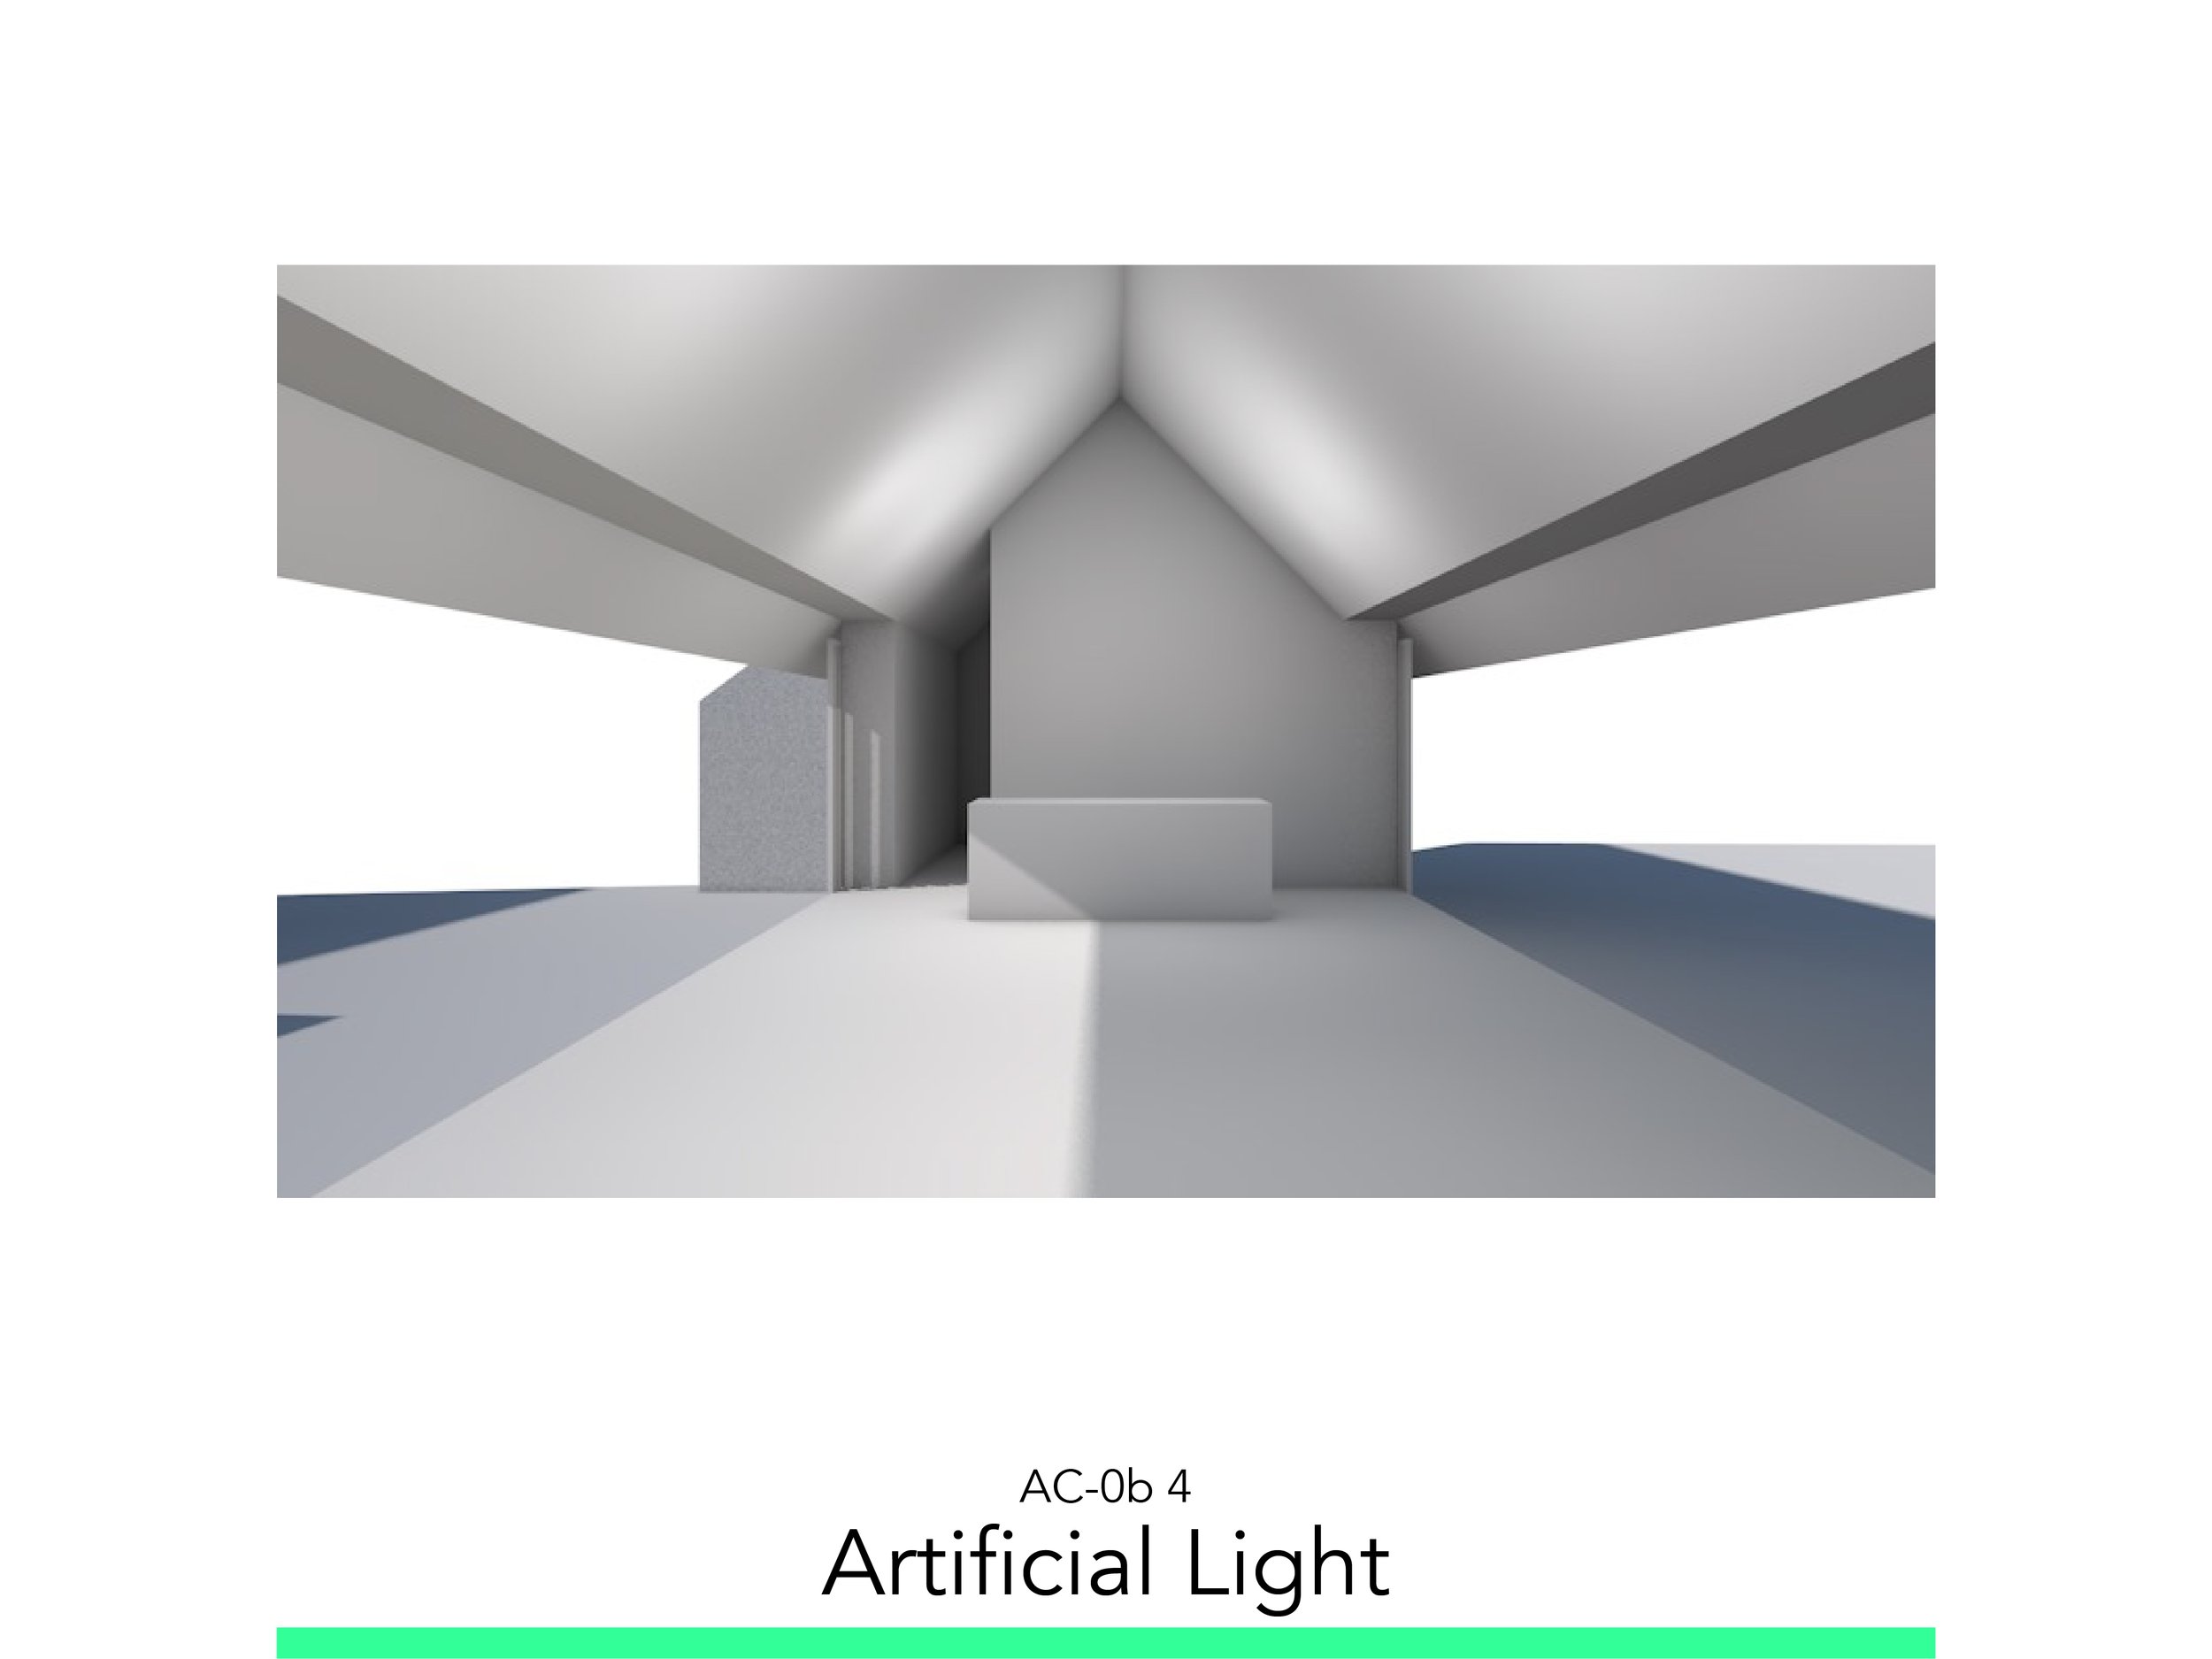
Artificial Light
White Textures
White Model Video
The materials you will need
Your laptop with internet connection to download and Install Software during the course.
Tutorial content
• 6 Videos.
• Full Tutorial Script.
• Sample 3D Files.
• Support Files.
Why take this tutorial
White Modeling is a good first step to dive into the wide world of rendering. It is very useful for showing ideas and provides a clear image of the space. You will start to learn basic tools and configurations of Camera, Environment, Artificial Lights, White Surfaces and even a Video Sequence. This is a very basic but useful tutorial, not just for learning, but for its application, because with these basic skills you can also create clear and useful renders to present your projects.
1. Camera Setup

1.1. Orbit, Pan and Zoom
To Zoom in and out: Scroll Mouse Wheel
To Pan: Click Mouse Wheel
To Orbit: Shift + Click Mouse Wheel
1.2. Perpendicular to Surface
To see 3D Visualization Toolbar Window > Toolbars > 3D Visualization
Click on the Button: Look to Perpendicular of Clicked Surface
Select the Surface.
1.3. Using 3D Explore
Find the Button of the Lower part of the screen: Explore
You can move as a videogame with the following keys:
Walk Front W
Walk Back S
Go Right D
Go Left A
Elevate Spacebar
Descend C
Create View.
Activate the Organizer.
Click on the Save View button.
Don’t forget to always Render with 2 Point Perspective active.
2. Render Settings

2.1. White Model Presets
Open the Photorendering Settings in the 3D Visualization Toolbar.
Go to Settings Tab in the Engine Wheel Icon.
Go to Scenes > Select and Manage Scenes
Select > Photorealistic Scenes > Outdoor Scenes > Outdoor White Model > Outdoor White Model (Fast)
2.2. Frame Size
Go to the Size Tab.
Uncheck the chain button.
Set Size to: 800 x 450 pixels
Check: Apply Render Safe Frame
2.3. Light Intensity
Go to the Settings Tab.
Find the Lights Settings in Render Settings.
Set the Sun Intensity, the Sun Icon, to: 100%
2.4. Set Environment
Change Time to: 10:00:00 a.m.
2.5. Render!
Set the Camera Position or Select in View Map: Outside
Don’t forget to Left Click and: Two-Point Perspective.
3. Sunlight

3.1. Set View with Shadows
On the 3D View, Right Click: 3D Styles > Simple Shading with Shadows.
3.2. Set Interesting Light to Model
Go to the 3D Projection Settings: Ctrl + Shift + F3
You can view the Camera and Sun Position.
You can change the Sun to a position where it can light the facade.
Or adjust the following settings:
Altitude: 35.00°
Azimuth: 122.00°
3.3. Adjust Intensity
Go to the PhotoRendering Settings: Ctrl + Alt + P
In Render Settings Set Lights to: 80%
Check in Time & Location ✓ Use ARCHICAD Sun Position
3.4. Render!
Set the Camera Position or Select in View Map: Outside.
Don’t forget to active Two-Point Perspective.
4. Artificial Light
4.1. Model Area Light and Run Demo
To open the Lamp Tool > Toolbar > More > Lamp Tool.
Open the Default Settings.
Select on the Left Side: Area Light.
To Place the Area Light:
Adjust the following settings:
Geometry Method: Rotated Diagonal
You can locate the light in the 3D View
Do the same inserting a General Light.
Open PhotoRendering Settings: Cntrl + Alt + P
Set Lamps Intensity (Lightbulb Icon) to: 100%
Set Outdoor White Model Fast Scene
Set Time: 10:00:00 a.m.
Run Demo.
4.2. Modify Reach and Demo
You can modify the Reach:
In 3D View, the Dotted Circles that are around the Light. PP > Move Node
You can go to Settings Dialog > Basic Light Parameters > Light Distance.
Areal Light: 5m
General Light: 3m
In Basic Light Parameters > Shadow Casting > 10%
Render!
4.3. Modify Intensity, Position and Demo
Select the Light Source and go to Settings.
In Basic Light Parameters > Main Intensity > 120%
To Modify the Position of the Area Light you can do it in the 3D View
4.4. Render!
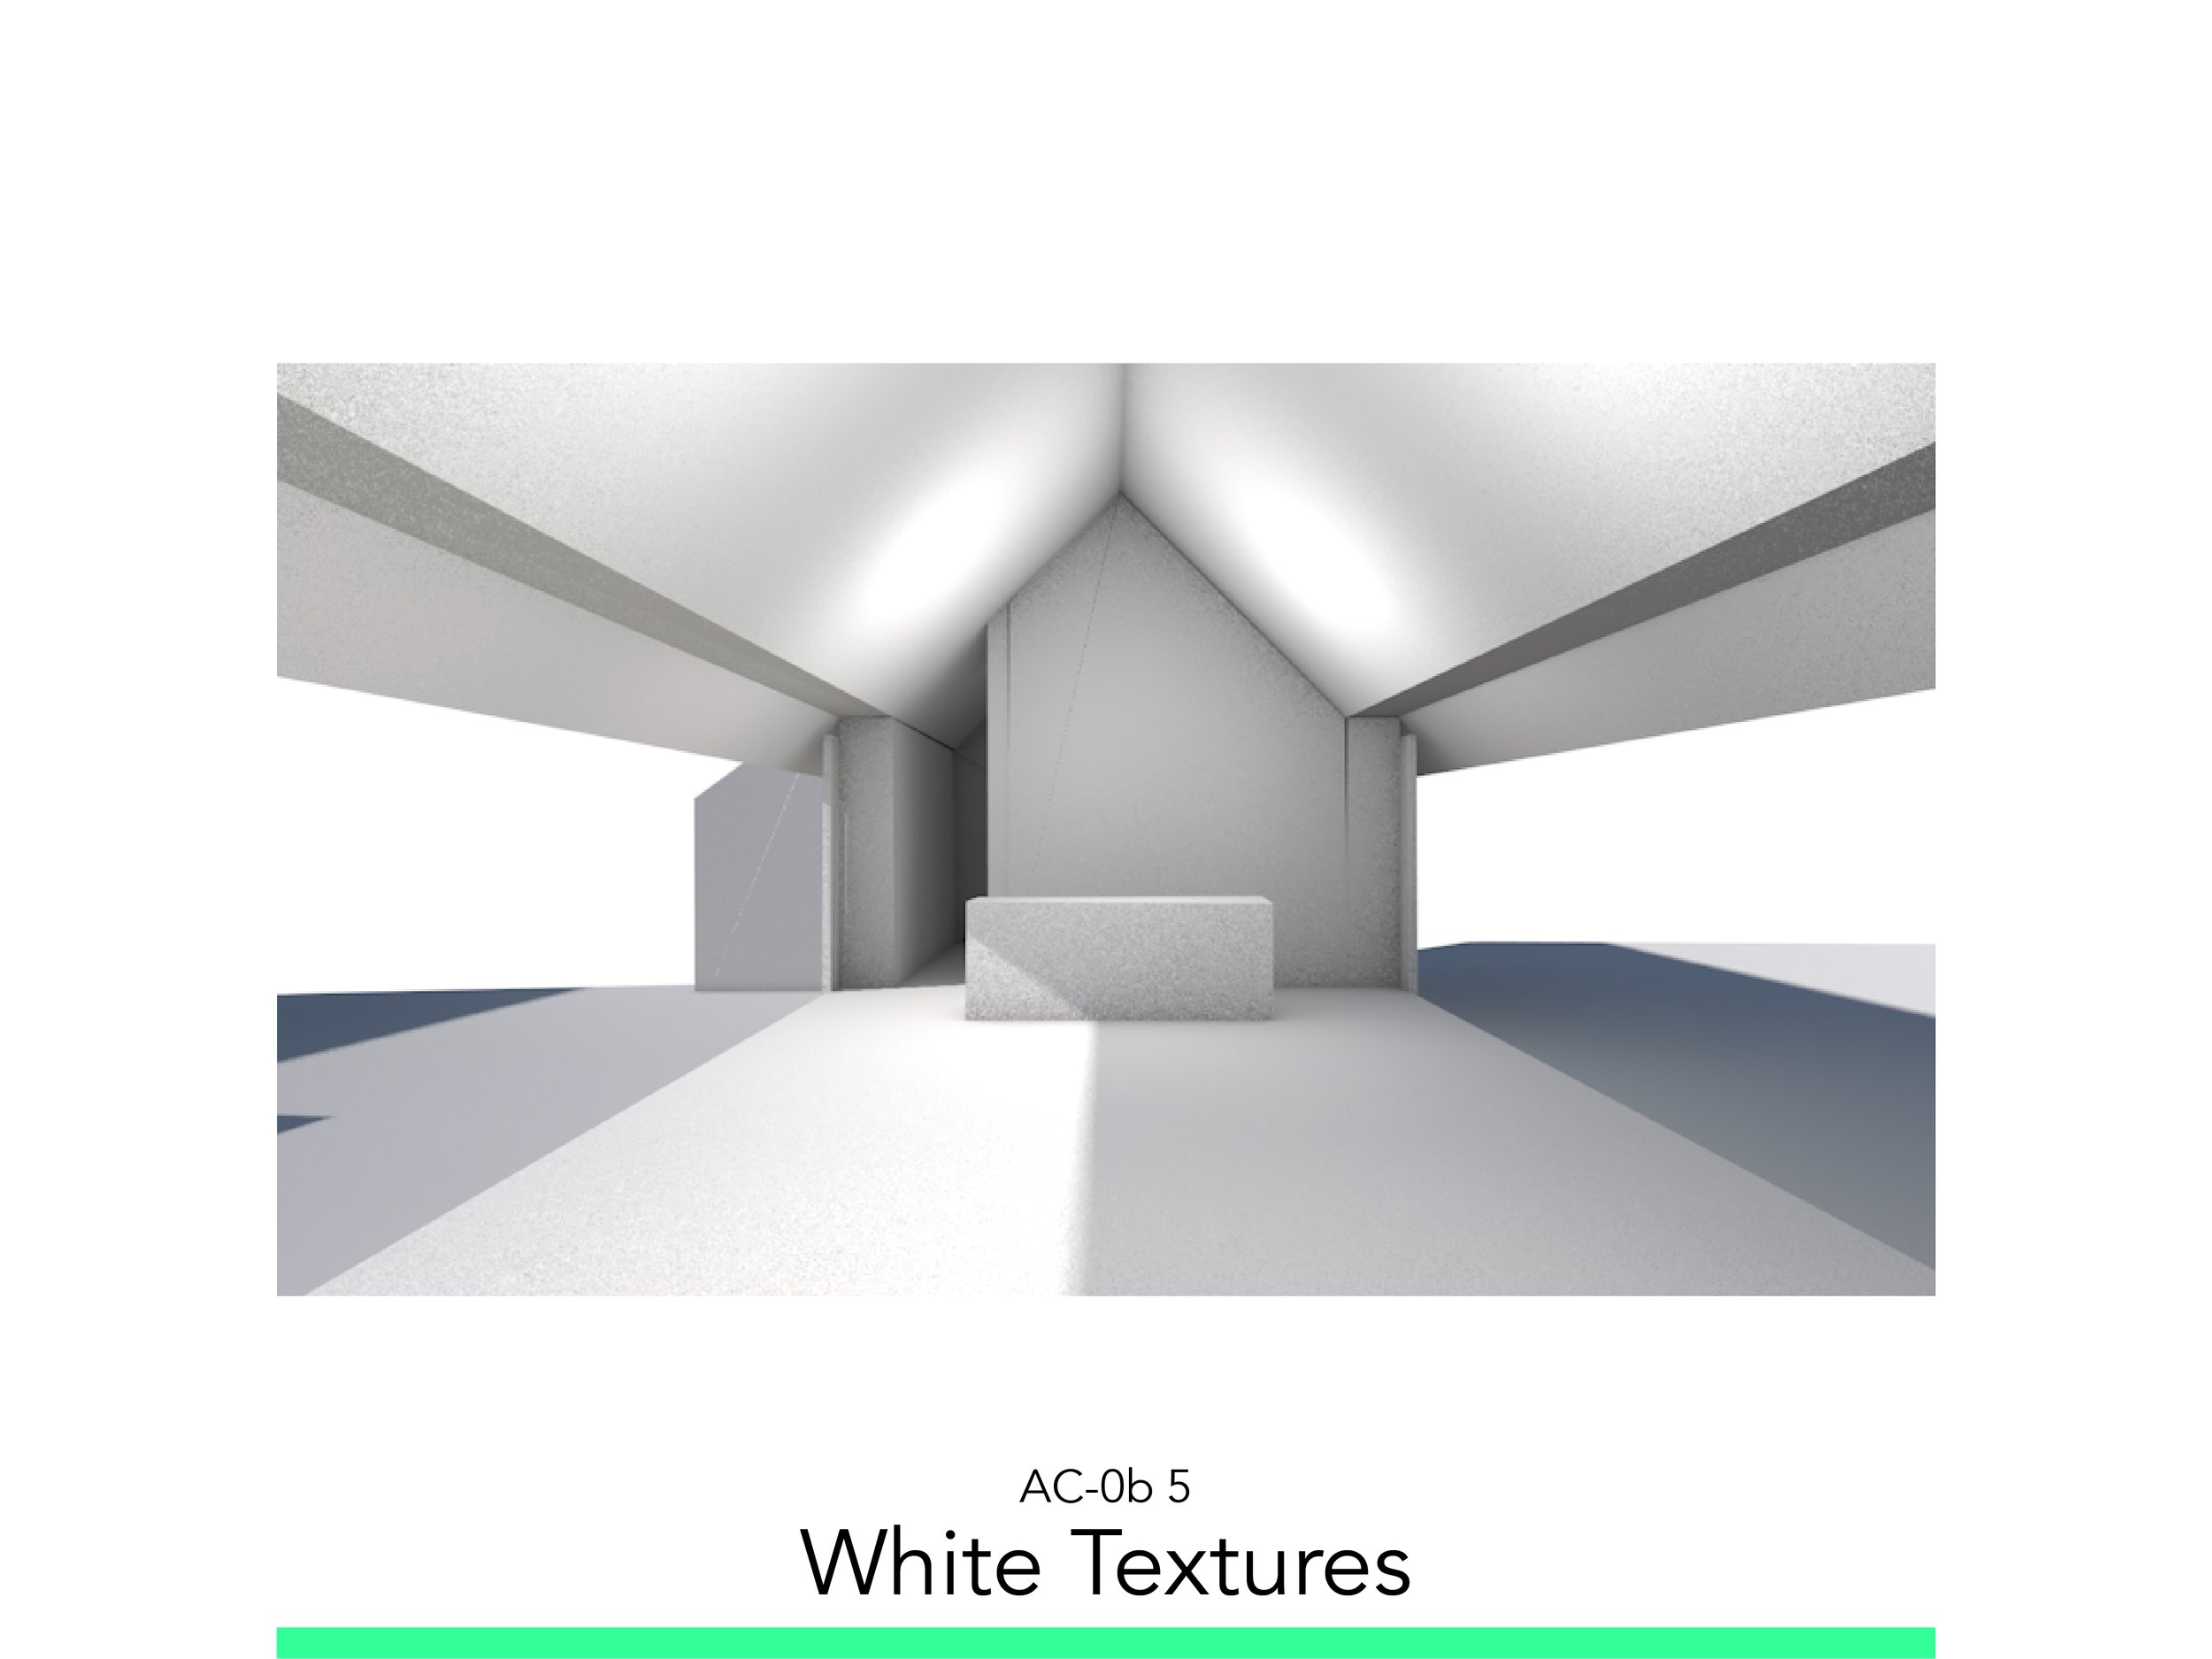
5. White Textures

5.1. Create Surface
§ Go to Options > Elements Attributes > Surfaces.
Create a New Surface: New..
Duplicate Paint – Glossy White
Assign Name: New Texture
Engine Settings: CineRender by MAXON
5.2. Bump
Activate Bump.
Texture > Image > Select JPEG.
Set Strength to 20.00.
5.3. Displacement
Activate Displacement.
Texture > Image > Select JPEG.
Set Strength to 50.00.
5.4. Assign Material and Render
Enter on the object Settings > Surface > New Texture.
Click on Save.
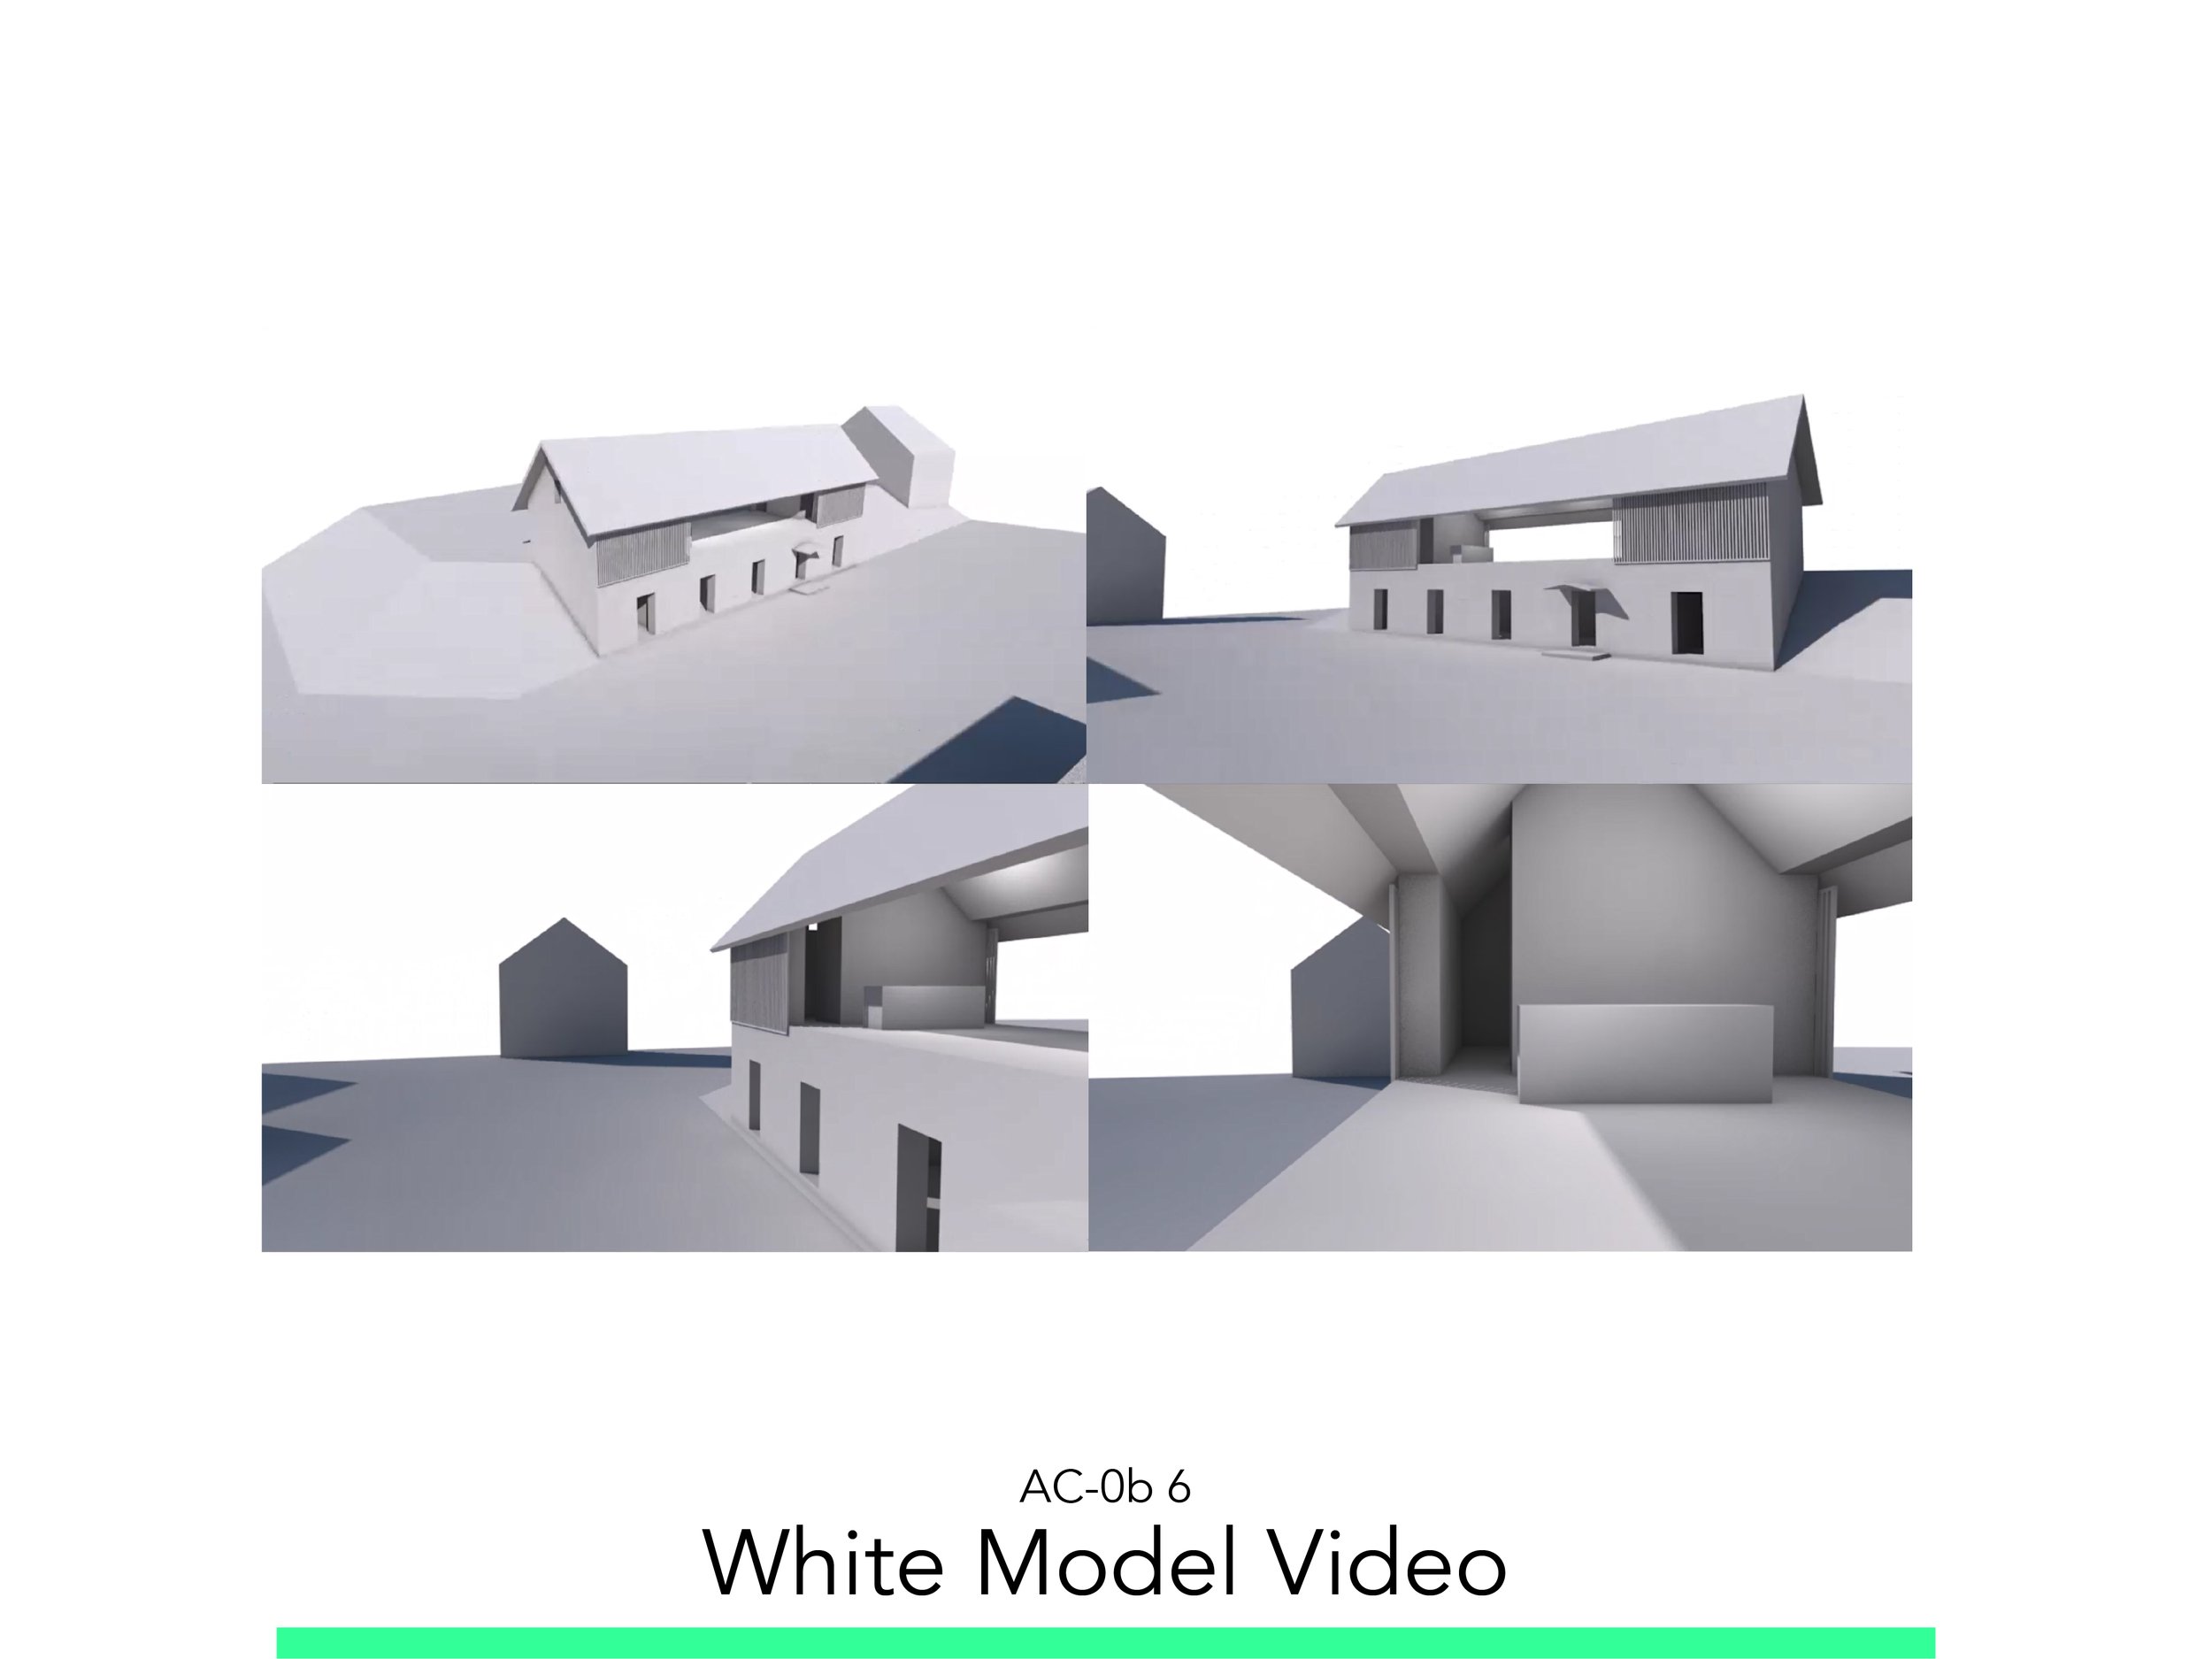
6. White Model Video

6.1. Set a Camera Sequence
Go to the Ground Floor.
To insert the Cameras of the Fly-Through Toolbox > Camera Tool
Go to the Project Map > 3D > 00 Untitled Path and Enter in each Camera.
Enter in each Camera and Modify the Position.
Right Click on the Camera: Modify this Camera to Current View.
6.2. Adjust Sunlight per Camera
Go to the Ground Floor.
You can select the Camera, select the Sun: PP > Move Sub-element.
You can select a Refence Point to stablish the Sun in the same position.
6.3. Adjust Render Settings
Enter in the PhotoRendering Settings and Check the Settings.
6.4. Configure Frame Rate and Quality of Sequence
In the 3D Visualization Toolbar > Create Fly/Through…
Assign the following settings:
PhotoRendering Window: Check
Perspectives from Camera Path: 00: Untitled Path
With in-between Frames
Results: MP4 Movies Files
Change the Frame Rate to: 12
6.5. Render and Export
Right Click on the Image and Save.
Follow your study path with these recommended tutorials


Model in ArchiCAD for the absolute first time with me!
Let me teach you basic commands of the software for you to be ready work on your projects. Start from the very basics and follow me step-by-step in the process of giving more detail to your architectural model.