Ri-1b White Rendering Basics in Rhino


About this Tutorial
This course is intended for first time user of Rhino 3D or/and Rendering as a subject. Self-taught users can also profit from the structure to consolidate essential concepts. There is a lot explaining while we create our first White Render in Rhino, continuing our work of Modeling made in Ri-0a. These are basic skills to get a basic but clear and useful render for architecture projects. Learn how to set a Camera, the Environment, put lights and set textures to give life to your project.
Skill level and duration
Level: First Time Users
Duration: A couple of hours tops!
In this tutorial you will learn
Camera Setup
Render Settings
Sunlight
Artificial Light
White Textures
The materials you will need
Your laptop with internet connection to download and Install Software during the course.
Tutorial content
• 5 Videos
• Full Tutorial Script
• Sample 3D File
• Support Files
Why take this tutorial
White Modeling its a good first step to dive into the wide and big world of rendering. Its very useful for showing an idea and gives a clearly image of the space. Rendering its a big and deep world, full of settings and programs that will help you to achieve a more detailed image, here we want to teach the basics, that are also useful to present a project, so you can already use it in your work. Its just a first taste of a deep world to maybe later grow it into a full knowledge and specialization.
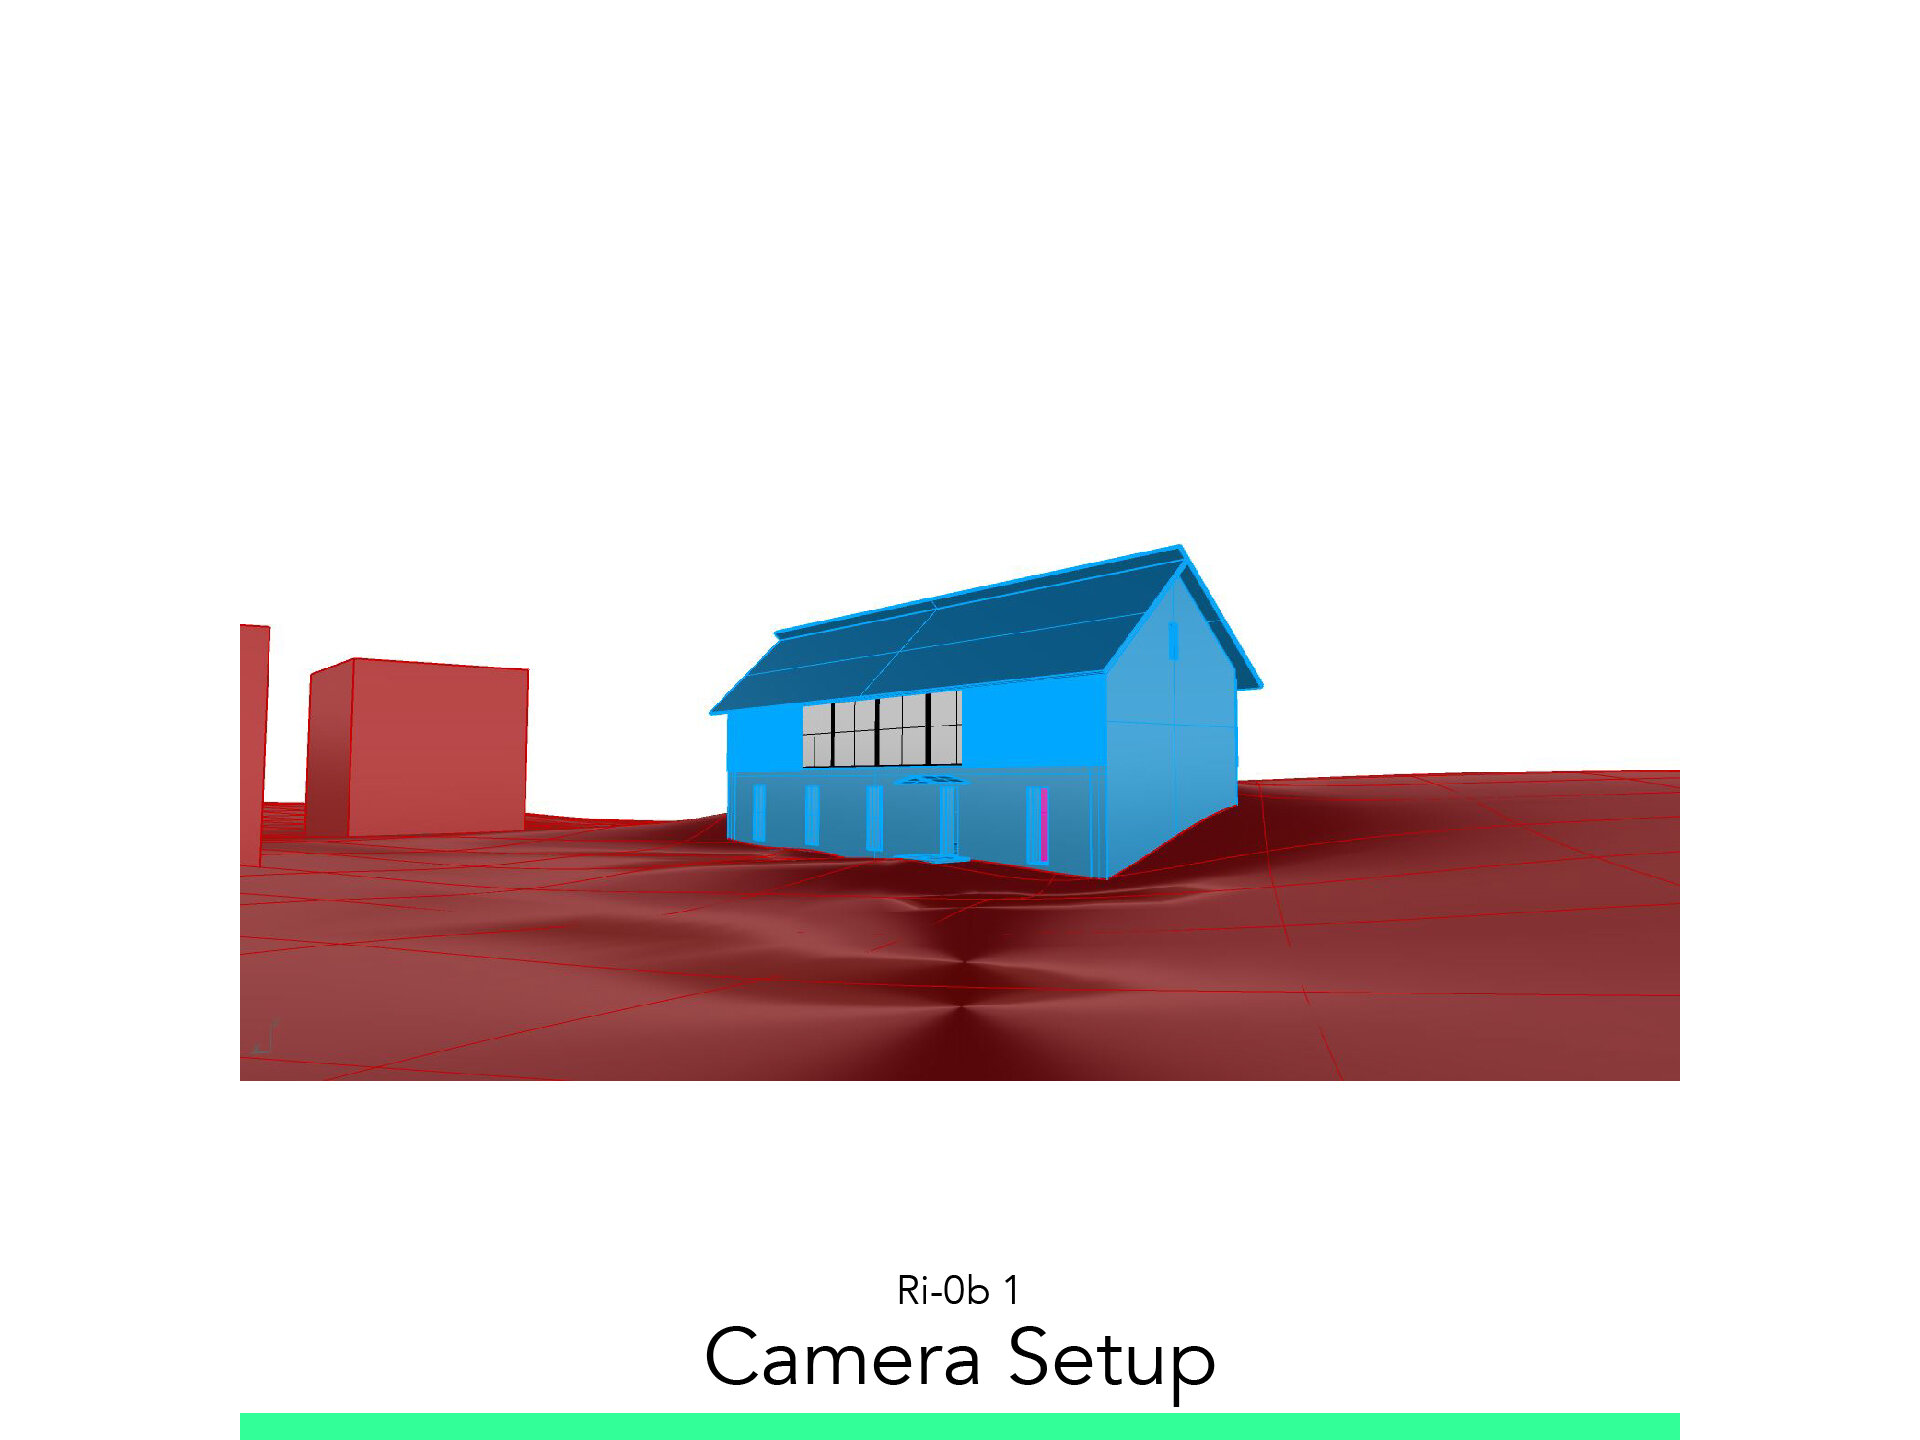
1. Camera Setup

1.1. Render View
Set Display Mode to: Shaded
1.2. Viewport
To Orbit: Right Click
To Pan: Shift + Right Click
To Zoom: Scroller
Save Named View: _NamedView
1.3. Setup Camera
Set Human Height : 1.70
Set Target Height: 1.70
Set Camera
Adjust “Lens Length”
Save View Command: _NamedView
1.4. Orient Camera to Surface
Start the Orient Camera Command: _OrientCameraToSrf
Select Surface.
Select Point on Surface.
Make Sure the Camera is showing.
Adjust Camera Position.
Projection: Two Point Perspective
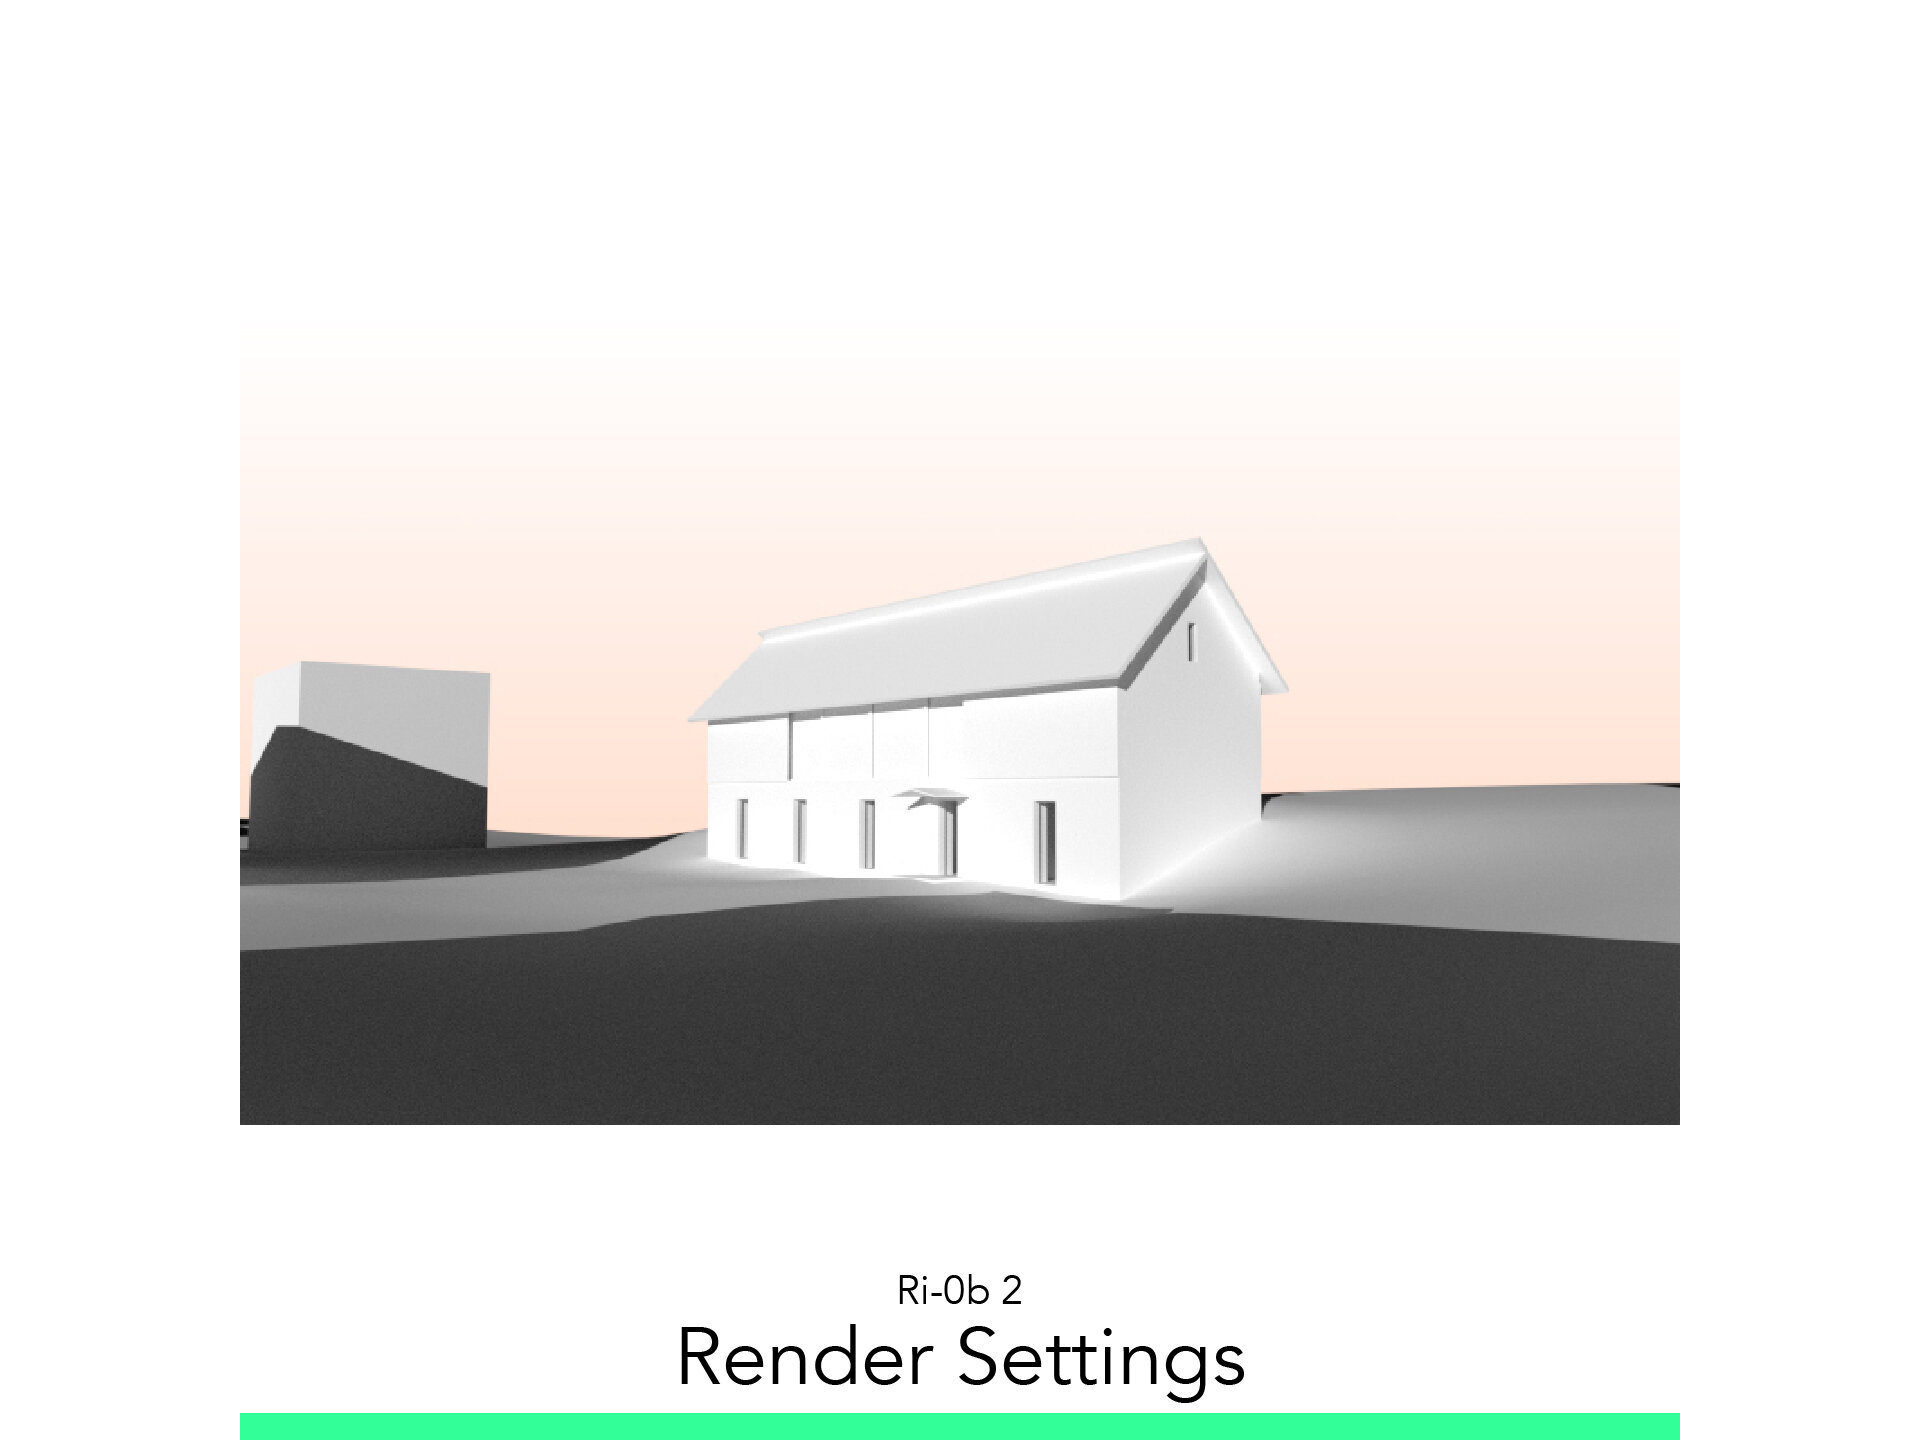
2. Render Settings

2.1. Named View
Start command _NamedView
Click on the Perspective View: Outside
2.2. Active Render Tab
It is in the right side in an Icon with a Hand over a Sphere.
2.3. Render Settings
To change Render Size and Quality: Resolution and Quality
Size: 800x450
DPI: 72
To change Background: Backdrop
Solid Color
Gradient
2.4. Go to Display Mode
Go to Display Mode: Rendered
2.5. Render!
Start command _Render
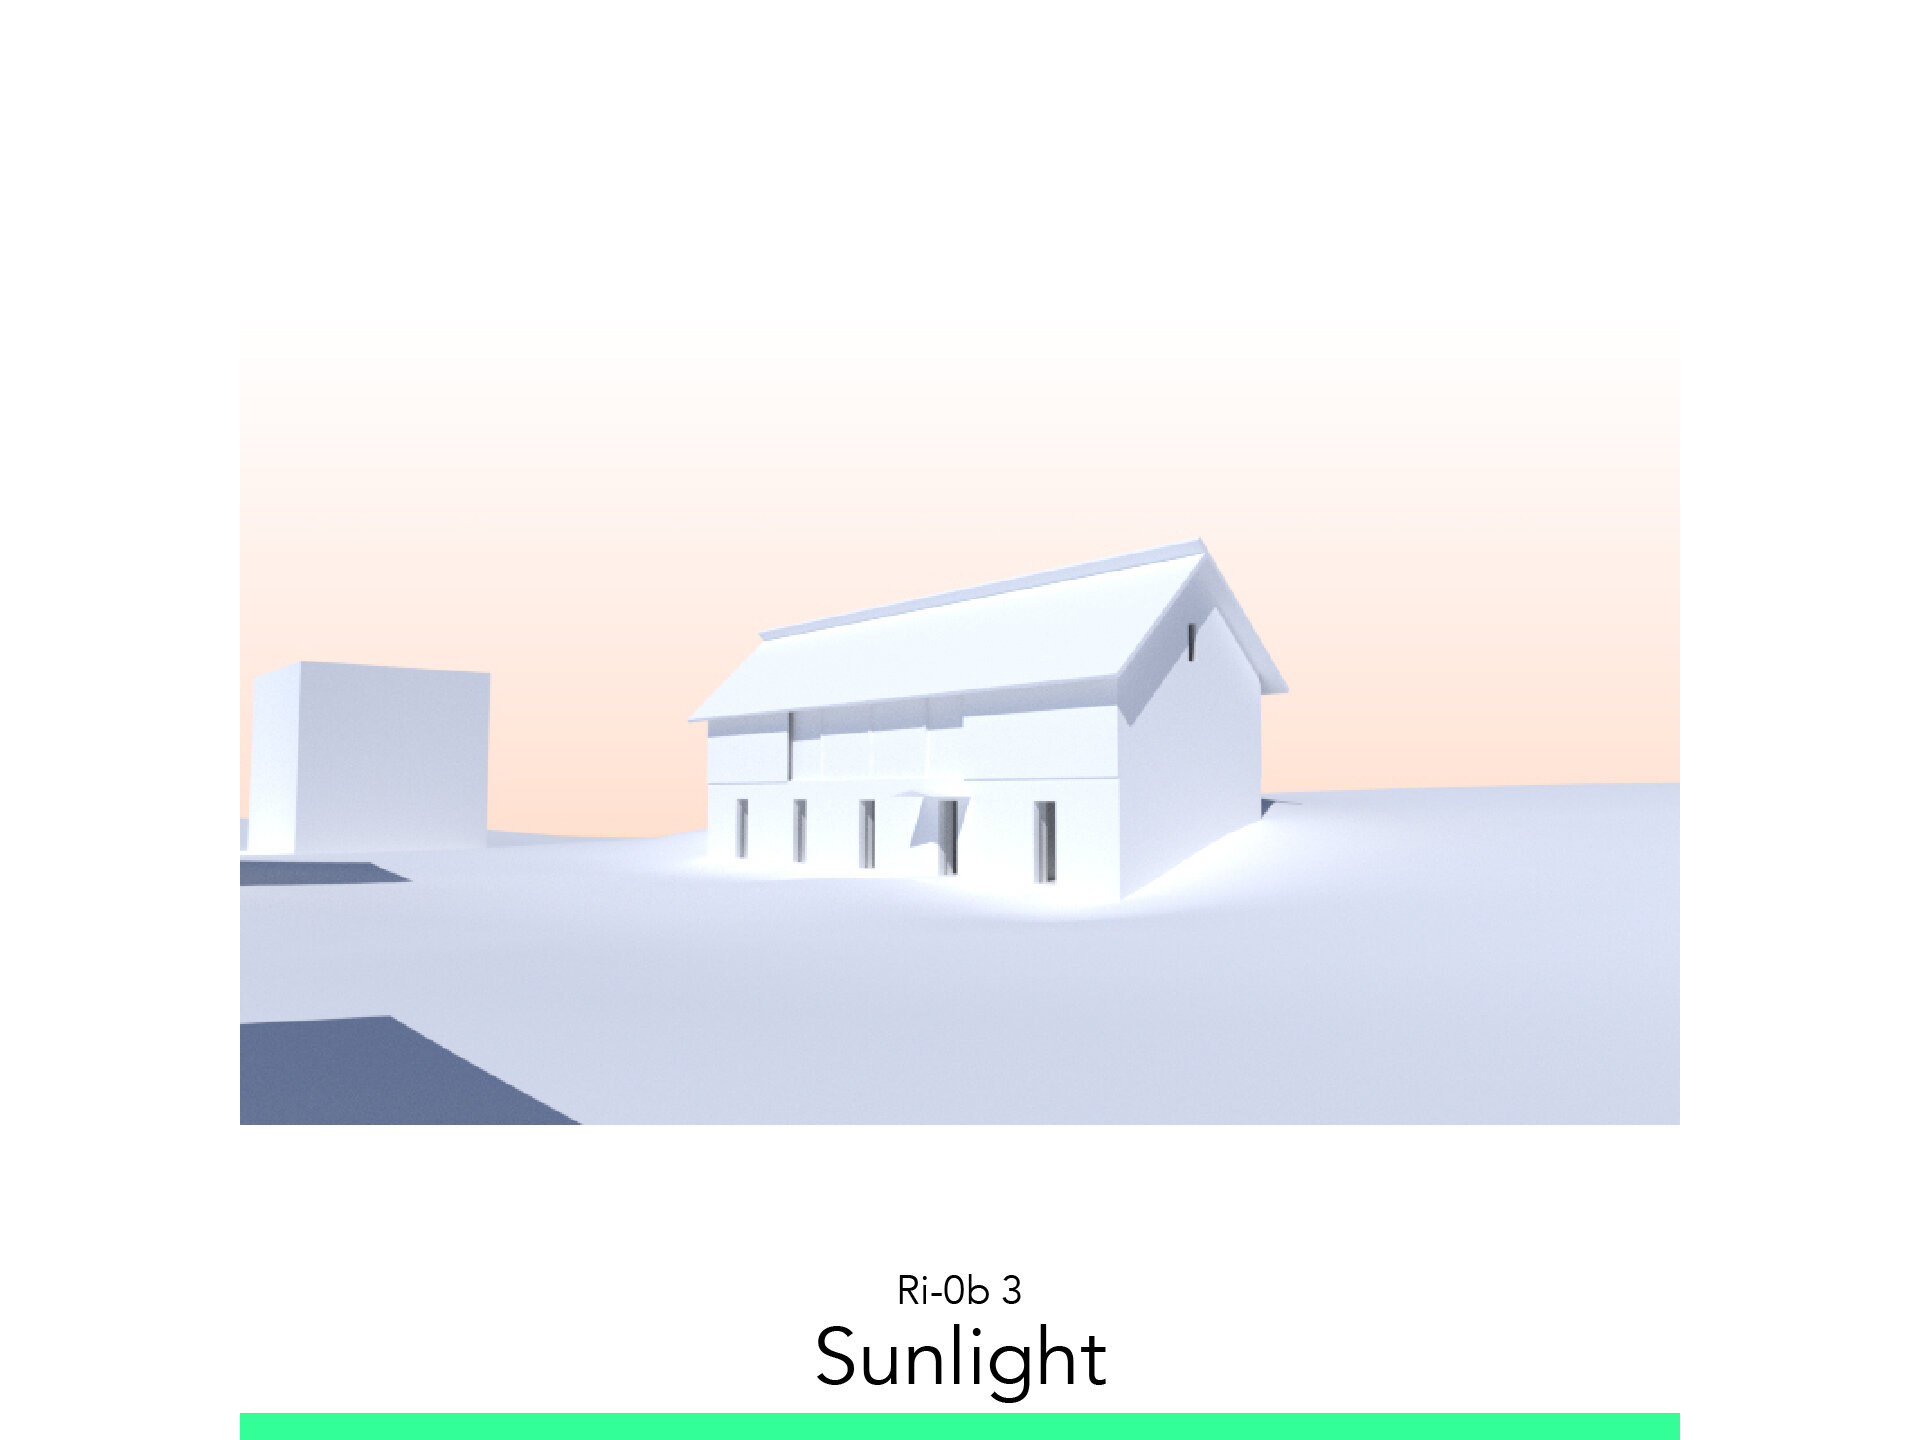
3. Sunlight

3.1. Set Environment Light
Turn On the Sun: Lighting
Start command: _Sun
3.2. Set the Sun Position
Modify the Date and Time.
Check Intensity.
3.3. Turn on Skylight
Modify Intensity: 1.5
3.4. Render!
Start command _Render.
3.5. Environmental Light
Check the Option: Use Environment for Skylight
Select the Studio option.
Click on the Pencil option.
Click in the button next to (click to assign texture)
Select the HDRI in the file.
3.6. Render!
Start command _Render
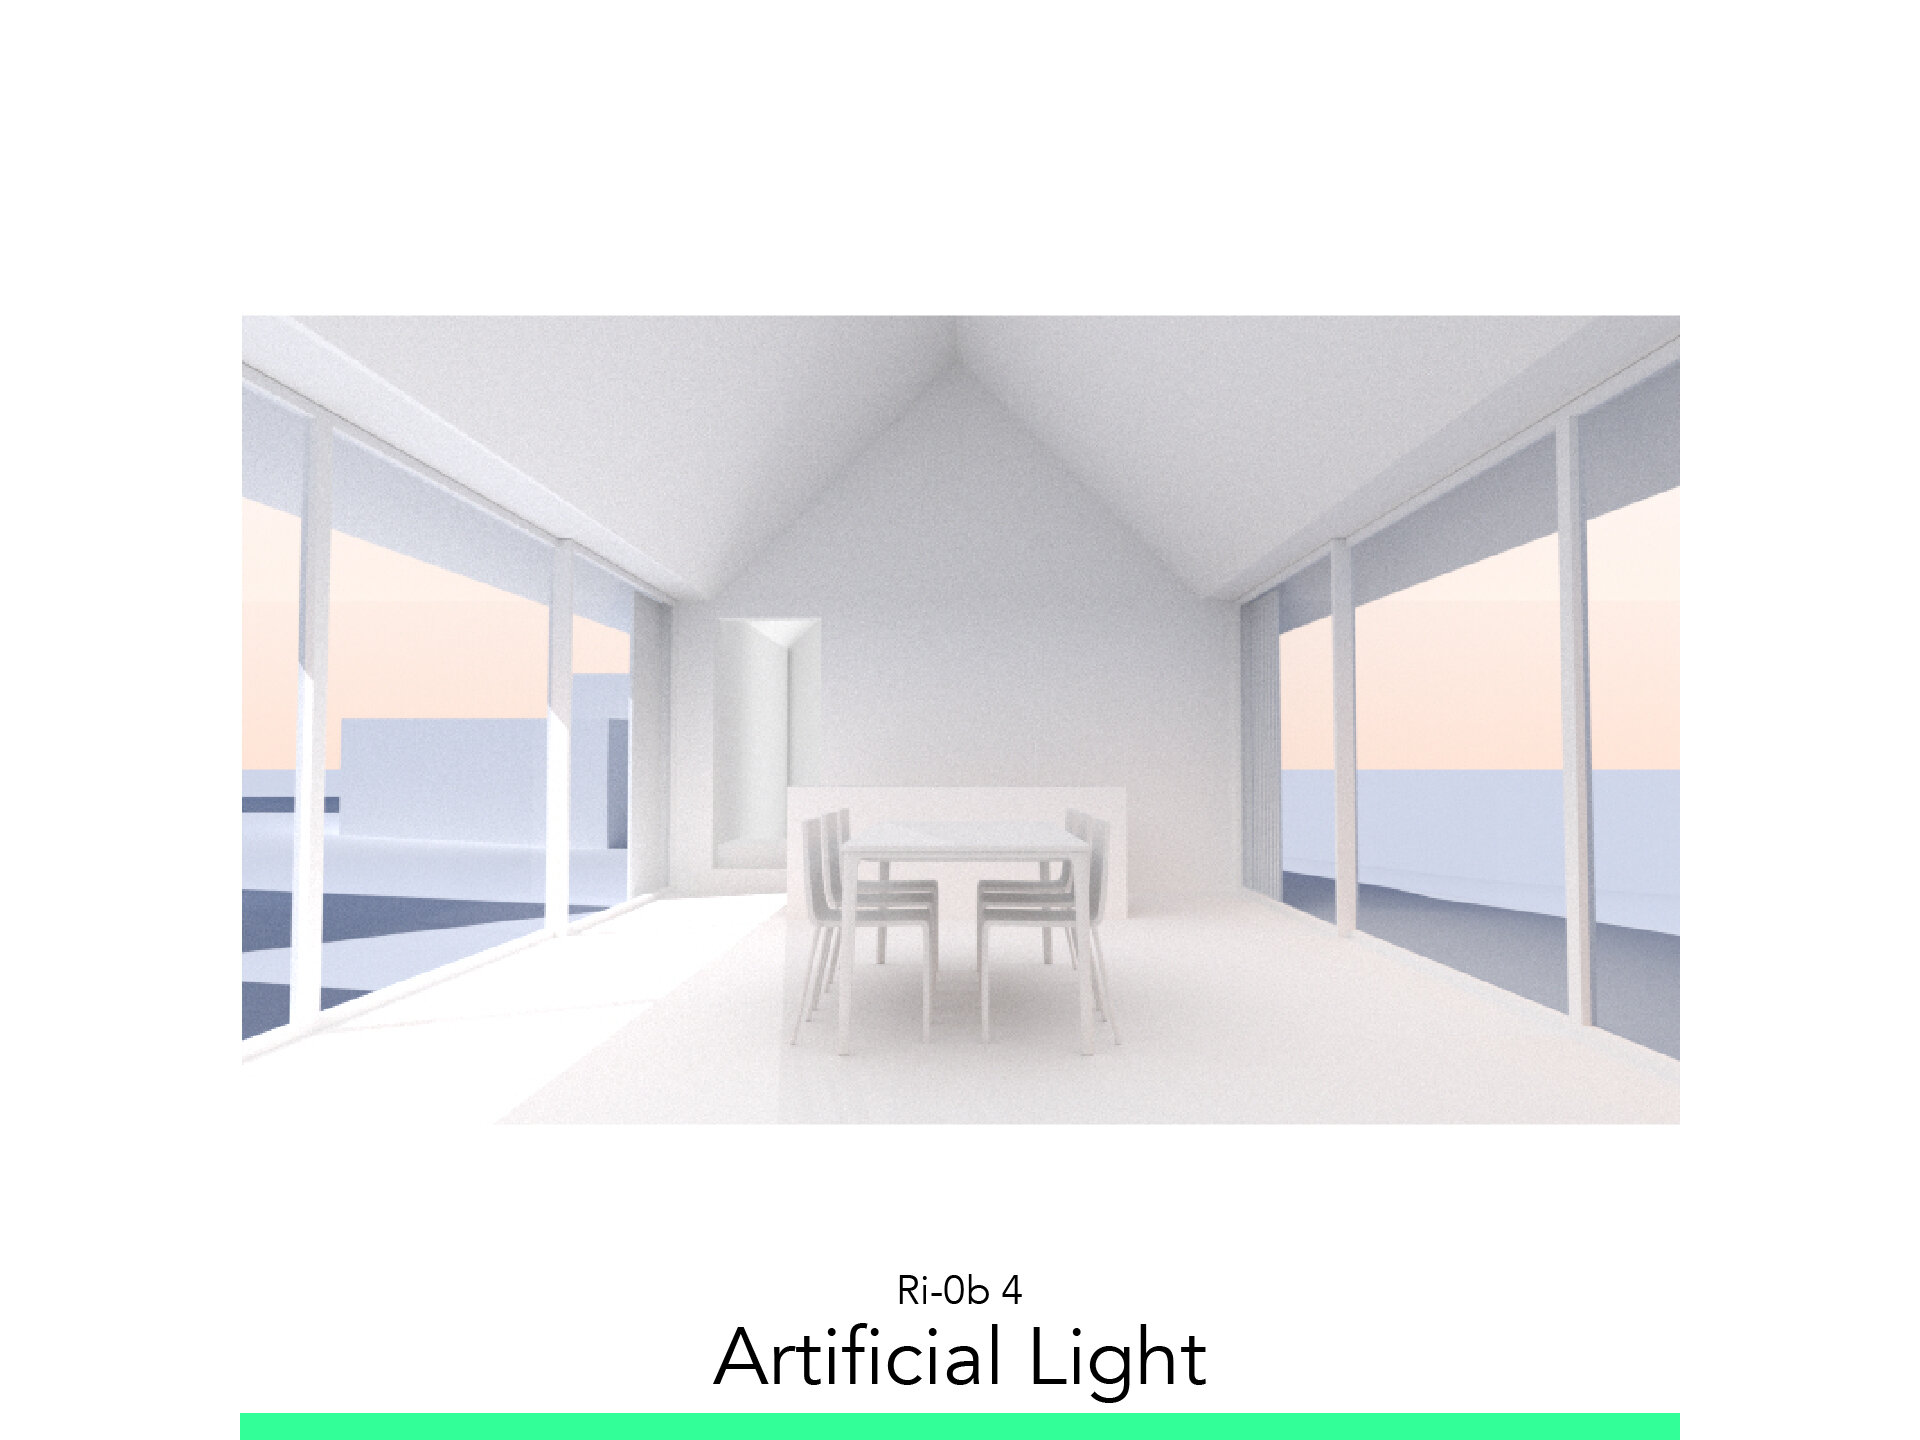
4. Artificial Light

4.1. Glass Material & Render
Create a New Material as Glass for Starting _Render
4.2. Find the Interior View
Start command _ExtrudeCrv and select the squares.
Click on the Interior View.
4.3. Rectangular Light
Start command _RectangularLight
Construct the Plain in the ceiling.
Go to Properties: Light.
Change Color
Intensity
Shadow
Fallof = Lineal.
4.4. Lineal Light
Start command _LinealLight
Construct the Plain in the floor.
Go to Properties: Light.
Change Color
Intensity
Shadow
Fallof = Lineal.
4.5. Render!
Start command _Render
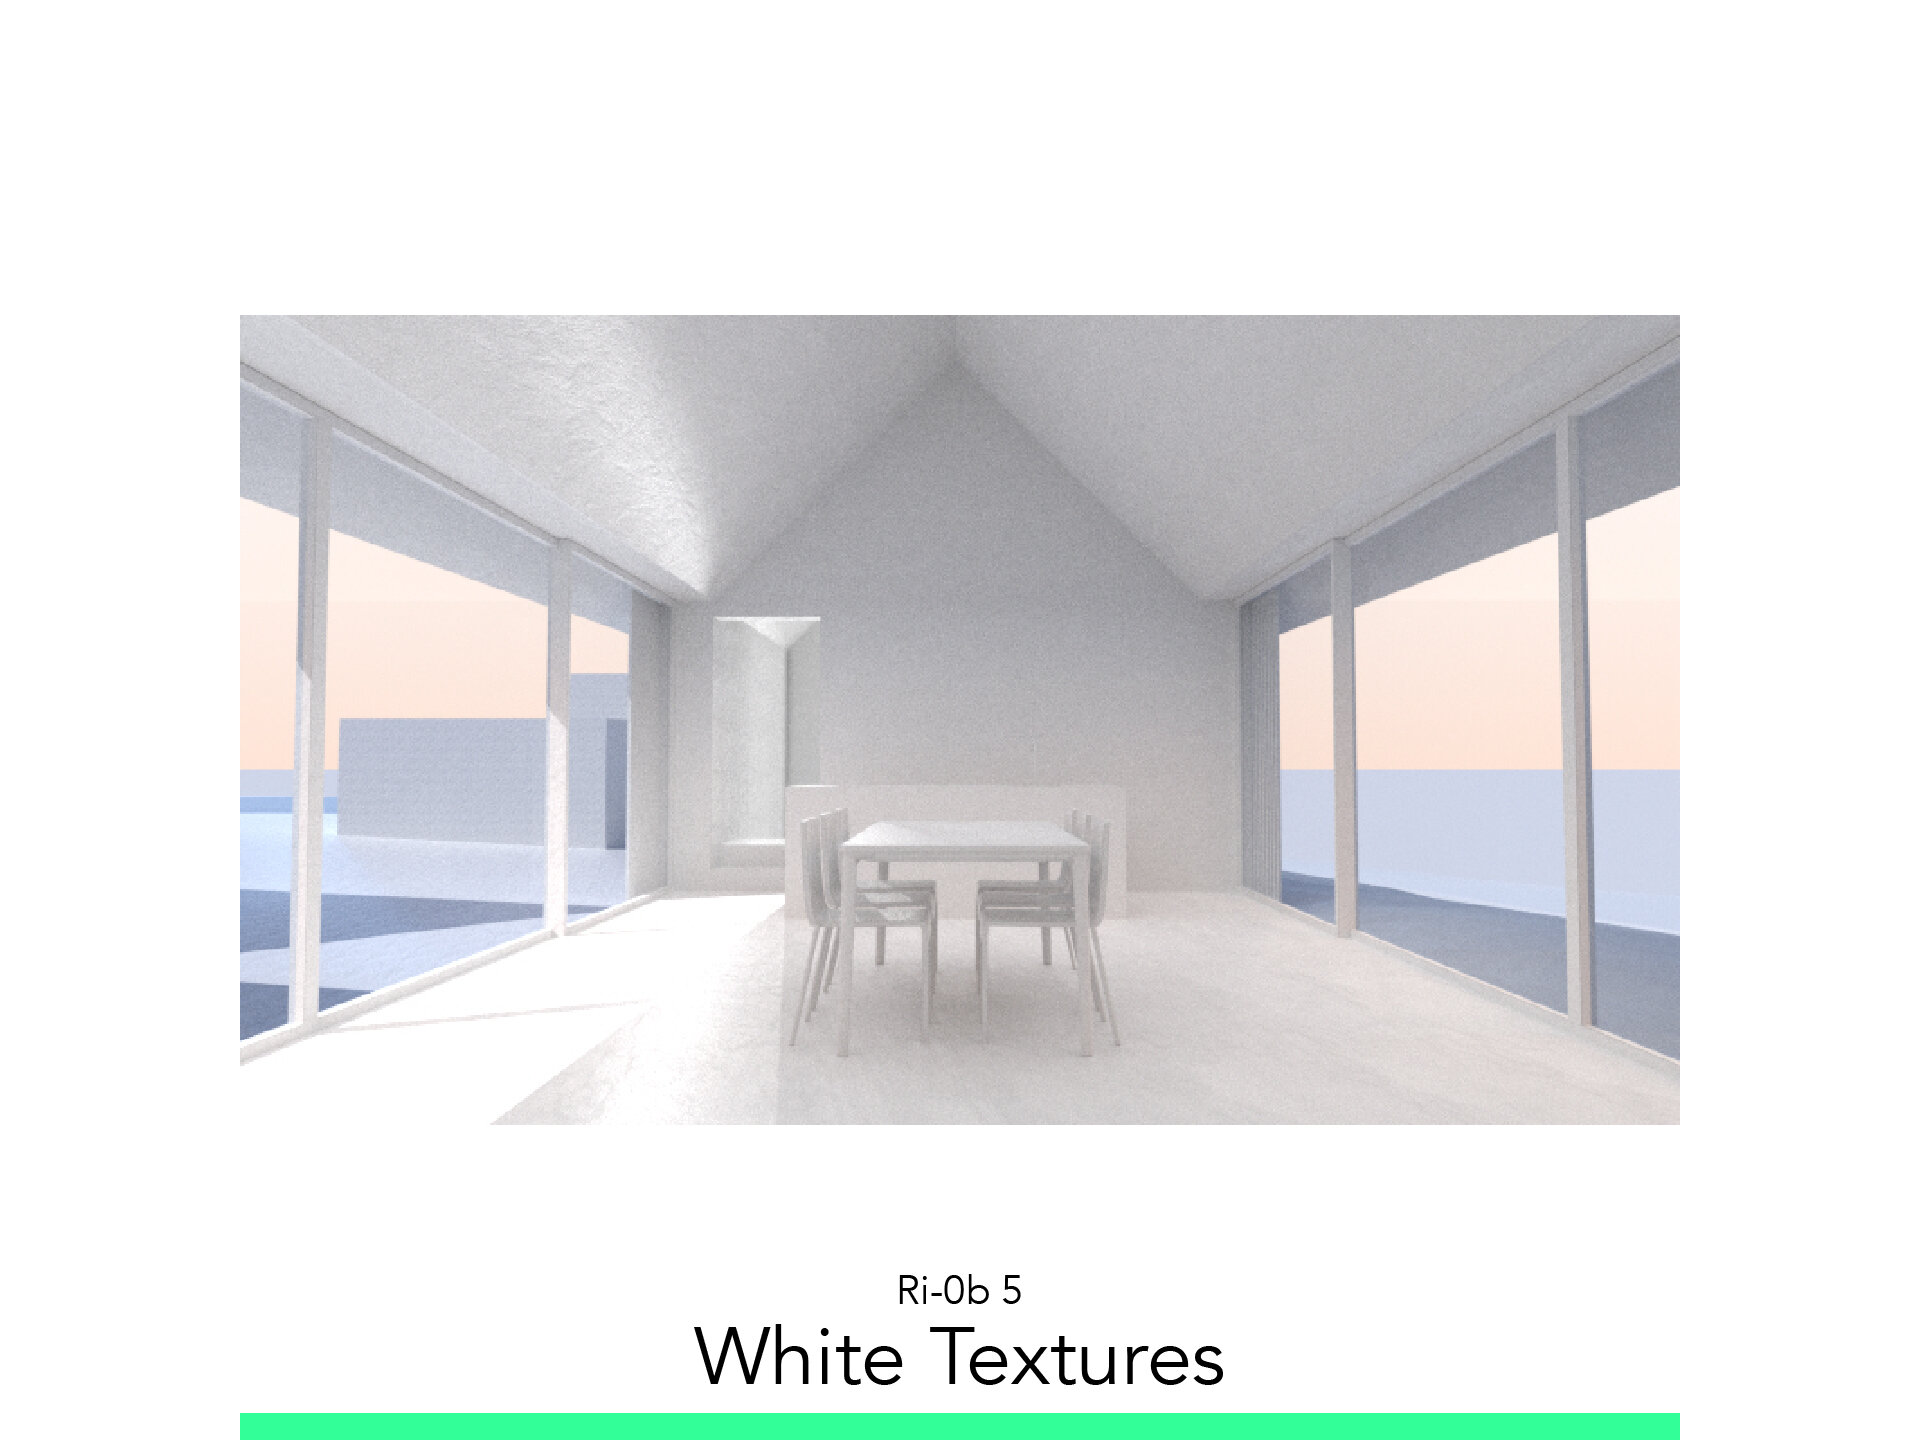
5. White Textures

5.1. Activate Material Tab
It is in the right side in an Icon of Paint Tube.
5.2. Create Glass Material
Create a New Material as Glass.
Select and Asign tot the Elements.
5.3. Create New Material
Create a New Material as Physical Based
5.4. Detail Settings
Activate Bump > Select JPEG
Displacement Map > Select JPEG
Specularity > Select JPEG
Follow your study path with these recommended tutorials


Model in ArchiCAD for the absolute first time with me!
Let me teach you basic commands of the software for you to be ready work on your projects. Start from the very basics and follow me step-by-step in the process of giving more detail to your architectural model.