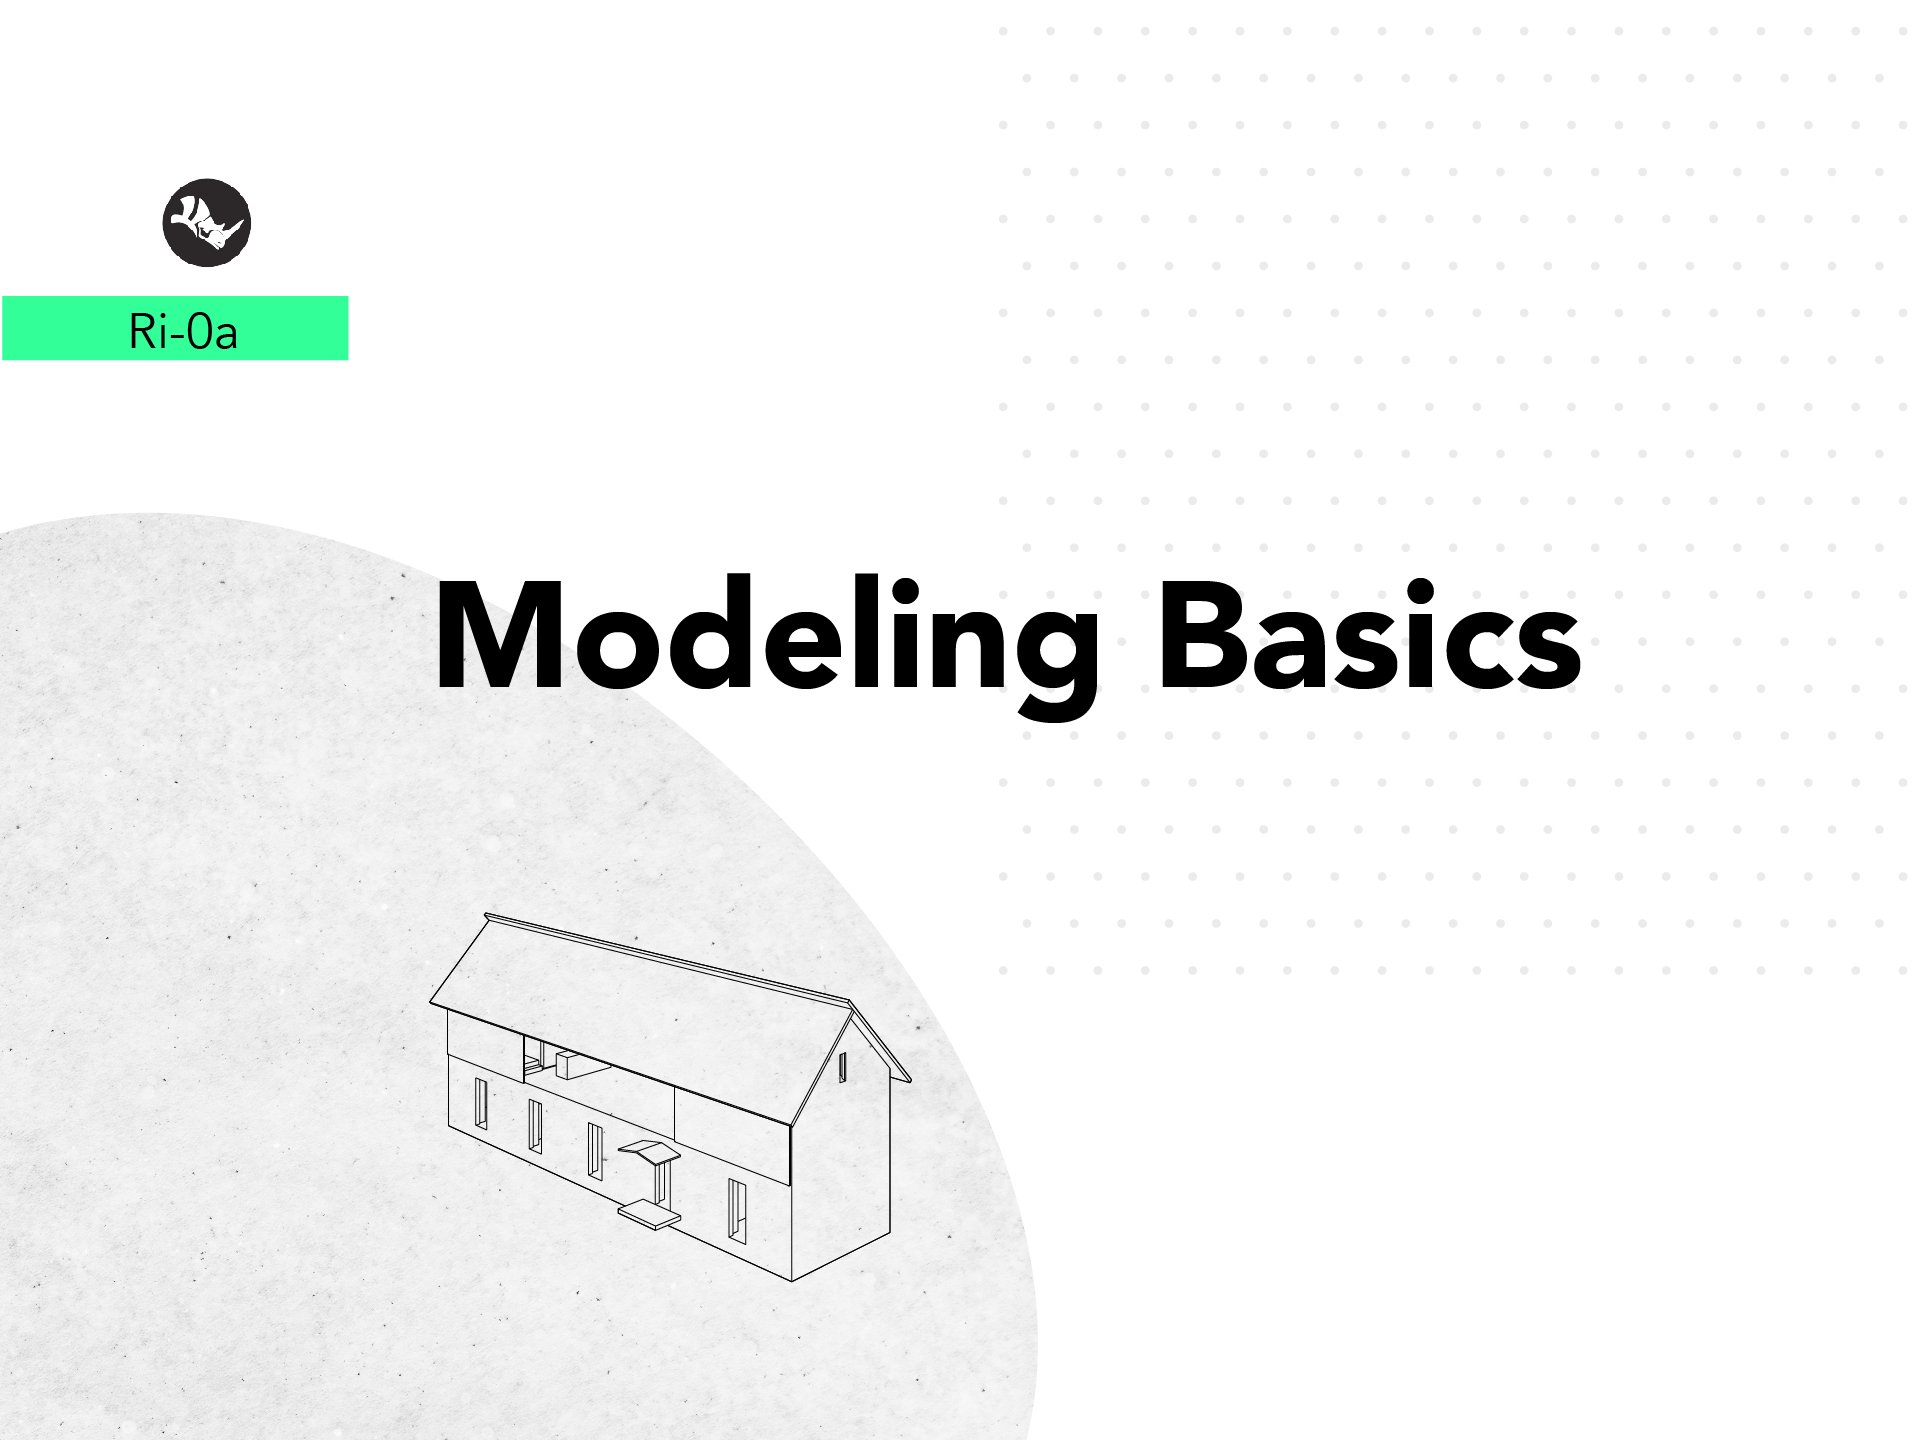
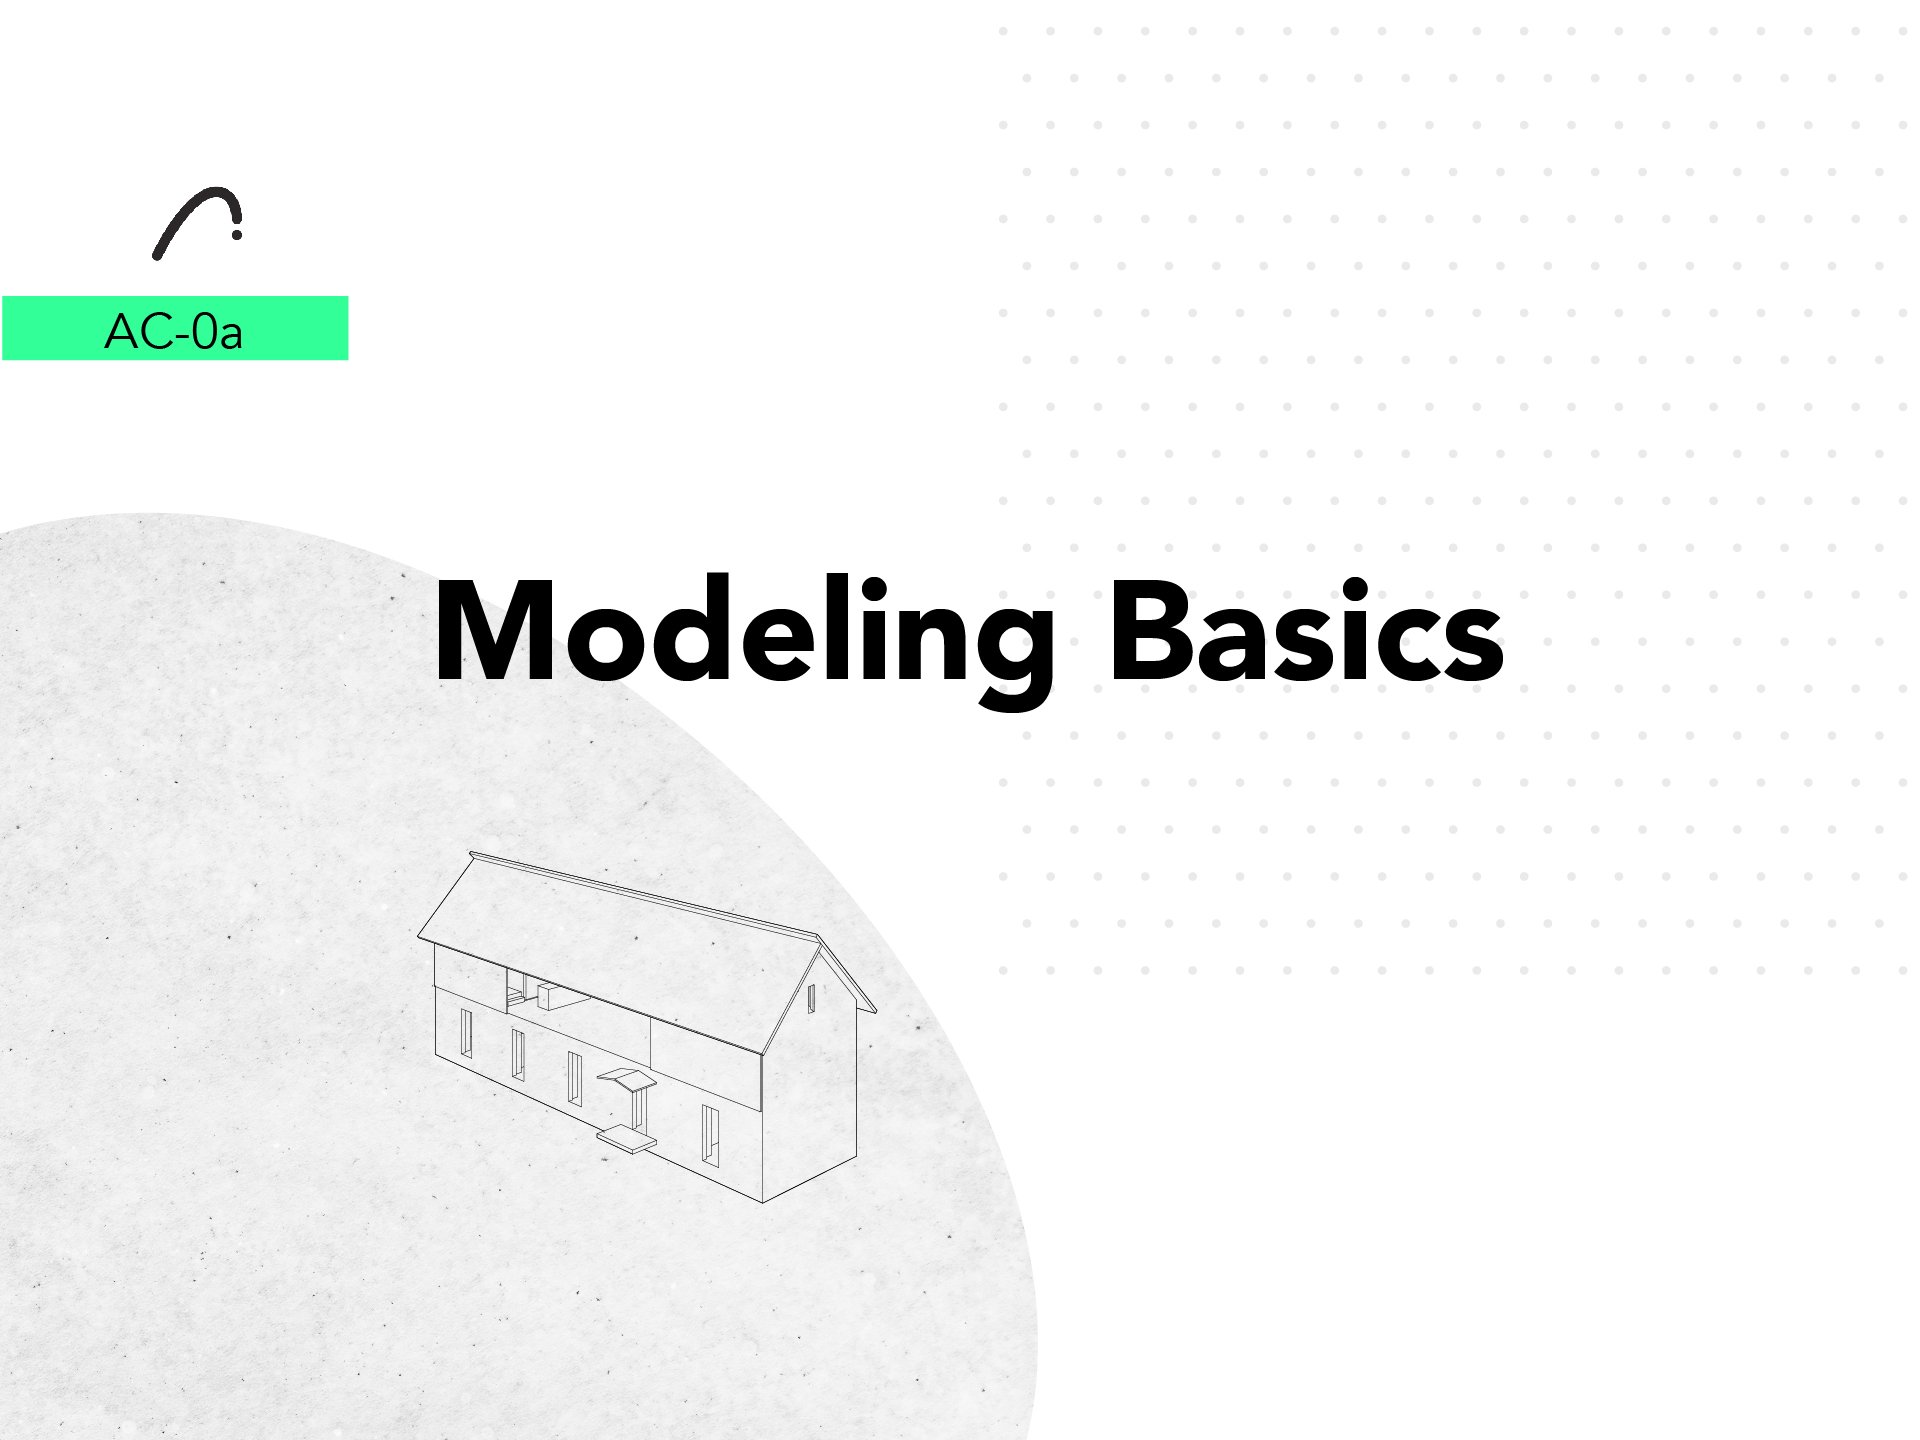
W-1a
Intro to Modeling for Architecture Design
What is 3D modeling and how can architects make the most of it?
Discover these 3D modeling programs and dive into the deep world of modeling tools.
Support your design process by slowly implementing 3D modeling as a design tool. You will first understand what modeling is and learn how to use all the different creative tools that we have in hand. Use these skills to express the most important thing: The Idea. This course will give you a series of step-by-step exercises, so you can learn how to use the tools and shortcuts needed to efficiently model in the service of your architectural project.
-
![]()
Exercise 1
Solid Handling
-
![]()
Exercise 2
Free Modeling
-
![]()
Exercise 3
Surface Modeling
-
![]()
Exercise 4
Boolean Operators
-
![]()
Exercise 5
Mesh Repair
-
![]()
Exercise 6
Levels of Detail


About the Course
This course is intended for architects who want to integrate 3d Modeling technology into their design process and have some extra time to dive deeply into the subject. We will start by understanding the mechanics of modeling, its history, different methods, and most importantly how it can be integrated into helping clients, professors or colleagues understand your architectural idea.
Skill level and duration
Intended for the curious and the absolute beginners, or for self-taught users who would like to restart with an organized structure.
The course is 5 chapters long, each with a lecture of no more than an 20 minutes and an integrated practical exercise, each requiring between 30 to 45 minutes.
Recommended Next Step Tutorials
Follow these tutorials to practice an develop the skills learned here to create a full Model integrated into a unified architecture project.
In this course you will learn
Modeling Thought Process.
Modeling Techinques Part A.
Modeling Techniques Part B.
Modeling Techniques Part C.
Watertight Meshes.
Levels of Detail.
The materials you will need
Latest Version of Rhino or ArchiCAD installed and running (necessary)
Basic understanding of Rhino or ArchiCAD, or you can first complete the Course: “Ri-0 Rhino Foundations” or “AC-0 ArchiCAD Foundations” (necessary)
Highly efficient computer.
Course Content
6 Videos.
One single File with all the Excersices.
Full Tutorial Script with commands.
0. Free Vs. Parametric Modeling
Lets start to understand the interfaces, the tools and the configurations of the programs where we are going to develop our Models. This is fundamental because these programs usually have an interface that seems tricky at first glance. It’s important to take some time watching and understanding the distribution and grouping of tools, options and configurations.
Choose your software and follow the exercise
IMPORTANT NOTE: If you have never opened Rhino or would like to get a foundational understanding of the Software, I invite you to follow this link to the Foundations Tutorial of Rhino It will be a good hour spent either learning how to navigate it or furthering your knowledge.
If you have never opened ArchiCAD or would like to get a foundational understanding of the Software, I invite you to follow this link to the Foundations Tutorial of ArchiCAD. It will be a very good hour spent either learning how to navigate it or furthering your knowledge.
If you have never opened ArchiCAD or would like to get a foundational understanding of the Software, I invite you to follow this link to the Foundations Tutorial of ArchiCAD. It will be a very good hour spent either learning how to navigate it or furthering your knowledge.
1. Modeling Thought Process
Contrary to modeling with cardboard, the virtual world offers an array of possibilities to endlessly edit, multiply and redefine solids to represent spaces; it takes practice to take full advantage of operations that could never be done physically. This chapter exemplifies how architectural concepts are an intrinsic part of 3d modeling in the practice. It also gives you experience in mastering tools and tricks that will help you achieve a rational model for your architectural project.

Choose your software and follow the exercise

Rhino Script
1. Vitra House
Go to the exercise and star command ZoomSelect.
Start command Isolate.
Select Model Base.
Go to the 4 Viewports, Rotate in the Right View with Gumball.
To Copy: Rotate in Top View with: Gumball + Alt
2. Haus Müller
Go to the exercise and star command ZoomSelect.
Start command Isolate.
Start command Box on the Standard Panel.
Select two opposite corners of the polyline.
To Elevate: Select the upper polyline.
Copy and move with the Gumball.
ArchiCAD Script
1. Vitra House
To Rotate Volume: Ctrl+E.
To Copy press: Ctrl (Mac: Alt)
To Move: Cntrl+D.
2. Haus Müller
To Create Slab select: Toolbox > Slab
To Move Volume: Cntrl+D
To Copy press: Ctrl
Pet Palette: Add Point

ArchiCAD CHE Script
1. Vitra House
To Rotate Volume: Ctrl+E.
To Copy press: Strg+C (Mac: Alt)
To Move: V.
2. Haus Müller
To Create Slab select: Plannung > Decken
To Move Volume: V
To Copy press: Strg+C (Mac: Alt)
To add Point: Pet-Paletten:Neuen Knotenpunkt
2. Modeling Techniques Part A
Just as cardboard can be cut by scissors or cutter, there are countless ways to generate geometry in the computer. This first part tries to focus on techniques inherently based in “Free Modeling”. It will also pass through the common Extrusion and show you how intuitive Free Modeling can be. Having the skills to create a lot of different shapes can help you reach a more organic and curved architecture, while remembering that the Idea should always be the base and priority in the conception of the form and distribution of the project.
Choose your software and follow the exercise

Rhino Script
1. Box
Go to the exercise and star command ZoomSelect.
Start command Isolate.
Create a Box.
2. Splitface, Extrude
Split and Join the Cube created.
Start command SplitFace, and select the top face.
To Divide the Face: Trace the Line across it.
Do the 3 and 4 steps again, but now in the new face created.
SplitFace the front face of the Cube.
Start command ExtrudeSrf, select the new face.
3. Move Edge
Start command MoveEdge and select the edge of the higher volume, press Enter, and create the roof slope.
Repeat command MoveEdge with Spacebar, select the edge we split and press Enter.
Go to the Top View and move the edge.
ArchiCAD Script
1. Morph
To create Solid: Toolbox > Solid.
Activate Snap Guides to equalize size.
Snap to the example’s height.
2. Add Polyline, Push & Pull
Select a middle point of the cubes edge.
Click on the Pencil Icon to: Add Polyline.
Select one face and then: Push & Pull.
Snap to the example’s height.
3. Offset Edge, Move Node
Select the Edge.
In Pet Palette start: Offset Edge.
Select another Edge.
In Pet Palette start: Offset Edge.
Click in the Icon to Change Direction to: Vertical
To Chamfer Edge: PP > Chamfer
To Pipe: PP > Pipe

ArchiCAD CHE Script
1. Morph
To create Solid: Planung > Morph.
Activate Snap Guides to equalize size: Alt+F.
Snap to the example’s height.
2. Add Polyline, Push & Pull
Select a middle point of the cubes edge.
Click on the Pencil Icon to: Add Polylinien.
Select one face and then: Push & Pull.
Snap to the example’s height.
3. Offset Edge, Move Node
Select the Edge.
In Pet Palette start: Kante versetzen.
Select another Edge.
In Pet Palette start: Kante versetzen.
To Chamfer Edge: PP > Kante(n) abrunden/abschrägen
To Offset: PP > Alle Kanten versetzen
To Pipe: PP > Röhre
3. Modeling Techniques Part B
Next we will move onto a more structured part of modeling. You will find modeling techniques edging closer to the need of parameters, values and other constrains that lock geometry in a specific order and shape; thus shaping our understanding of what parametric modeling tries to address. Geometry is generated using values found on numbers, words or even images - logic, not randomness -. It is crucial to understand that any shape or form, even if it appears to be randomly created, always has a rational construction, and it must have one in order to develop an architecture project.

Choose your software and follow the exercise

Rhino Script
1. Loft, Extrude
Go to the exercise and star command ZoomSelect.
Start command Isolate.
Select the curves and start command Loft.
The Loft Options Window will open with various parameters.
The Style parameter changes the rigidity of the shape construction, like Straight Sections that seems more like an extruded surface.
With Align Curves you can change the other of the grid that joins each curve, you can create more dynamic surfaces.
In Rebuild with <> control points you can construct a more detailed surface that can be deformed with more control points.
Select the surface created with Loft and use the command ExtrudeSrf.
To Set the Direction: Click on Direction in the command panel and set it in the model. First reference point and then the direction we want it
2. Sweep1
Start command Sweep1, select the rail, and the circle as the Cross Section Curve and press Enter.
Start command Cap to close open ends.
3. Sweep1 and Two Cross Sections
Start command Sweep1, select the curve rail, and the two circles as the Cross Section Curve and press Enter.
Start command Cap to close open ends.
4. Sweep2
Type the command Sweep2, select the two rails, select the circle as the Cross Section Curve and press Enter.
Start command Cap to close open ends.

ArchiCAD Script
1. Walls
To Create a Wall: ToolBox > Wall.
To change Height go to Wall Settings.
In Bottom and Top change: 3.00
Do it Again but with Height: 6.00
Change Wall Thickness to: 0.25
Draw a Wall with a Height of: 3.00
Select the lower wall and change and go to: Wall Slant Angles
Change to Slanted
Set the Slanted Angle to: 50.00°
2. Windows and Door Opening
To Create a Window: ToolBox > Window.
To change Height and Dimensions: Window Settings.
Place it over a Wall to make the opening.
You can also edit the Window Dimensions with the Pet Palette.
To Create a Door: ToolBox > Door
To change Height and Dimensions: Door Settings.
Place it over a Wall to make the opening.
You can also edit the Door Dimensions with the Pet Palette.

ArchiCAD CHE Script
1. Walls
To Create a Wall: Planung > Wand.
To change Height go to Einstellungen für die Wand.
In Bottom and Top change: 3.00
Do it Again but with Height: 6.00
Change Wall Thickness to: 0.25
Draw a Wall with a Height of: 3.00
Select the lower wall and change and go to: Winkel ändern
Change to Höhe strecken
Set the Slanted Angle to: 50.00°
2. Windows and Door Opening
To Create a Window: Planung > Fenster
To change Height and Dimensions: Fenster-Grundesinstellung.
Place it over a Wall to make the opening.
You can also edit the Window Dimensions with the Pet-Paletten.
To Create a Door: Planung > Tür
To change Height and Dimensions: Tür-Grundesinstellung.
Place it over a Wall to make the opening.
You can also edit the Door Dimensions with the Pet-Paletten.
4. Modeling Techniques Part C
Here we will explore the interaction between already made volumes. We have already created and copied volumes based on simple commands and polylines or shapes, now we will start to create a coherent relation and dialogue between volumes that have a mass and others so the end will result in a more complex volume. These kinds of operations have a usual use of Cntrl+Z because it works by trying and evaluating the result and going back to test it until the creator is satisfied.
Choose your software and follow the exercise

Rhino Script
1. Union
Go to the exercise and star command ZoomSelect.
Select the two volumes that are going to be joined.
Start command BooleanUnion.
To Finish with the Union press Enter.
2. Substraction
Start the command BooleanDifference.
Select the target.
Select the operator.
To Finish with the Substraction press Enter
3. Intersection
Select the two volumes that are going to be joined.
Start command BooleanIntersection.
Select the first and second group of surfaces that are going to intersect.
The result will be the area that those two groups occupied.
ArchiCAD Script
1. Subtraction
In File Options go to: Design > Solid Element Operations
A New Window will open.
Select the Wall and click in: Get Target Elements
Select the Solid and then click in: Get Operator Elements
Choose Operation: Subtraction
Click and Finish on: Execute
2. Addition
In File Options go to: Design > Solid Element Operations
Select the Roof and click in: Get Target Elements
Select the Solid and then click on: Get Operator Elements
Choose Operation: Addition
Click and Finish on: Execute
3. Subtraction with Upward Extrusion
In File Options go to: Design > Solid Element Operations
Select the Roof and click on: Get Target Elements
Select the Solid and then click on: Get Operator Elements
Choose Operation: Subtraction with Upward Extrusion.
Click and Finish on: Execute.

ArchiCAD CHE Script
1. Subtraction
In main menu Ändern go to: Verbinden> Solid Element-Befehle
A New Window will open.
Select the Wall and click in: Als Ziel hinzufügen
Select the Solid and then click in: Als Operator hinzufügen
Choose Operation: Abzug
Click and Finish on: Ausführen
2. Addition
In menu Ändern go to: Verbinden> Solid Element-Befehle
A New Window will open.
Select the Roof and click in: Als Ziel hinzufügen
Select the Solid and then click on: Als Operator hinzufügen
Choose Operation: Vereinen
Click and Finish on: Ausführen
3. Subtraction with Upward Extrusion
In menu Ändern go to: Verbinden> Solid Element-Befehle
A New Window will open.
Select the Roof and click on: Als Ziel hinzufügen
Select the Solid and then click on: Als Operator hinzufügen
Choose Operation: Abzug mit Verlagerung nach oben
Click and Finish on: Ausführen.
5. Watertight Meshes
There is a clear line an architect must not cross while toying with virtual tools to develop spatial concepts: Reality. Virtually speaking, this means you must always think in solids, not surfaces. It is only the computer that can represent objects without matter or surfaces. Solids are the closest definition of matter inside a computer, as we understand it in nature. This means that a solid can be manufactured, while a surface can only be rendered. We will look at this subject in detail to clearly define the boundaries that should only be crossed willingly, and not by accident, to create a clean and full solid.

Choose your software and follow the exercise

Rhino Script
1. ShowEdges / MatchMeshEdge
Go to the exercise and star command ZoomSelect.
Start command Isolate.
Start command ShowEdges and select the mesh.
The Edge Analysis window will open and show you in color the curves that have Naked Edges.
Start command MatchMeshEdge:
Distance To Adjust = 0.001
Ratchet Mode = On
2. Sel Open Mesh / Fill Mesh Holes
To select all Open Meshes: SelOpenMesh.
Start command FillMeshHoles.
To Repair All Naked Edges: Select Mesh.
Start command ShowEdges to check.
3. Manual Repair
Start command ShowEdges and select the mesh.
Start command PatchSingleFace.
To Repair Open Mesh: Select 2 Edges.
Start command FillMeshHole.
To Repair Open Mesh: Select 1 Edge.
Start command FillMeshHoles.
To Repair All Naked Edges: Select Mesh.
Start command ShowEdges and check that the mesh has no naked edges.

This Step has no topic in ArchiCAD.

This Step has no topic in ArchiCAD.
6. Levels of Detail
Managing the time we spend in design is at the heart of becoming a professional architect. Levels of detail clearly define an exemplary sequence of steps that may be added into a virtual model as more and more becomes evident and solved during the process. The key is to always have something that supports the current state of the development: not more - and certainly never less.

Choose your software and follow the exercise

Rhino Script
1. Vitra House
Go to the exercise and star command ZoomSelect.
Start command ExtrudeCrv and extrude the curve.
Start Command SplitFace.
Start command OffsetSrf.
Substract with BooleanDifference.
Create a Box that works as window frame and start BooleanDifference to frame it in the border.

ArchiCAD Script
1. Vitra House
Create a Solid with: ToolBox > Solid
As Geometry Method Select: Box
Trace a Line in the Middle in: PP > Pen
To create the Roof move: PP > Offset Edge
Trace the Lateral Middle with: PP > Pen
Move the Edge with: PP > Offset Edge
Offset Face with: PP > Offset All Edges
To Copy press: Ctrl
Write Distance: 0.3
To Extrude Face to Border: PP > Push/Pull
Create a Solid with: ToolBox > Solid
Draw the Vertical Solid and mirror it: PP > Mirror
Draw or Rotate the Horizontal Solid. Cntrl + E
Addition with Solid Element Operation the window to the Building.

ArchiCAD CHE Script
1. Vitra House
Create a Morph with: Planung > Morph
As Geometry Method Select: Box
Trace a Line in the Middle in: PP > Bleistift
To create the Roof move: PP > Kante versetzen
Trace the Lateral Middle with: PP > Bleistift
Move the Edge with: PP > Kante versetzen
Offset Face with: PP > Alle Kanten versetzen
To Copy press: i
Write Distance: 0.3
To Extrude Face to Border: PP > Ziehen/Drücken
Create a Morph with: Planung > Morph
Draw the Vertical Solid and mirror it: PP > Spiegeln
Draw or Rotate the Horizontal Solid. D
Addition with Solid Element Operation the window to the Building.
7. Sources
For the development of this course, an array of media entries and documents were consulted which I aim to list here. Please report any reference that might be missing so it can be promptly added.
Back to


